[ad_1]
One of the most common questions I get is “what portable power source do you use for astrophotography”. This is a hot topic in the astrophotography community, and there are many options to consider for powering your gear at night.
When deciding on an off-grid power station, you need to think about things like battery life, power output, power input charging, and the number and types of output ports. There is no one-size-fits-all option, as budget and weight come into play as you explore the higher-end options.
If you’ve ever browsed the Portable Power Stations on Amazon, you’ll know that there are literally hundreds of options to choose from. However, choosing the right one for your telescope and astrophotography purposes requires a slightly different approach.

Which portable power station is best for astrophotography in the field?
Whether charging via solar panels when you are off-grid is important to you, or you need a unit that can save your butt during a power outage – there is an option for you. If you enjoying comparing features and prices, selecting the best portable power station for your astrophotography needs is actually kind of fun.
In this article, I’ll describe my experiences using a premium portable power station, and provide a number of alternatives suggested by astrophotographers around the world.
Feel free to leave a comment describing the portable power station you use, to help create a complete resource for astrophotographers. Just like everything else in this hobby, there are many options to choose from at various price points.
The Need for a Portable Power Station
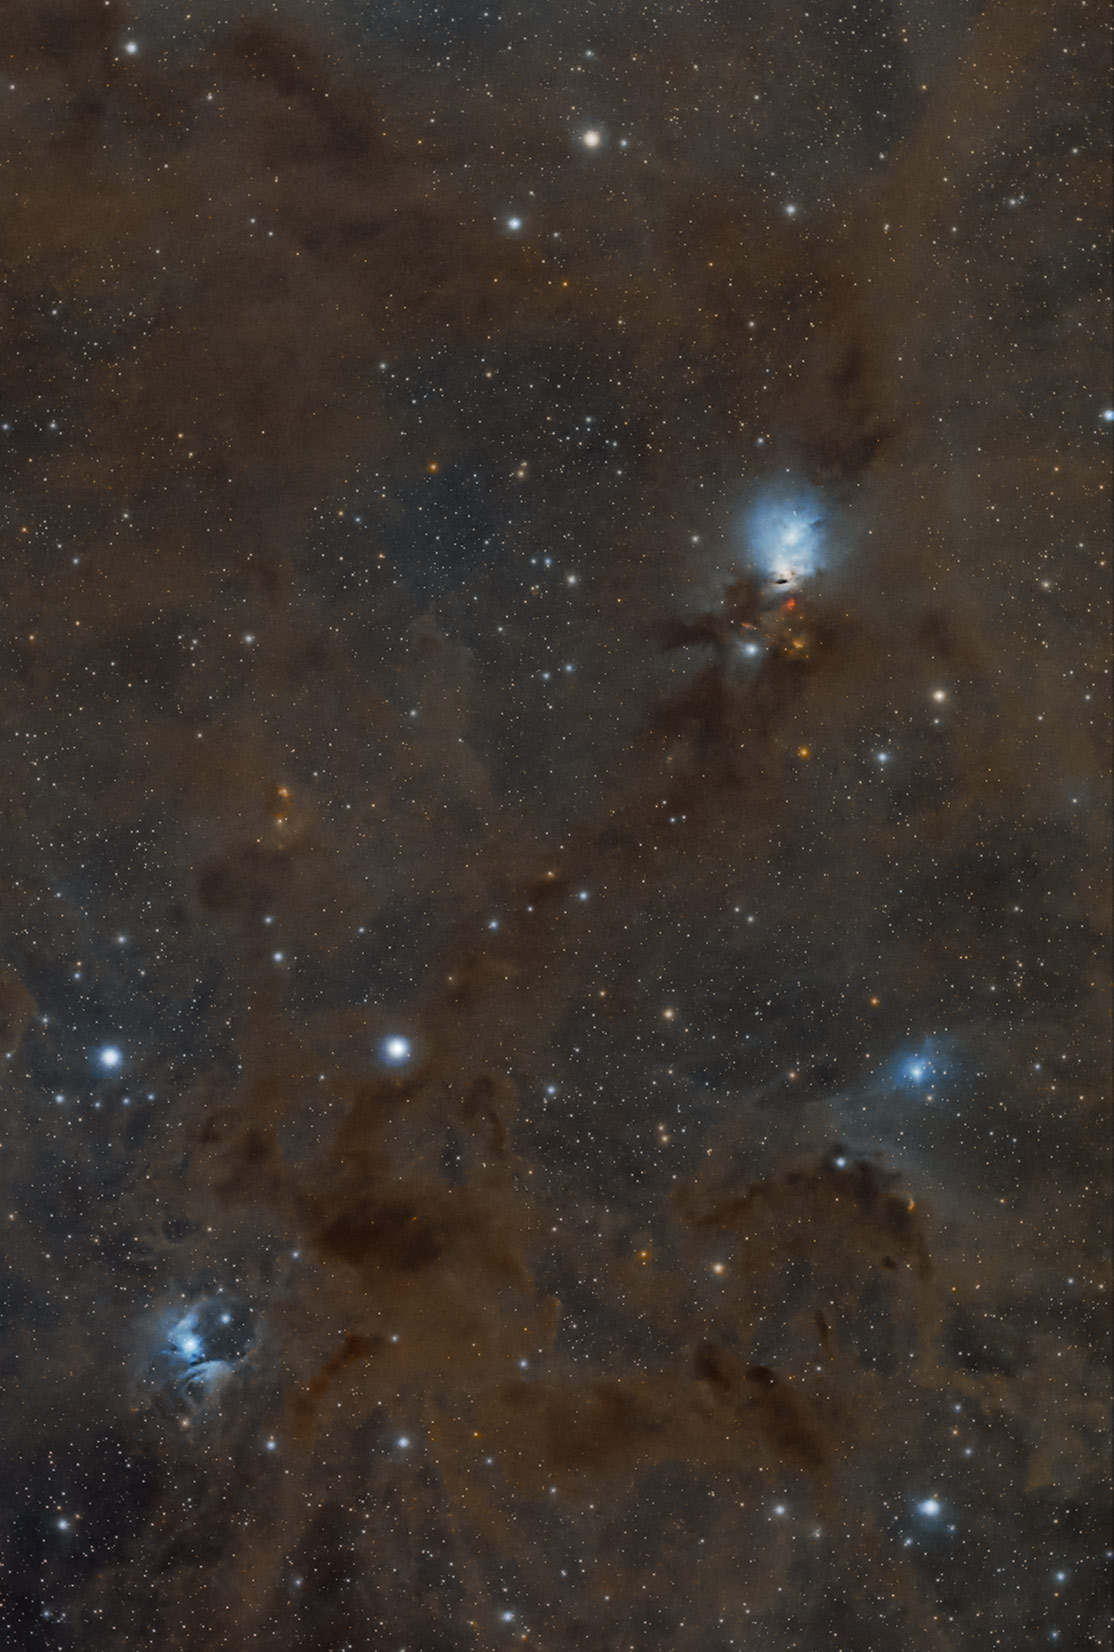
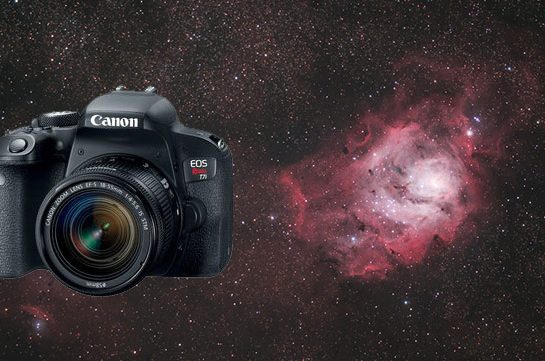
When taking pictures of space from the backyard, I plug into household AC power, but what about when I travel to a dark sky location? Milky Way photography with a DSLR and star tracker is one thing, but running a robust deep-sky imaging kit away from home is another.
There is a good chance, that if you’re an amateur astrophotographer, at some point you will need to invest in a quality portable power station. Something that can reliably power your astronomy telescope and accessories throughout the night.
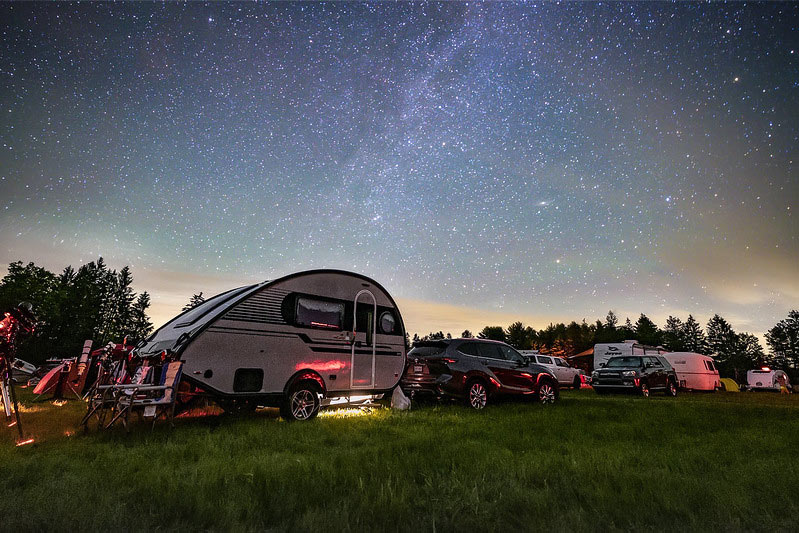
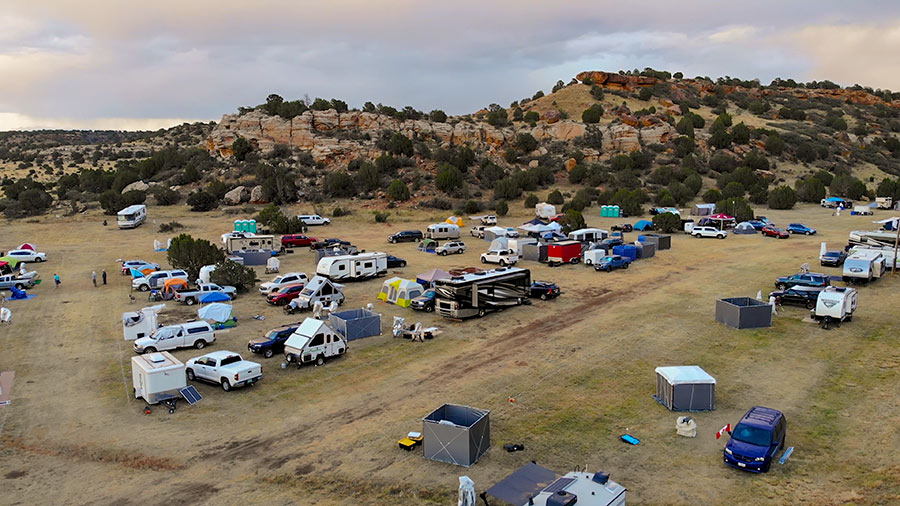
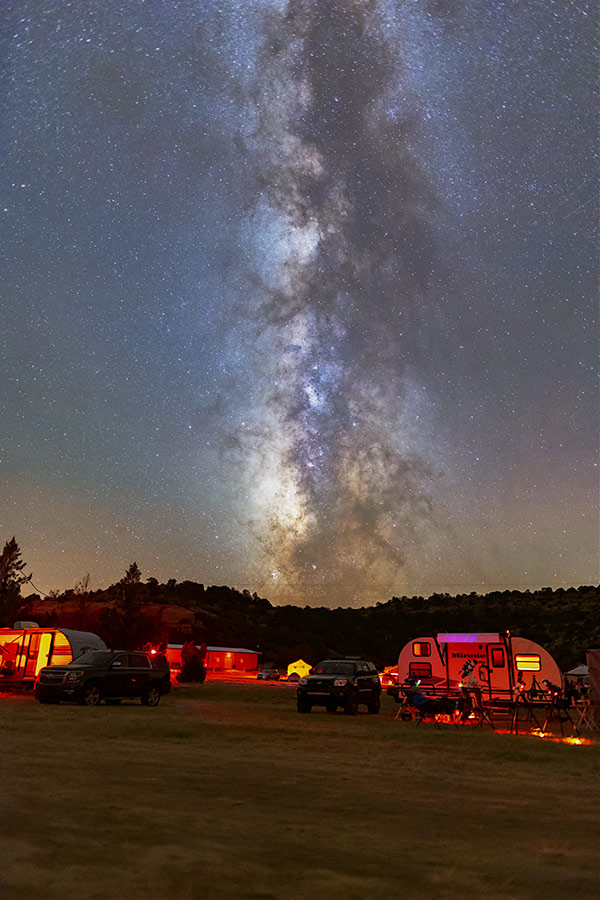
Portable power stations are essential while camping.
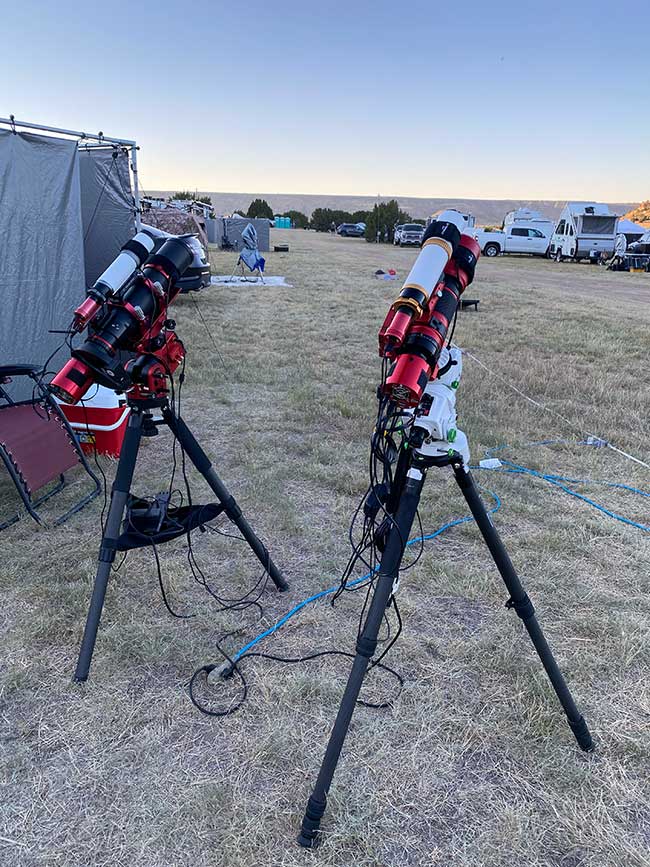
Visual observers sometimes need power for a goto computerized mount and maybe a few dew heaters, but astrophotographers? We need to power anywhere from 3 to 17 devices (or more) and if even one of them fails, you can kiss your precious picture goodbye.
Thankfully, today’s portable power stations are equipped with many output ports, including dedicated AC and DC ports and multiple USB types. Some of them even include integrated wireless charging areas to charge your phone.
Here are some of the potential devices you will need to power on your astrophotography setup:
Powered Devices for Astrophotography
In the following video, I provide an overview and real-world experiences using the brand new Anker 757 Portable Power Station. Anker asked that I provide an “astrophotographer’s perspective” of their new mobile power station.
This is a great option to consider if you need a serious power station that can handle a wide variety of devices. If you are running a simple setup in the field, this type of portable power may be overkill for your astrophotography needs.
This large 1500W power station can power a robust setup for multiple nights.
Portable Power Station vs. a DIY Solution
The Anker 757 Portable Power Station is a fantastic unit, capable of powering several devices for an extended period of time. However, many amateur astrophotographers believe that it is more cost-effective to just “build your own” DIY power supply using a deep cycle marine battery.
There are some serious cost savings if you take this route, and there are many great how-to tutorials available online to build one. To build one you will need:
- A sealed deep cycle marine batteries
- DC to AC power inverter
- Smart Charger/Maintainer
- Inverter Cable
Unfortunately for me, I have not had much luck with a DIY deep cycle marine battery unit (yes, I built one several years ago). My poor experience taking this route is likely due to the fact that I have zero experience in the field of electrical or mechanical engineering. It seems that I am the exception in the astrophotography crowd.
As I mentioned in the video, bulletproof reliability is critical to me, and I am willing to pay a little extra for it. The all-in-one package that Anker has created is impressive and is a smart option for anyone willing to pay the added cost.
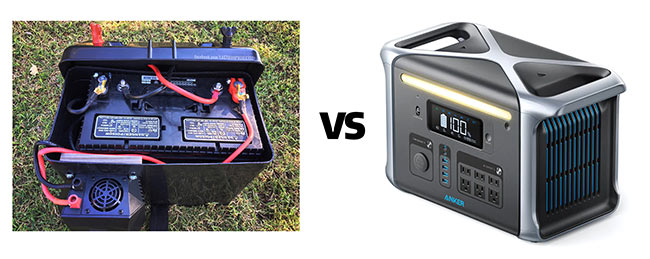
Here is an example of someone who built their own portable power station using a mix of components. If you’re up to the task of taking on projects like this, you can really save some money. Again, this is beyond my personal skill set, but it’s an option.
Video: How to Make a Portable Power Station
A Portable Power Station for your Telescope
To me, the most important feature of a portable power station for astrophotography is reliability. It also has to have enough power to go at least an entire night (or 2) before needing to be charged.
It also needs to have enough output ports for all of the astrophotography accessories I need to plug in from USB-powered dew-heaters to my laptop charger.
If the portable power station is not up to the task of providing a constant source of power to my rig for an entire night without interruption, it’s useless to me. Even a brief outage means I lose the connection to my telescope mount, the autoguiding goes nuts, and I squander a precious clear sky.
I’d rather run a 200-foot extension cord than risk a battery that flickers in and out. I’ve had this happen before, and it’s absolutely infuriating. The good news is, that most of the astrophotography gear we all use does not consume a lot of power, with a few exceptions of course.
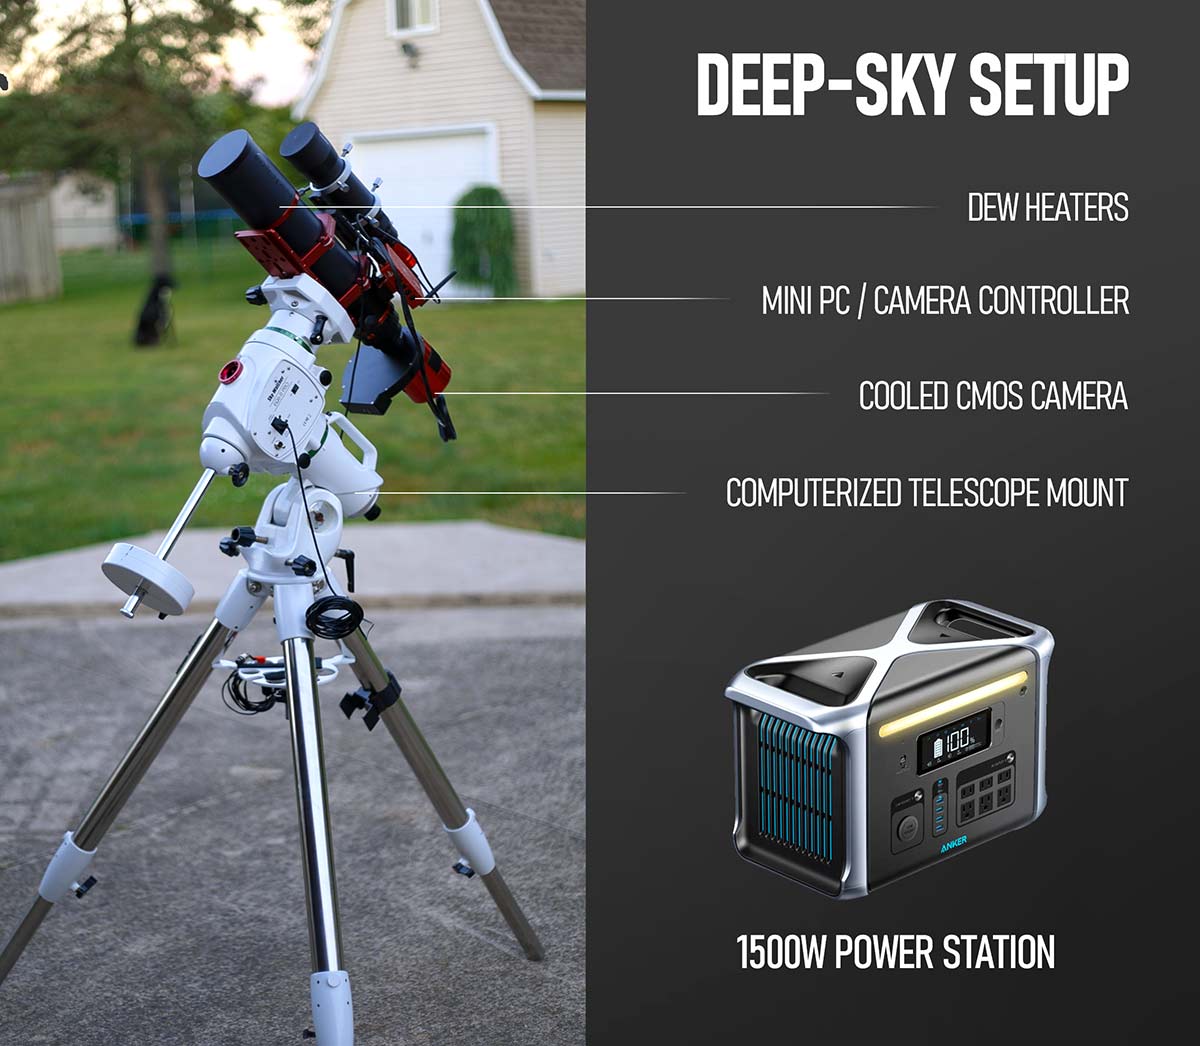
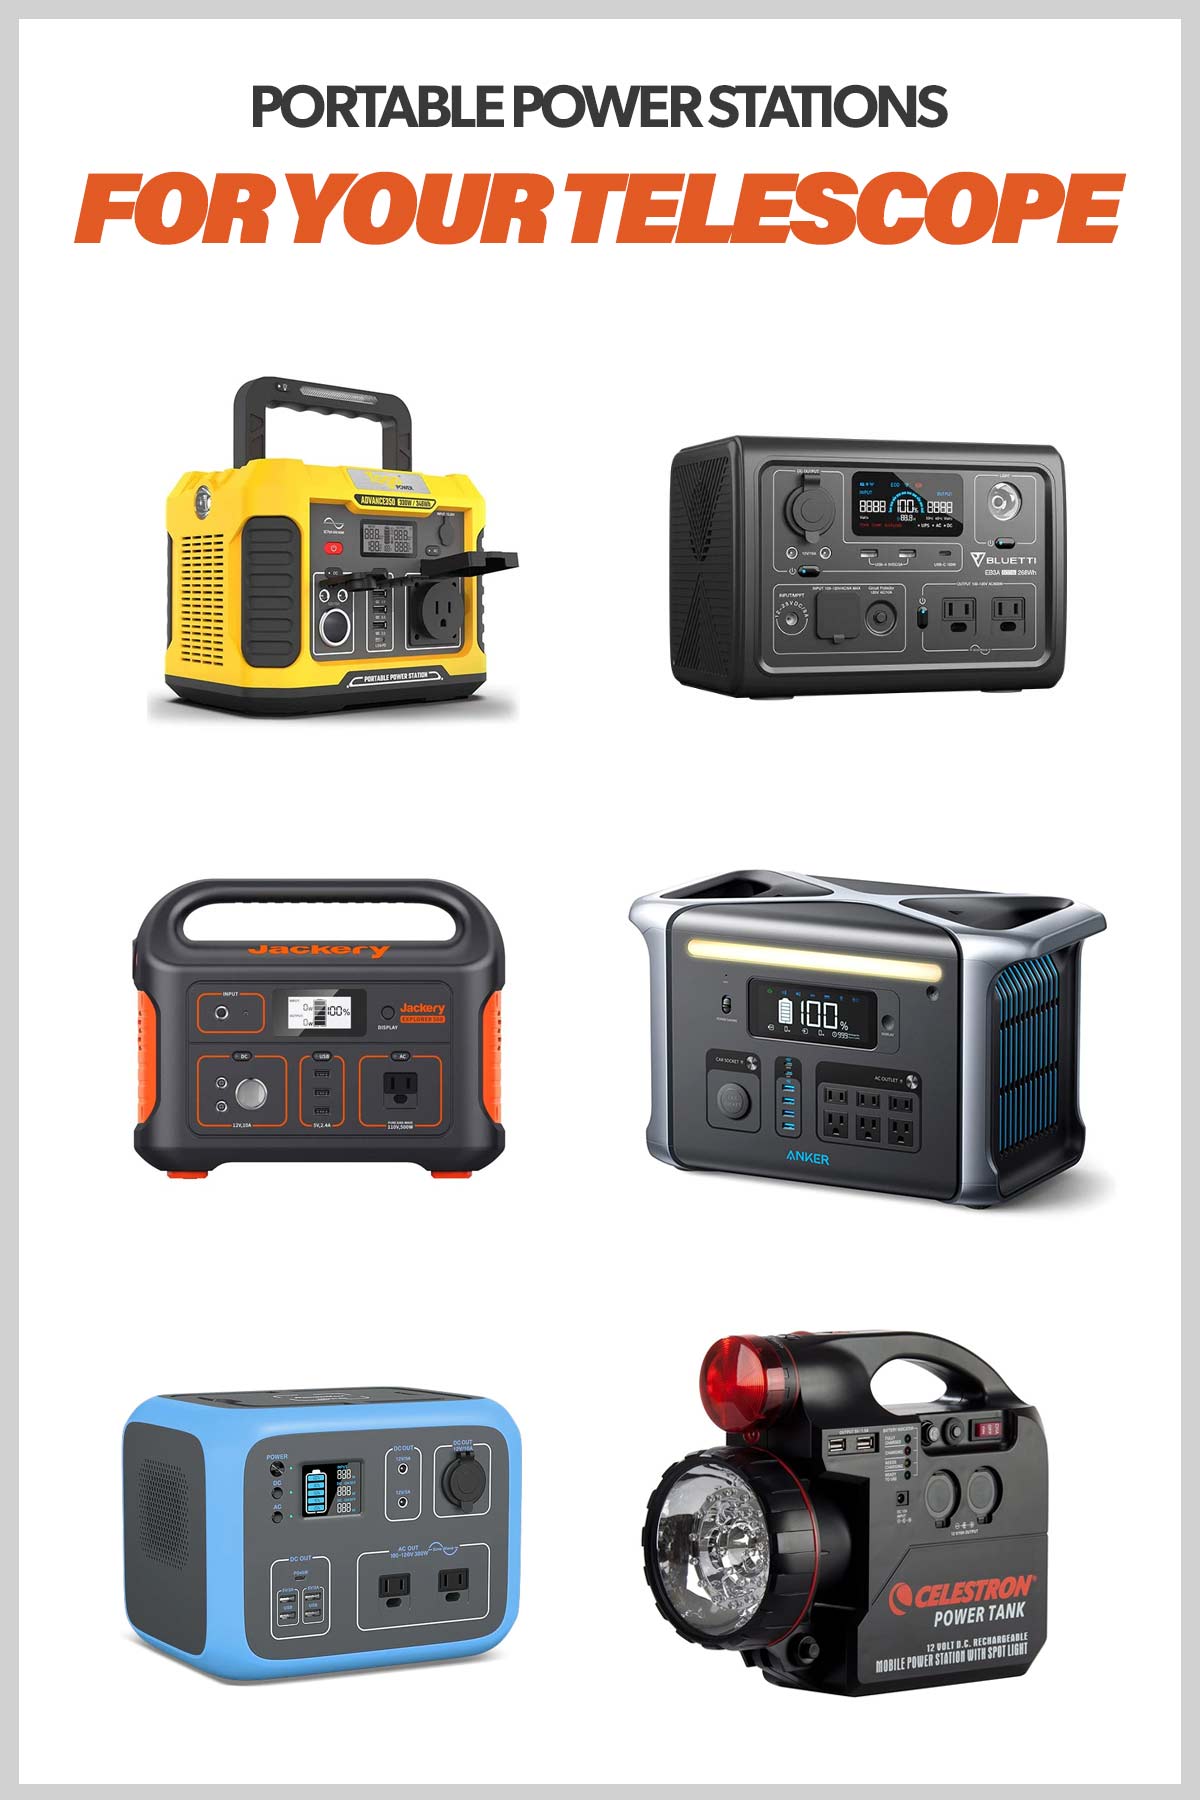
Anker 757 PowerHouse
I tested Anker’s flagship 1500 Watt power station to run my deep-sky astrophotography rig, the 757 PowerHouse. It’s pretty heavy (44 pounds), but the built-in handles make it a lot more manageable.
The 757 uses premium LFP (LiFePO4) batteries, and it can charge from 0% to 80% in about an hour. It’s a slick package made with an automotive-grade aluminum frame. It’s vibration and temperature resistant, and here’s an important one, it’s silent.
The Anker 757 PowerHouse is a 1500W (1228Wh) power station with LPF (LiFeP04) batteries and 13 ports to connect various devices.
There are 13 ports in total to power everything you need for your astrophotography imaging rig. There is 1 “car-socket style” DC port which you might use for your computerized telescope mount.
I still use a DC connection for my Sky-Watcher EQ-6 Pro equatorial mount, so I was pleased to see it there. The rest of my astrophotography equipment is powered by the AC and USB outputs on the power station.
I like to plug in things like a 12V 4A power supply for my ASIAIR Plus, or Celestron NexStar 8SE into the AC output ports. The USB-A ports are perfect for my USB-powered dew heater bands, although you’ll need to make sure that you have long cords to reach the power station from the objective of the telescope.
Those of you with laptops, cooled dedicated astronomy cameras, and autofocusers will have more than enough power to play with for about 2 straight nights (depending on usage and temperature).
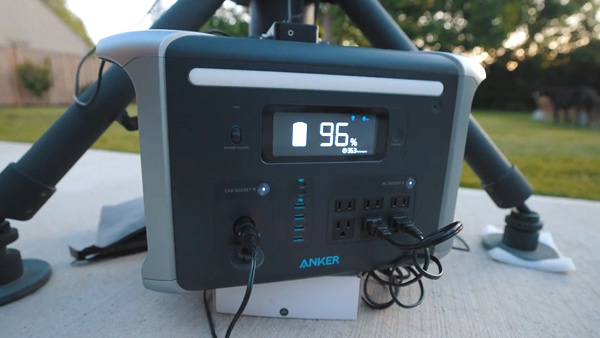
When running an advanced astrophotography setup including my Sky-Watcher EQ8-R Pro mount, cooled camera, and dew heaters, the 757 PowerHouse had 45% power left after 1 full night.
One thing I should note – if you’re using the power station to power your rig, do not use “power-saving mode”. This is designed to turn off when your device is fully charged, which is not applicable when powering your equatorial mount for an entire night.
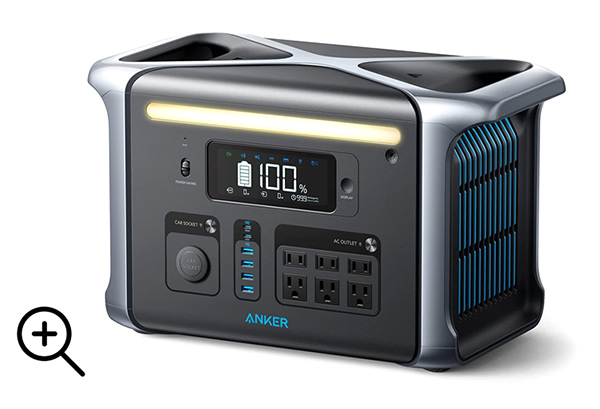
Anker 757 Power Station Specs
- Rated Capacity: 51.2V 24000mAh / 1228.8Wh
- AC Input Voltage: 100-120V~ 12A Max, 50Hz / 60Hz
- AC Input Power (Charging): 1000W Max
- AC Input Power (Bypass Mode): 1440W Max
- XT60 Input: 11-30V⎓ 10A (300W Max)
- USB-C Output 1: 5V⎓3A/ 9V⎓3A/ 15V⎓3A/ 20V⎓3A 20V⎓5A (100W Max)
- USB-C Output 2: 5V⎓3A/ 9V⎓3A/ 15V⎓3A/ 20V⎓3A (60W Max)
- AC Output (Bypass Mode): 100-120V~ 12A Max, 50Hz/60Hz, 1440W Max
- AC Output (Inverter Mode): 110V~ 13.64A, 50Hz/60Hz, 1500W Max
- USB-A Output: 5V⎓2.4A ( 2.4A Max Per Port )
- Car Charger Output: 12V⎓10A
- Discharging Temperature: -4°F-104°F / -20°C-40°C
- Charging Temperature: 32°F-104°F / 0°C-40°C
The light bar is handy to have when you’re off-grid, and I am happy to see that it is a warm color temperature and that it is soft. A lot of the lights on portable battery packs use hyper-white, blinding LEDs. This one is a warm, orange color.
However, I wish that there was a red light option to protect your night vision even better. I also wish that clicking the display button for a second time (when it’s on) turned it off, but it doesn’t. So, you may want to cover this up with tape if you are at a star party or a gathering where any amount of light needs to be shielded.
The manual states that the operating temperatures should be between 32 and 100 Fahrenheit – or 0 – 40 Celsius. That definitely puts a limit on the times of year you can use this power station, and it’s something to consider.
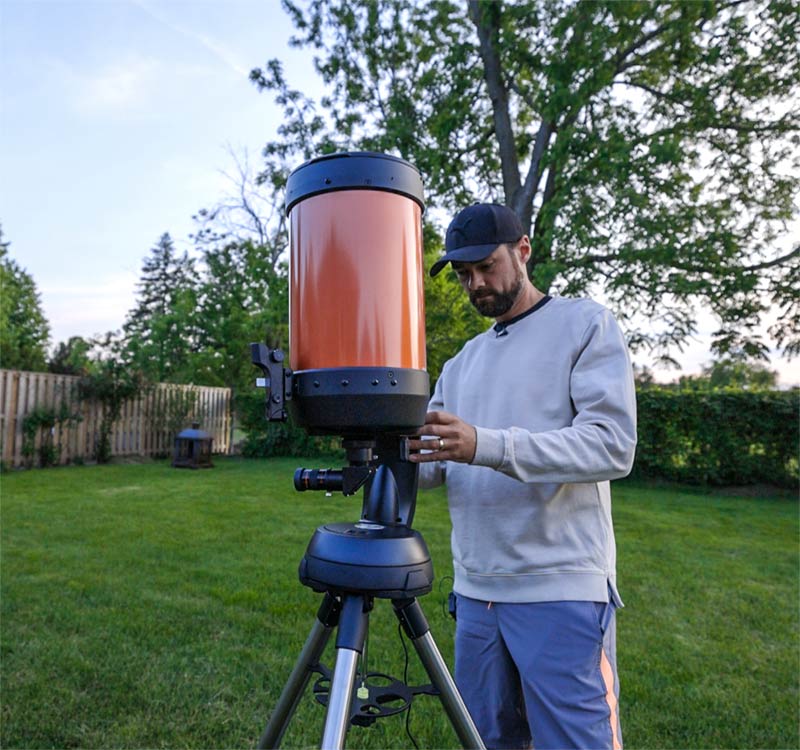
I use a portable power station to run my Celestron NexStar 8SE while camping.
Smaller Options for Astrophotography
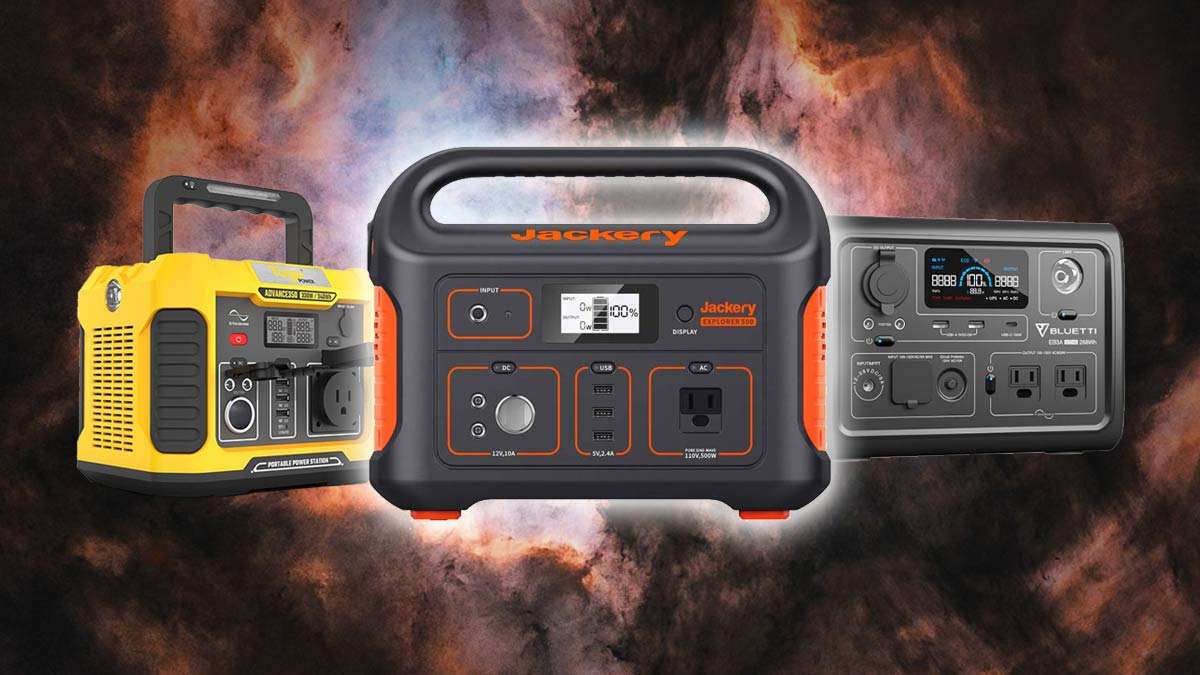
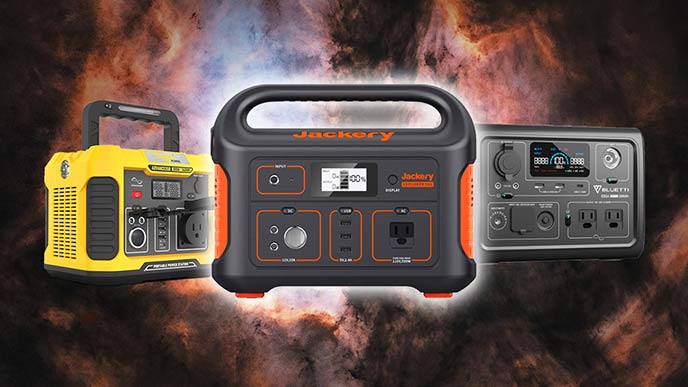
Jackery Explorer 500
If you’re on a budget and prefer to keep your power station light and portable, the Jackery Explorer 500 Portable Power Station is a great option to consider. This power station weighs just 13 pounds and is one of the lightest and most portable rechargeable lithium battery generators on the market.

Jackery Explorer 500
The Jackery Explorer 500 has a 518 watt-hour (24Ah, 21.6V) lithium-ion battery pack and a pure sine wave inverter. It includes 1 AC outlet, 3 USB-A ports, 2 DC ports, and 1 car socket. Jackery also offers a smaller version with less wattage (Explorer 240) for maximum portability.
Bluetti EB3A Solar Generator
The Bluetti EB3A is another portable power station to consider. This one only weighs 10 pounds, yet it has a 268.8Wh capacity and features an impressive 9 output ports. This unit was named the “Best value portable power station” on CNET’s list of Best Portable Power Stations.
This power station can be charged using the optional Bluetti solar panel, and even has a dedicated mobile app to monitor battery levels and output information. The Bluetti EB3A is an impressive unit that I hope to experience firsthand in the future.

Bluetti EB3A
If you need a lot of power, have a look at the Bluetti AC200P. This monster weighs 60 pounds and offers a whopping 2000 watts of power!
Togo Power Advance 350
The Togo Power Advance 350 was specifically designed for charging laptops, mini-cooler, drone, and other outdoor electronics. With 330W, it has more than enough power to handle running your astronomy gear for an entire night.
The AC pure Sine Wave outputs will provide clean power to your devices. It features 8 output ports in total, including 2 handy 12V 10A DC ports for powering your astrophotography devices like the ZWO ASIAIR, and/or dedicated astronomy camera.
This unit can be charged using a solar panel in about 5-8 hours on the road, and also features a 10w wireless charging area for your smartphone.

Togo Power Advance 350
Final Thoughts
There have never been so many great portable power stations available to choose from. The price, wattage, and the number of ports on these units vary widely. The Anker 757 PowerHouse is an excellent choice, in my opinion, if you’re willing to pay extra for a heavy-duty power station.
The car battery booster-style packs I purchased from the hardware store in the past, were a huge letdown. All of them would hold less and less of a charge over time, and would unexpectedly shut off in the middle of an imaging session. Thankfully, portable power stations have come a long way since then, and are much more reliable.
I know that a lot of you have built your own DIY power supply consisting of a marine battery, and an inverter. If you enjoy that type of thing (and know what you’re doing), by all means, go for it. You’ll likely save some money and get to work on a fun project.
If you are more comfortable in the office than in the shop (like me), one of the many fantastic pre-built portable power stations is likely a better fit, and worth the added cost.
Be sure to choose a unit that has dedicated output ports for the astrophotography equipment you use most, and that it can reliably power your rig for at least 1 entire night before requiring a recharge.
For now, I’ll continue using the Anker 757 PowerHouse on my astrophotography and camping adventures, and plan on getting a lot of use out of it for several years. I hope that this article was useful to you and that you have a better understanding of the options available in 2022.
Even More Options to Consider
Here is a list of options provided by the AstroBackyard community on YouTube and Facebook:
Related Posts

Share This
Related Tags
[ad_2]
Source link