[ad_1]
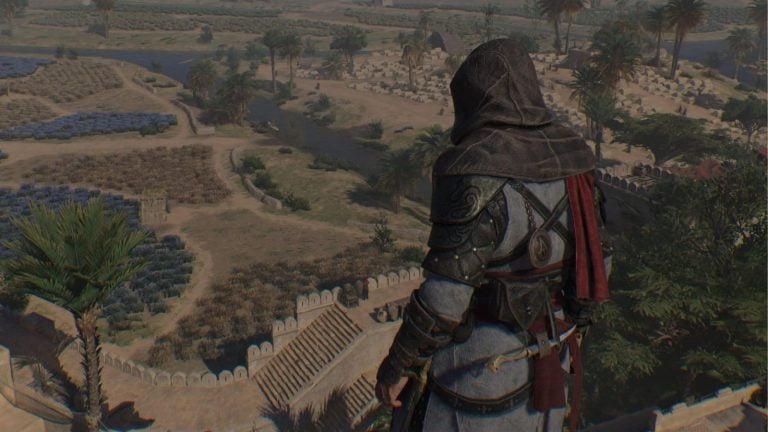
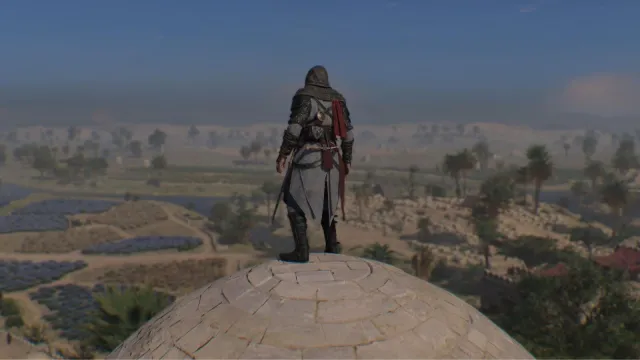
If you want to take stunning shots of Assassin’s Creed Mirage’s gorgeous scenery, then Photo Mode is what you need.
Like any in-game Photo Mode, Assassin’s Creed Mirage offers users an extensive range of customizable options to take the perfect pictures. Looking to find Basim’s happy-go-lucky side? Want to immortalize Baghdad’s stunning vistas? Then you need to be using Photo Mode. Here’s how to use it and all the options available.
How to access Photo Mode in Assassin’s Creed Mirage
You can use Photo Mode pretty much from the time you get playable access to Basim in Assassin’s Creed Mirage, and this can be done by pressing L3 and R3 simultaneously on PlayStation, LS and RS on Xbox, or F3 on a PC keyboard.
Once you’ve completed this action, the gameplay will immediately freeze. The game will then give you an abundance of options to choose from to customize your photo however you want.
How to take photos in Assassin’s Creed Mirage, options explained

If you’ve never used Photo Mode in Assassin’s Creed Mirage or any other game and need some tips on all the customization options, let us help you out, as I understand it can be overwhelming.
Camera options
Depth of Field
A classic technique that allows you to control the clearness of the picture’s depth. For instance, if you just want the subject at the front to be crisp and the background to be a blur, you can do so.
Brightness and contrast options
Exposure
Exposure simply determines the amount of light in your picture. It allows users to increase and reduce the amount of natural light affecting the image, and lets you tweak it to suit your vision.
Contrast
If you want your picture to have a darker tinge or just a full-on removal of color, experimenting with the contrast may give a more desirable result.
Temperature
Like its namesake, temperature lets you control the hot and cold nature of the still. Want your colors to pop with more intensity? Then add some heat—and vice versa.
Tint
Similar to temperature, tinting makes it so certain colors are more catered towards in an image and can even favor one color completely.
Saturation
The art of saturation takes the existing colors of a photo and tweaks its vibrancy and intensity, meaning you can take an already glowing picture and turn the volume up to 10.
Noise
Noise can give the image a grainy quality, making it more unconventional and artistic. Obviously, the more you add, the more it will resemble TV static.
Bloom
If there’s a predominant light source visible in your picture, such as the sun or a switched-on light, then bloom can emit a blurry effect around that light, amplifying the source.
Fog
One of the most easy-to-understand photo mode features. Fog incorporates a fog-like effect and artificially makes a photo look like it’s been weather-hit. Obviously, it can add a spooky or chilling vibe to the scene.
Filter Options
Like with Instagram, you can add a wide variety of filters to set the mood and add a whole new twist to your framed image.
Frame options
Vignetting
An ideal technique for framing a picture. Vignetting creates a dark, faded border around the outer perimeter, and more significant vignetting can obscure the image and put more of a focus on what you can see.
About the author
[ad_2]