[ad_1]
When working in PixInsight you probably make use of Previews a lot. And I really mean a lot! Most processes can take quite a bit of trial and error to get the right settings and fine tune them for the optimal result. We run these processes on previews so that it is much faster to see the effects compared to running it on the complete picture. Furthermore, we can use multiple copies of the same preview and apply the process with different settings so we can really compare the results of our fine tuning in great detail.
In this post I want to give you some quick tips for working with previews in PixInsight so that you may use them more efficient and convenient.
Name your previews
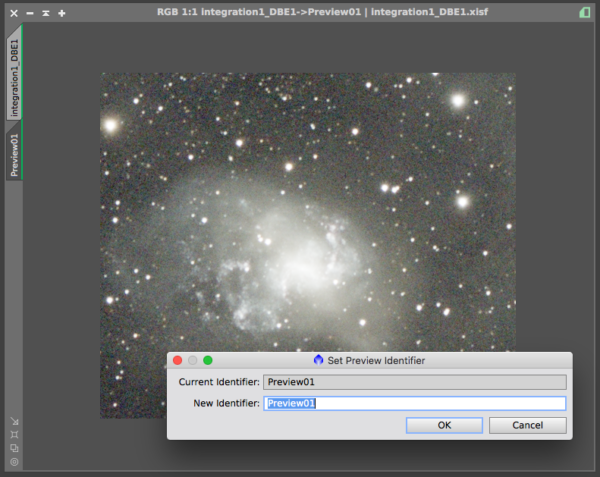
I must admit I don’t always do this myself, but I ran into problems because of it more than once. Nothing more annoying than to select the wrong preview for a process. Happens to me quite frequently in ColorCalibration for instance. It helps to consistently adjust the identifiers of your images and previews. Just double click the preview tab in the image side bar or right click and choose ‘Identifier’ and give the preview a descriptive name.
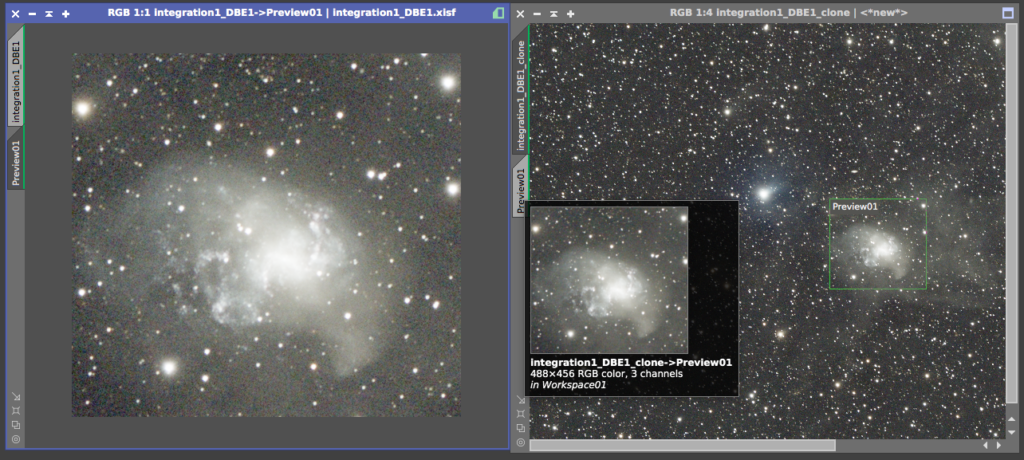
Cloning previews
In order to compare different operations on the same preview we need to create copies of the same preview. There are a two ways of doing this;
– right click the preview and choose ‘clone preview’
– drag the preview tab within the same sidebar
Please note that if you copied a preview which had some process applied to it, the new preview won’t have this process applied. So this way you can compare the ‘before’ and ‘after’ by simply comparing these two previews. Apply another process with different settings to compare the effect of the changed settings.
Copying zoom level
Note that the zoom will not be cloned and will be reset in the new preview.
In order to copy the zoom level, simply drag the preview tab from the preview with the zoom level you want to copy on top of the other preview tab.
Reset preview
If I ran a process on a preview which didn’t give good results I used to copy the preview to get a new one without a process applied and deleted the old one. This is quite inconvenient and actually there is a much simpler way to deal with this; you can simply reset the preview; hit Ctrl + R (or Cmd + R on mac) or right click on the preview tab and choose ‘reset’.
Cycle through previews quickly
In order to compare 2 or more previews you probably click the preview tabs and try to spot and judge the differences. When you do this by clicking the preview tab you (subconsciously) are looking away from the preview image itself for a short while to make sure you click the in the right spot on the preview tab. To prevent this and make it more easy to ‘blink’ the previews, simply use the keyboard short cut: Ctrl -> and Ctrl and Cmd Create new image from preview
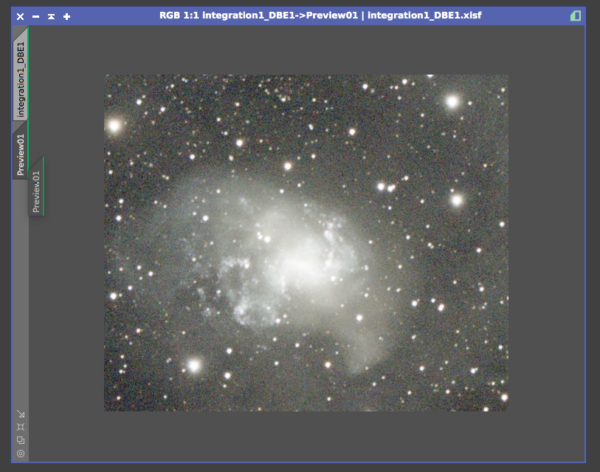
Simply drag the preview tab outside the sidebar of the image you are working on. A new image will be created with just the preview. A very easy way to make different crops of the same image for instance!
Duplicate preview on another image
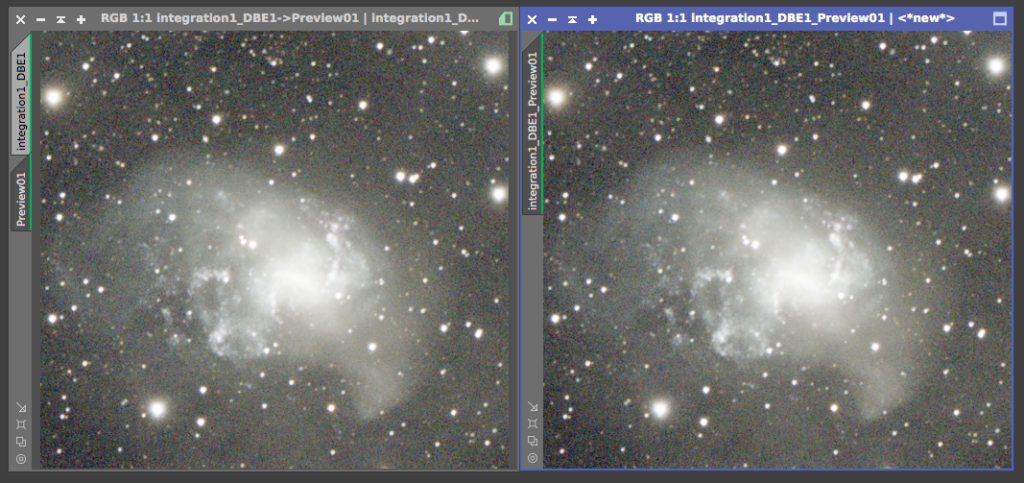
Sometimes you want to compare the same preview on different images. I use this to compare stacking results sometimes or maybe you want to compare the results of different settings on a preview by looking at them side by side at the same time instead of ‘blinking’ through the previews. It can be really annoying to get exactly the same preview on the other image. But again, there is a really easy way to do this; simply drag the preview tab from the sidebar of one image to the sidebar of the other image.
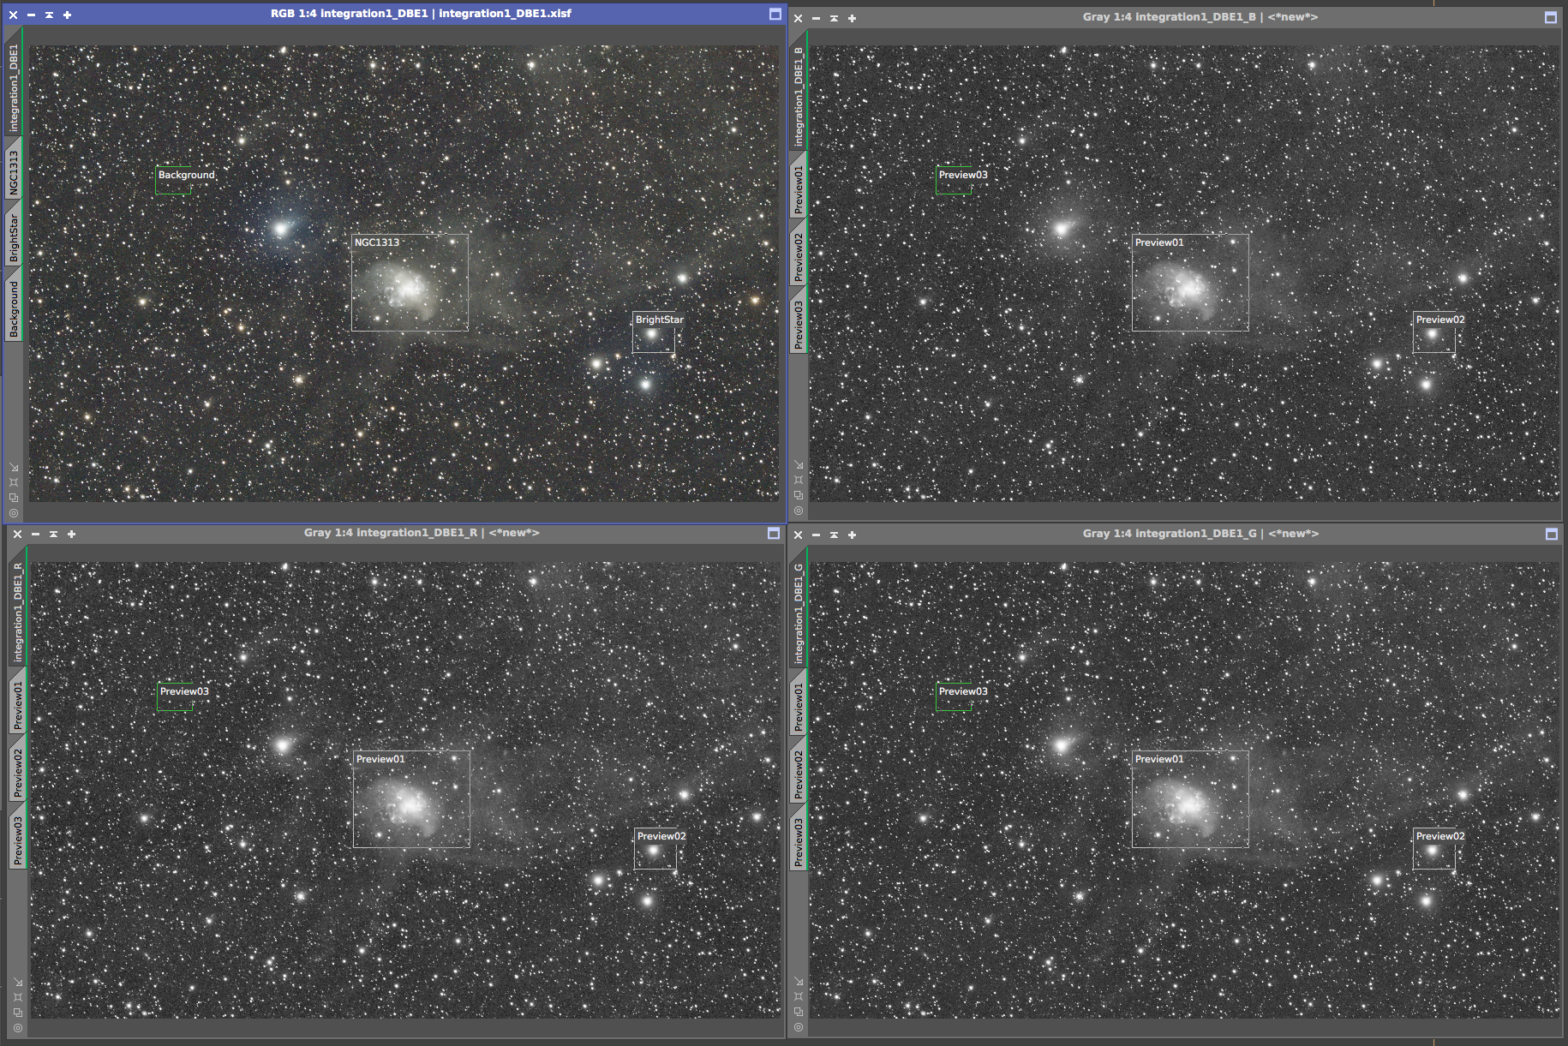
Duplicate multiple previews on another image
You might want to copy all previews on one image to one or more other images. For instance if you want to compare the previews of luminance with R, G and B versions of the image. You can drag an drop the previews like explained before, but this is tedious.Luckily there is a script that can do this for you in 1 go; PropagatePreviews. You can find it under Script -> Utilities -> PropagatePreviews.

Make sure you have selected the image that contains the previews you want to copy when opening the script. Simply check the previews you want to copy and select the images you want them to copy to. Unfortunately it doesn’t copy the Identifier you used on the previews.

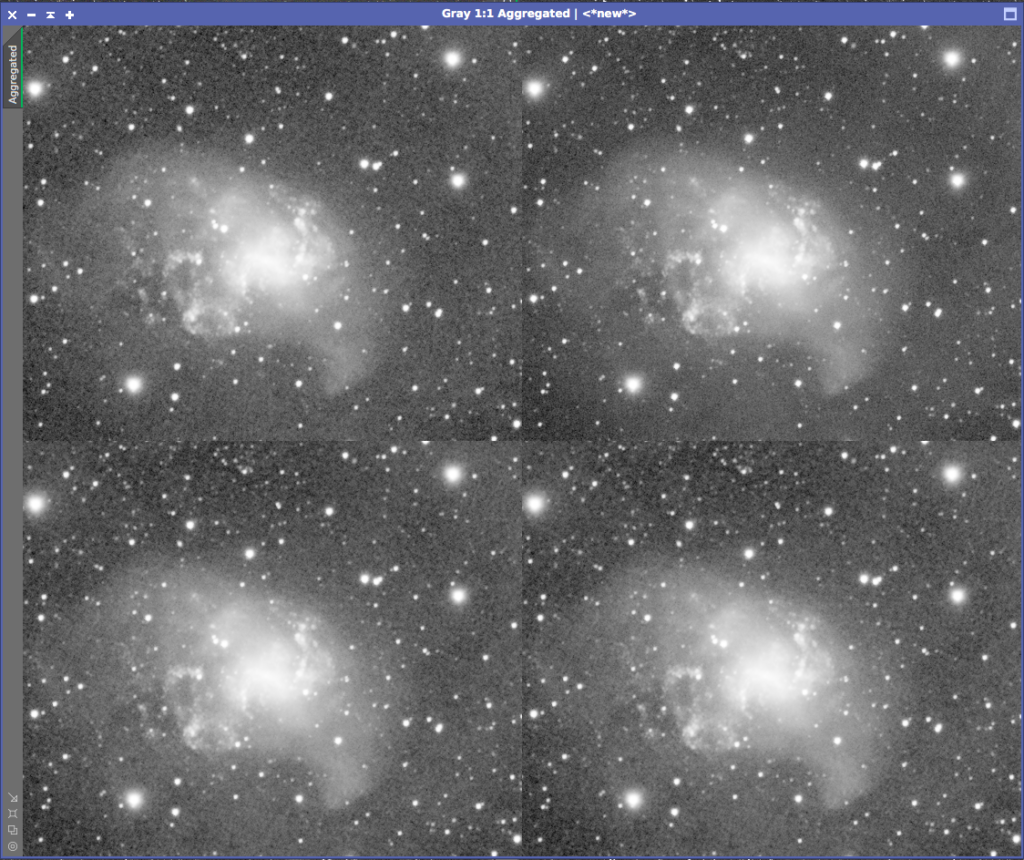
Aggregate previews in one image
When you want to show the comparison of different previews or want to check the effects of different settings side-by-side you can aggregate multiple previews in one new image. Go to Script -> Utilities -> PreviewAggregator.
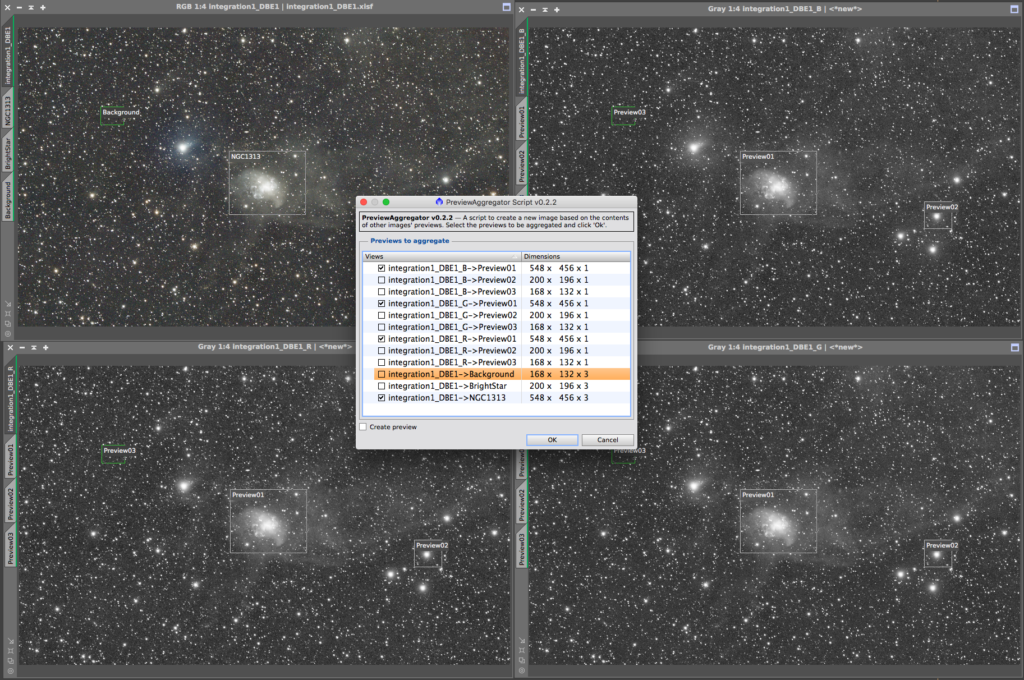
In the script window you can simply select the previews you want to aggregate in the new image.
I hope you found these tips on working with previews in PixInsight helpful. Please let me know in the comments below if I forget some useful preview tips or if you have any questions.

[ad_2]