[ad_1]
Above: watch our video guide
You can shoot anything in black and white, but the skill lies in ‘seeing’ your subjects in shades of grey rather than being distracted by colour, and it’s much harder than it seems.
Colours are, of course, converted into shades of grey, which means that you don’t see the contrasts in black and white that colours provide. Instead, black-and-white photography is much more dependent on lighting, contrast, shapes and textures. This also makes it easier to produce powerful, graphic compositions.
But while it’s perfectly possible to just go out and start shooting black and white photography, you can learn and understand this medium a lot quicker in a controlled situation with a simple still life setup, where you can arrange your subject, the lighting and the composition bit by bit.
Read more: The best camera for black and white photography
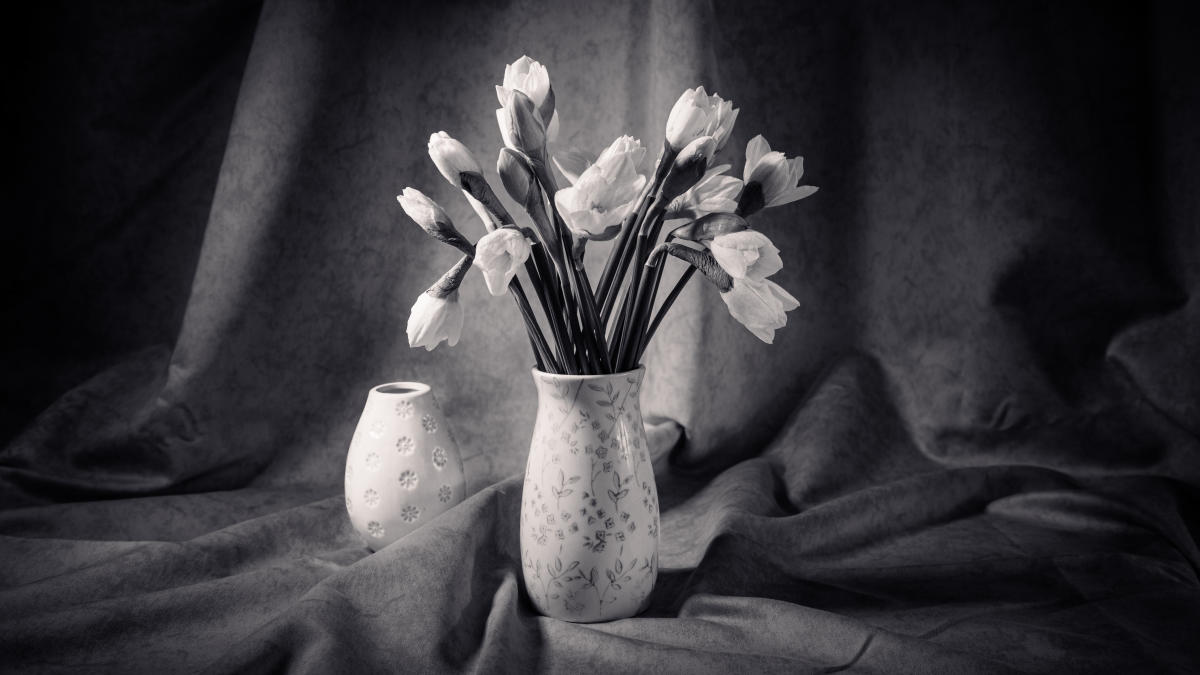
Our setup was created on a kitchen island, with a large sheet of material taped to a wall cabinet and draped over the island. Our subject is a little vase of narcissi and the lighting is provided by natural window light to the right and a Rotolight Neo LED panel to the left, though you could also use a reflector instead. This little setup took no more than half an hour to fix up, followed by about an hour of shooting and half an hour of editing in Lightroom to achieve the finished image.
The great thing about a still life setup like this is that you can get everything just how you want it while being able to see the effect live. Just moving the light a couple of inches or a few degrees can make a huge difference. If you use loosely hung material like we did, you can also spend time adjusting the creases and the folds to pick up the light and help create textures and contrast.
The real secret, though, is to use your Canon’s Monochrome Picture Style to see your subject in black and white on screen as you shoot. Even if you edit a Raw version later, this black-and-white preview is invaluable in helping you see the effect of the lighting and the composition. You will see exactly what works and what doesn’t work when shooting in monochrome.
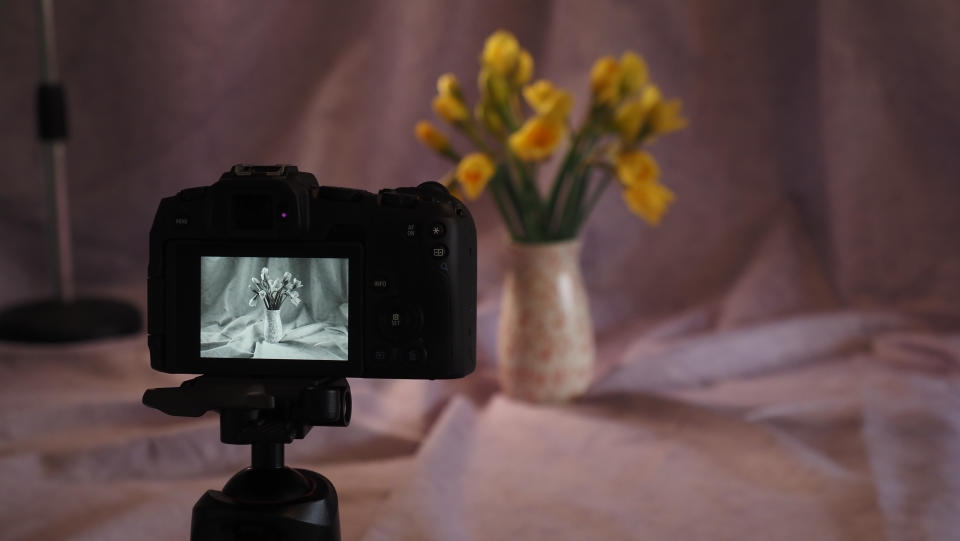
1. Mono picture style

Visualizing a full-color world in black and white is not easy, even for experienced photographers. This is where your Picture Styles come in. With the Monochrome Picture Style, you can see your scene in B&W using the Live View display or EVF.
2. Shoot RAW and JPEG

Canon’s Picture Styles are applied to in-camera JPEG images. Sometimes these will be good enough quality on their own, but it’s often best to have the Raw image for more advanced editing – so set your camera to capture both Raw+JPEG files.
3. Use Live View to compose
You can use your Canon camera’s Info button to cycle through various display modes, and the histogram display, for example. Cycle through these modes until they’re all switched off so they don’t distract you when you’re composing on screen.
4. Choose a preset or profile
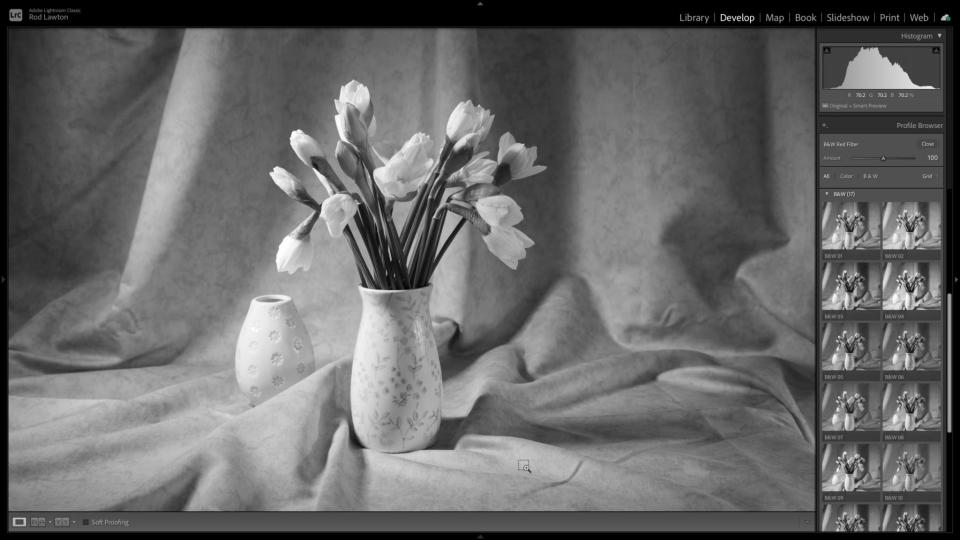
Capturing the image is only half the job – now you need your digital darkroom! This is Lightroom Classic, but the same tools are available in other photo editors. As a starting point, try out the different black and white presets or profiles on offer, as they can get you closer to the right ‘look’.
5. Boost the contrast

Almost all classic black and white imagery was enhanced with ‘dodging and burning’ in the darkroom, making different areas of the picture lighter or darker to improve the contrast and composition. In Lightroom you can use the Adjustment Brush to ‘burn in’ areas that are too light, for example.
6. Tone your mono photos

A straight black-and-white shot can look amazing, but it can look even better with a subtle toning effect. Forget about sepia toning because it’s been done to death; instead, try split toning (this is Lightroom’s Colour Grading panel) to give shadows a blue tinge and highlights a warmer tone.
PhotoPlus: The Canon Magazine is the world’s only monthly newsstand title that’s 100% devoted to Canon, so you can be sure the magazine is completely relevant to your system. Every issue comes with downloadable video tutorials too.
View Deal
These are the best cameras for portraits and the best portrait photography tips. You might also like the best photo editing software and the best photo-editing laptops.
[ad_2]