[ad_1]
Astronomers at the University of Washington were on the watch for “stars behaving strangely” when an automated alert from the Gaia survey showed Gaia17bpp. The survey data showed that this star had slowly brightened over a two and a half-year period.
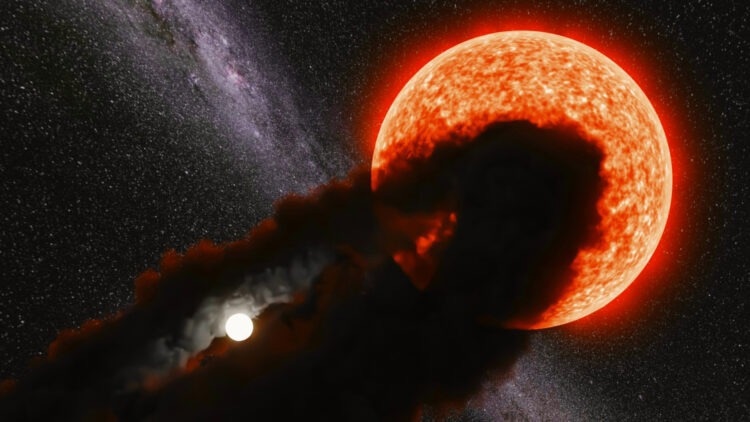
An artistic rending of the star Gaia17bpp being partially eclipsed by the dust cloud surrounding a smaller companion star. Image Credit: Anastasios Tzanidakis.
As Tzanidakis reported on January 10th, 2023 at the 241st meeting of the American Astronomical Society in Seattle, the sequel analyses denoted that Gaia17bpp itself was not getting altered. Rather, the star is partly part of a rare kind of binary system, and its evident brightening was the end of a year-long eclipse by a strange stellar companion.
We believe that this star is part of an exceptionally rare type of binary system, between a large, puffy older star—Gaia17bpp—and a small companion star that is surrounded by an expansive disk of dusty material.
Anastasios Andy Tzanidakis, Doctoral Student, Astronomy, University of Washington
Tzanidakis added, “Based on our analysis, these two stars orbit each other over an exceptionally long period of time—as much as 1,000 years. So, catching this bright star being eclipsed by its dusty companion is a once-in-a-lifetime opportunity.”
Some detective work had to be done by Tzanidakis and Davenport, a UW research assistant professor of astronomy and associate director of the DiRAC Institute, respectively, as the Gaia spacecraft’s observations near the star only went back to 2014.
Initially, they stitched side-by-side Gaia observations of the star with observations by other missions stretching back to 2010—such as Pan-STARRS1, WISE/NEOWISE, and the Zwicky Transient Facility.
Such observations joined with the Gaia data showed that Gaia17bpp dimmed by around 4.5 magnitudes—or approximately 63 times. The star stayed dim for almost seven years, from 2012 to 2019. The brightening revealed by the Gaia survey was the end of that seven-year dim.
Similar dimming behavior was not shown by any other stars next to Gaia17bpp. Via the DASCH program, a digital catalog of over a century’s worth of astrophotography plates at Harvard, Tzanidakis and Davenport looked at observations of the star extending back to the 1950s.
“Over 66 years of observational history, we found no other signs of significant dimming in this star,” stated Tzanidakis.
The two researchers think that Gaia17bpp is part of a unique type of binary star system, with a stellar companion that is very dusty.
Based on the data currently available, this star appears to have a slow-moving companion that is surrounded by a large disk of material. If that material were in the solar system, it would extend from the sun to Earth’s orbit, or farther.
Anastasios Andy Tzanidakis, Doctoral Student, Astronomy, University of Washington
During its eclipse, the hidden companion was blocking around 98% of Gaia17bpp’s light.
For the past few years, a few other similar “dusty” systems have been discovered, most remarkably Epsilon Aurigae, a star in the constellation Auriga that has been eclipsed for two out of every 27 years by a comparatively dim and huge companion.
The system that Tzanidakis and Davenport found is special amongst such dusty binaries because of the eclipse’s length—at almost seven years, it is considered to be the longest.
For Epsilon Aurigae and similar systems, the identity of the dusty companion is a point of discussion. Limited preliminary data show that Gaia17bpp’s companion could be a white dwarf star. The source of its debris disk is still a secret.
This was a serendipitous discovery. If we had been a few years off, we would’ve missed it. It also indicates that these types of binaries might be much more common. If so, we need to come up with theories about how this type of pairing even arose. It’s definitely an oddity, but it might be much more common than anyone has appreciated.
Anastasios Andy Tzanidakis, Doctoral Student, Astronomy, University of Washington
The study’s additional group members are Eric Bellm, a UW research assistant professor of astronomy, and David Wang, a UW graduate student in astronomy.
Source: http://www.washington.edu/
[ad_2]