
[ad_1]
How to Hang and Care for Photographic Wall Art
Photographic wall art can transform a space. Works can tie a room together, pique the interest of guests, inspire creativity, and add a bit of flair and class to your home. All these benefits do not come freely, however. Once you purchase a piece of photographic art, you become its curator and have a responsibility to the piece to care for it and display it properly. Large pieces of wall art are not merely decorative tools, but treasures in and of themselves. Below are some general tips on proper preservation and presentation of photo wall art, so that all your pieces get the treatment they deserve.

Elevate your home with Aaron Reed’s limited edition photography print, On Earth As It Is In Heaven, from his Newest Work Photography collection. Order yours today! Fine Art Limited Edition of 100.
Hanging & Displaying Your Art
The first consideration you should have with a large photographic work is where to put it and how to get it up there. This can take more effort and be more expensive than you might think, so make sure you’re in love with the work you choose and have the space to put it first.

Elevate your home with Aaron Reed’s limited edition photography print, Silken Stone, from his American Southwest Photography collection. Order yours today! Fine Art Limited Edition of 50.
Positioning Your Artwork
Figuring out where to put a piece of art can be difficult, especially if you inhabit a smaller or busier space. Location is of the utmost importance, however, as a poorly placed piece can not only adversely affect the artwork itself, but the whole flow of a room.
As a general rule, artworks should be hung so that their centers sit at eye level—something around 63 inches above the floor. Too high or too low, and people will need to contort themselves or stand at a distance to see the whole thing. If you’re hanging a photograph above a mantle or piece of furniture, a buffer zone is necessary to avoid awkward spacing and crowding. Something just shy of 10 inches should be enough.
Another important consideration is how close to any windows a piece is. Sunlight can cause photographs to fade and the materials they’re printed on to break down. Indirect sunlight is usually fine, but shade is the best preservative.
Most importantly, hang your art in a place where it can be seen and appreciated. Tight spaces like hallways and stairways are to be avoided, and make sure things like furniture and other pieces of decor don’t obscure your piece.
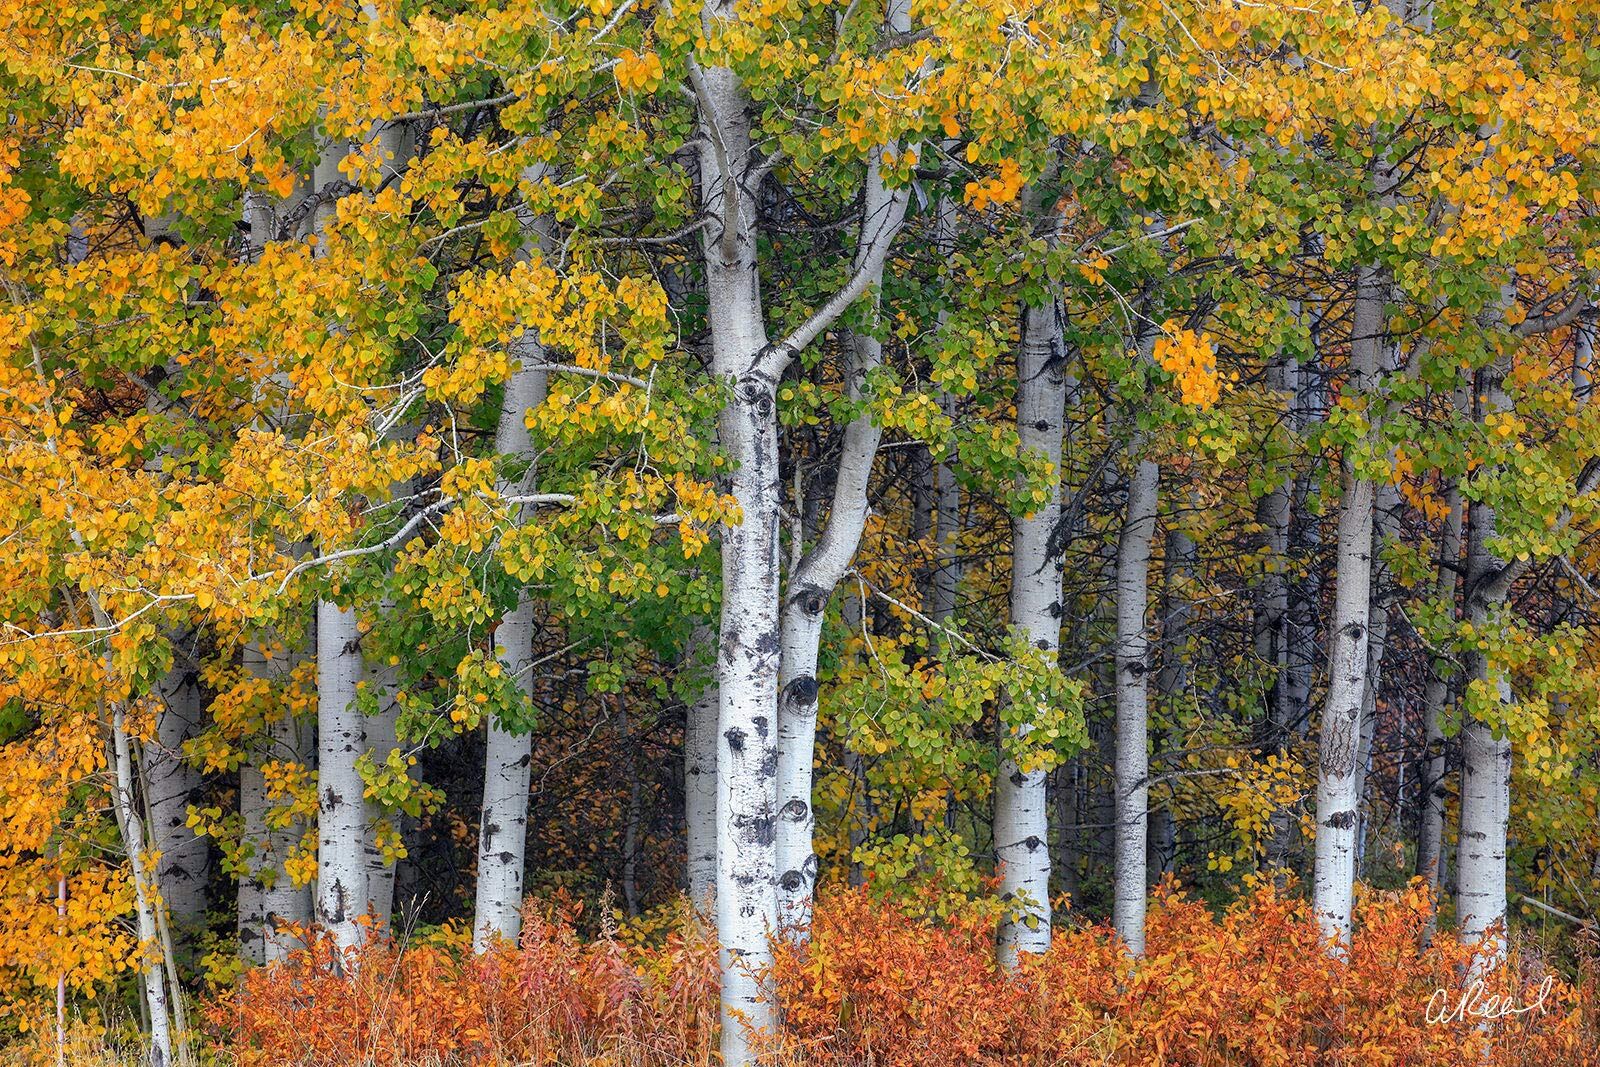
A small patch of aspen trees displaying beautiful autumn foliage with red undergrowth located near Tumwater Canyon in Leavenworth, Washington. Fine Art Limited Edition of 50.
Using French Cleats
There are many ways of hanging photographic wall art. Some methods are better than others and many kinds of prints can only be hung certain ways.
The French cleat system, for instance, is ideal for works which feature some sort of rear-facing frame or lip. Floating frames are a good example of this, as their edge tends to protrude slightly from the back of the canvas itself. Bare canvasses which have their wooden frames exposed are also quite suitable.
French cleats are rectangular blocks of wood where one edge is cut at a slant, creating a sort of wedge shape. These pieces are fastened to a wall so that the tapered edge faces up and away from it. These edges are what make contact with the back frame, and friction holds the work close to the wall.
French cleats are convenient for their simple design and basic material construction. Anyone with scrap wood, a drill, and some screws or bolts can make a set. To set them up, simply mark on the target wall the places where the inner corners of the rear-facing frame will meet and drill the cleats in so that they align with the marks. As cleats require a little bit more wall drilling than other systems, always be sure to avoid hitting studs, and make sure your cleats are level with each other.

Elevate your home with Aaron Reed’s limited edition photography print, Morning Fire, from his Newest Work Photography collection. Order yours today! Fine Art Limited Edition of 50.
The Hook of D-Clips
Another popular method of hanging larger works is with D-clips. These are small, hinged loops (shaped like the letter D) fastened to the back of a frame, usually on the left and right sides.
D-clips are meant to be looped onto picture hangers nailed into the wall. These are the classic brass fixtures with a flat hook on one end and a loop on the other, punched through with a nail hole.
D-clips can be considered somewhat safer than French cleats because they use more than friction to keep the artwork in place. It is, however, more difficult to get a piece to be flush with the wall using this method, since the picture hangers and the D-clips must all extend past the terminus of the artwork itself.
The D-clip method is also commendable for requiring very little hardware: four pieces not including the pre-installed clips themselves. Getting the picture hangers perfectly aligned and level can be quite difficult, however, so it’s best to have good measuring tools and a helper.

Elevate your home with Aaron Reed’s limited edition photography print, Morning Glory, from his Newest Work Photography collection. Order yours today! Fine Art Limited Edition of 50.
Hanging By A Wire
The final hanging method for big photo artworks is with picture wire. This is perhaps the most ubiquitous and popular means of hanging wall art, both big and small.
Wire hanging works by running a piece of thin coiled wire between the right and left sides of the back of an artwork. It can be attached to D-clips or fastened straight to whatever backing the work has. A picture hanger, nail, bolt, or screw is then driven into the wall and the wire hung on it.
Wire hanging requires even less hardware than the regular D-clip method, and because there is only a single pivot point, fine adjustments are much more easily made. One downside is that this method tends to cause artworks to lean forward on top, making the whole thing tilt downward. As well, the wall mount needs to be quite strong, since it bears all the weight, and larger works may be too heavy.
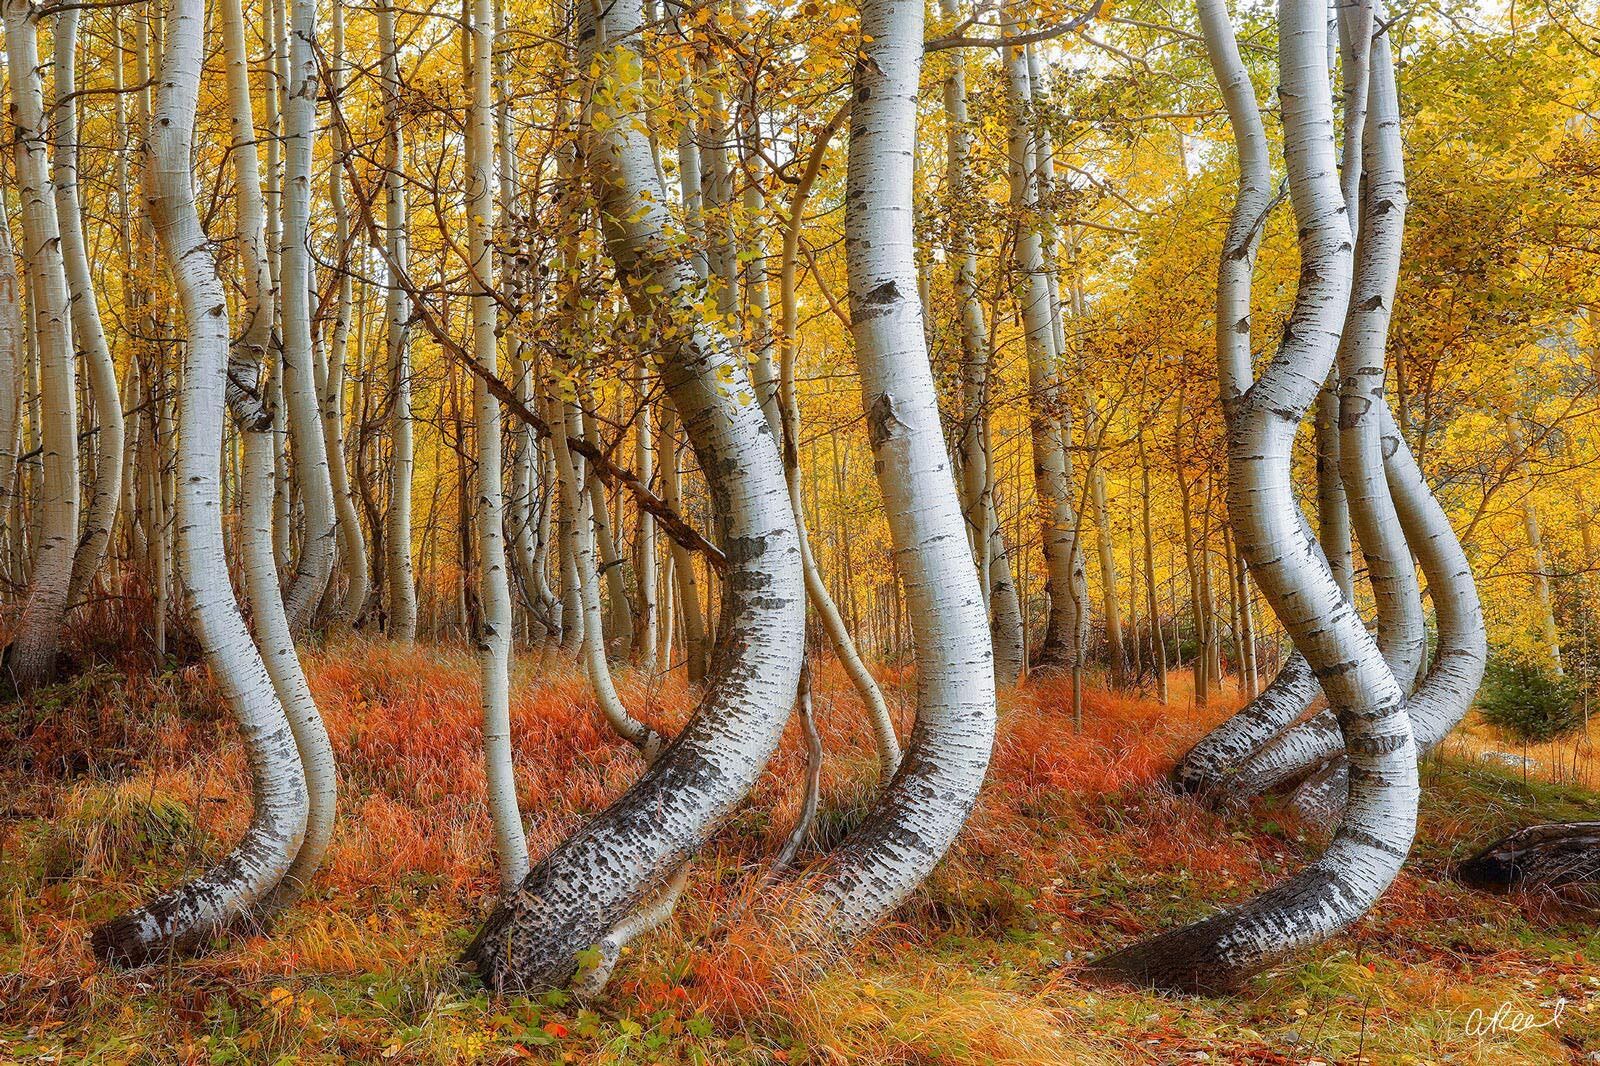
Avalanche or heavy snow pack during their early years showcases the determination of these unique aspen trees near Telluride, Colorado. Fine Art Limited Edition of 50.
Lighting Your Artwork
Once you’ve gotten your piece hung, you’ll need to figure out how to light it. There is a wide variety of lighting fixtures and techniques to choose from, and each will have a unique effect on how the colors and textures of a piece behave.
Natural Lighting
Sunlight is the baseline for all lighting, but is generally to be avoided for its ability to damage artworks. Indirect sunlight during the day can help save on electricity costs, but any kind of shade is going to make a piece of art less visible.
Artificial lighting is a much better route, but you’ll still tend to want to replicate the character of sunlight as closely as possible. The warmth or coolness of a light source is measured in Kelvin, and sunlight typically reaches about 5000K. For the most natural representations of color, all lighting should fall around this value.

Elevate your home with Aaron Reed’s limited edition photography print, Emerald Whispers, from his Newest Work Photography collection. Order yours today! Fine Art Limited Edition of 50.
Types of Fixtures
There are many types of fixtures which can be used to direct light at your piece, and each has its own advantages and disadvantages.
Ceiling sconces and other forms of lighting embedded in the roof above a work are subtle and illuminate a piece without distracting from it. Overhead lighting should strike the art at about a 30 degree angle in order to minimize shadows below the work and reduce glare and reflections. Making ceiling lighting hit a piece of wall art at this angle can be difficult, and installing new sunken fixtures can be a hassle.
Track lighting is easier to install, and can be aimed and directed. Several spotlights are attached to a metal rail and can be used to light both an artwork and other areas of a room. The main downside is increased visibility. Track lighting is a common element of interior design these days, but some might still want something less obtrusive.
Wall washers, on the other hand, sit on the floor or are attached to the wall itself. These can be visually interesting, but the size and angle of their beams are less easy to control. They tend to create odd shadows on artworks and be much more obvious than other kinds of fixtures.
Picture lights hang just above or are attached to the artwork itself. They spread light directly onto a piece from a close range, and as a result can fail to illuminate the whole field evenly. Nonetheless, they are an easy solution and have a classic look which many may find desirable.

Elevate your home with Aaron Reed’s limited edition photography print, The Storm, from his Newest Work Photography collection. Order yours today! Fine Art Limited Edition of 50.
Types of Light Sources
Equally important is the kind of light source your fixtures use. Some lights will look more natural, some will be brighter, and others better for the preservation of the art itself.
Incandescent bulbs have been the norm for decades, and offer a warmer, more personal glow to a work and a space. They are, however, far from energy efficient and often dimmer than may be desired.
Fluorescent bulbs are more eco-friendly and brighter, but with one big downside: UV radiation. This creates the same problem as direct sunlight, as UV rays can fade and damage artwork overtime. If you choose to go fluorescent, make sure the light source is far away and try not to have it on all the time.
Halogen bulbs create a perfect facsimile of sunlight without the harmful UV spectrum. They’re also powerful and easily able to illuminate even the largest of pieces. Unfortunately, these bulbs are also very hot, and with these and any type of bulb, it’s best to keep them at a distance from the artwork.
LEDs, or light-emitting diodes are, in most cases, the best way to go. As the technology behind them has advanced, LEDs are now able to rival halogen bulbs in terms of their similarity to sunlight, but without appreciable levels of heat. LEDs are also cheap and easy to position, making them both budget- and conservation-friendly. With LEDs it’s also easy to change the beam angle to suit the size of the artwork, and color temperature can be set to balance with other sources of illumination in a space.

Transform your space with Aaron Reed’s limited edition photography print, Diamonds In The Wind, from his Iceland Nature Photography collection. Order yours today! Fine Art Limited Edition of 50.
Go With The Flow
With all these considerations about mounting, positioning, and lighting, the overall message is flow. Where you put a piece, what kinds of decor it shares the space with, and how you allow viewers to look at a piece all have a profound effect on the impact of the art itself. Encompassing bold and intellectual abstract works, busy cityscapes, intimate portraits, and stunning scenes from the natural world, professional photographs can be some of the most beautiful works in the art world. Still, at the end of the day, it’s your job as owner and curator to show others exactly how and why a piece is special.

Transform your space with Aaron Reed’s limited edition photography print, Flowmotion, from his Iceland Nature Photography collection. Order yours today! Fine Art Limited Edition of 50.
[ad_2]