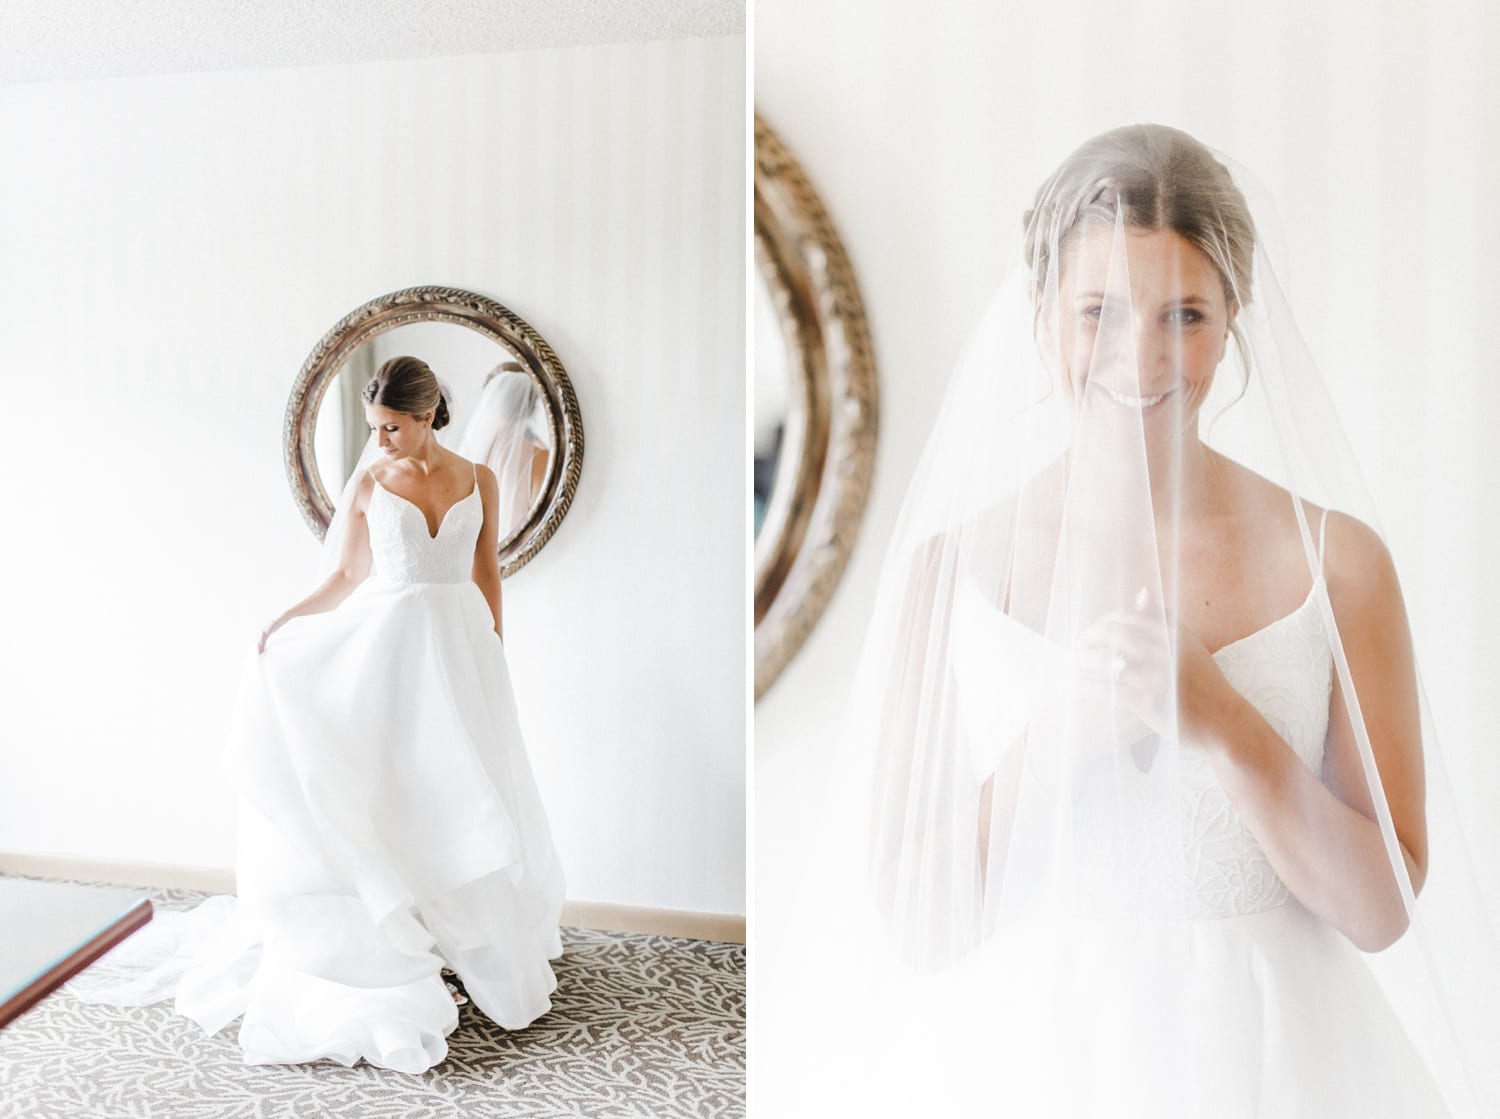
According to Fortune Business Insights, the global food service industry is set to reach a market value of $5,194.60 billion by 2029. Thus, now would be a great time to enter this business if you haven’t already. Given that the situation with COVID-19 is a lot better now, opening a restaurant or giving your existing one a fresh look is very much feasible.
If you are a restaurateur or want to become one, you should know that dining out is one of the most popular activities in the world. There are millions of people who visit restaurants every day.
According to the U.S. Bureau of Labor Statistics (BLS), an average American household spends about $3,500 on dining out every year. Thus, it makes sense to make your restaurant stand out so that you can attract more customers to your establishment.
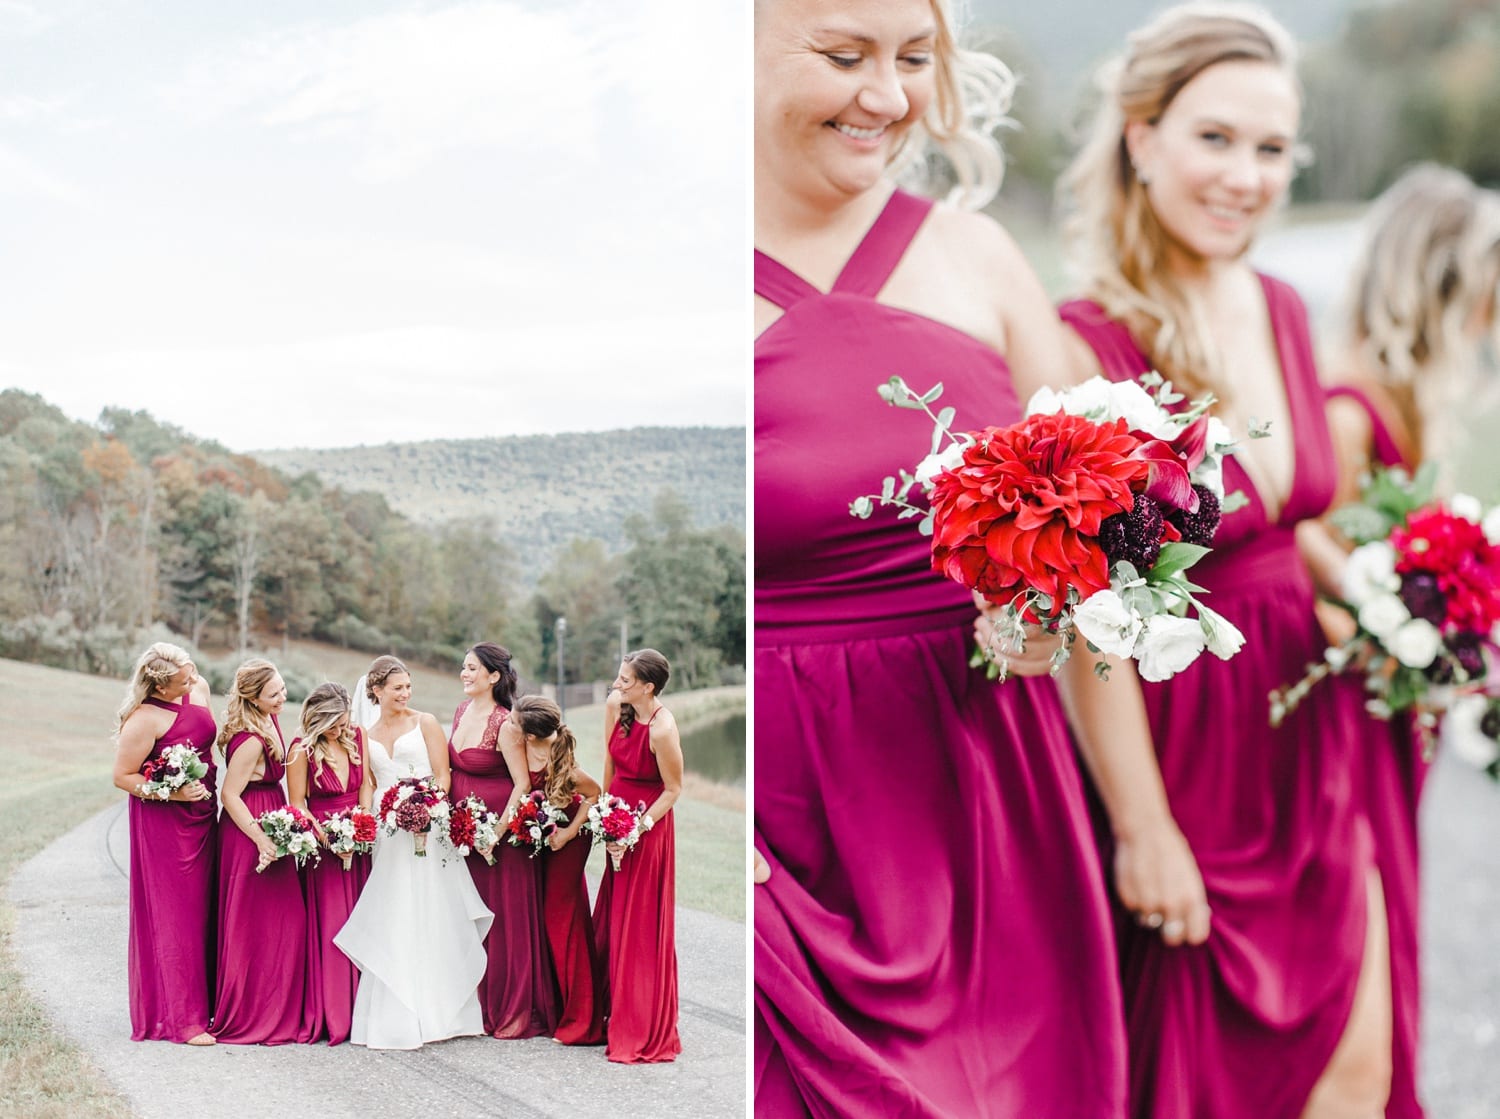
One way to do this is with great photos of your food and interior design on your website and social media pages. Here are a few tips on how you can do it:
#1 Hire a Professional
Hiring a professional photographer is one of the best ways you can take your food photos to the next level. A professional photographer will know how to make your food look delicious, even if it doesn’t taste as good as you want it to.
Commercial photography is more than just taking good photos of products. It’s also about giving life to your pictures, which is something you’d want to do, given that we’re talking about food here.
Commercial photographers can also bring out the best in every dish they shoot, giving you more opportunities than ever before to take some amazing photos that will help attract new customers. Through their product photography skills, they will make your restaurant food feel life-like in photos. The photography business for these professionals is not just about working with potential clients and ensuring commercial use of their photographs. It’s to show people how photography can impact their business or whatever use they have for those photographs.
When hiring a professional, it’s vital to find someone who can do what you need them to do for your business. This means looking for a photographer who has experience shooting food and understands how lighting works with food photography.
It also means finding someone who understands how to make each dish stand out on its own without overshadowing another dish in the same photo or making them all look similar.
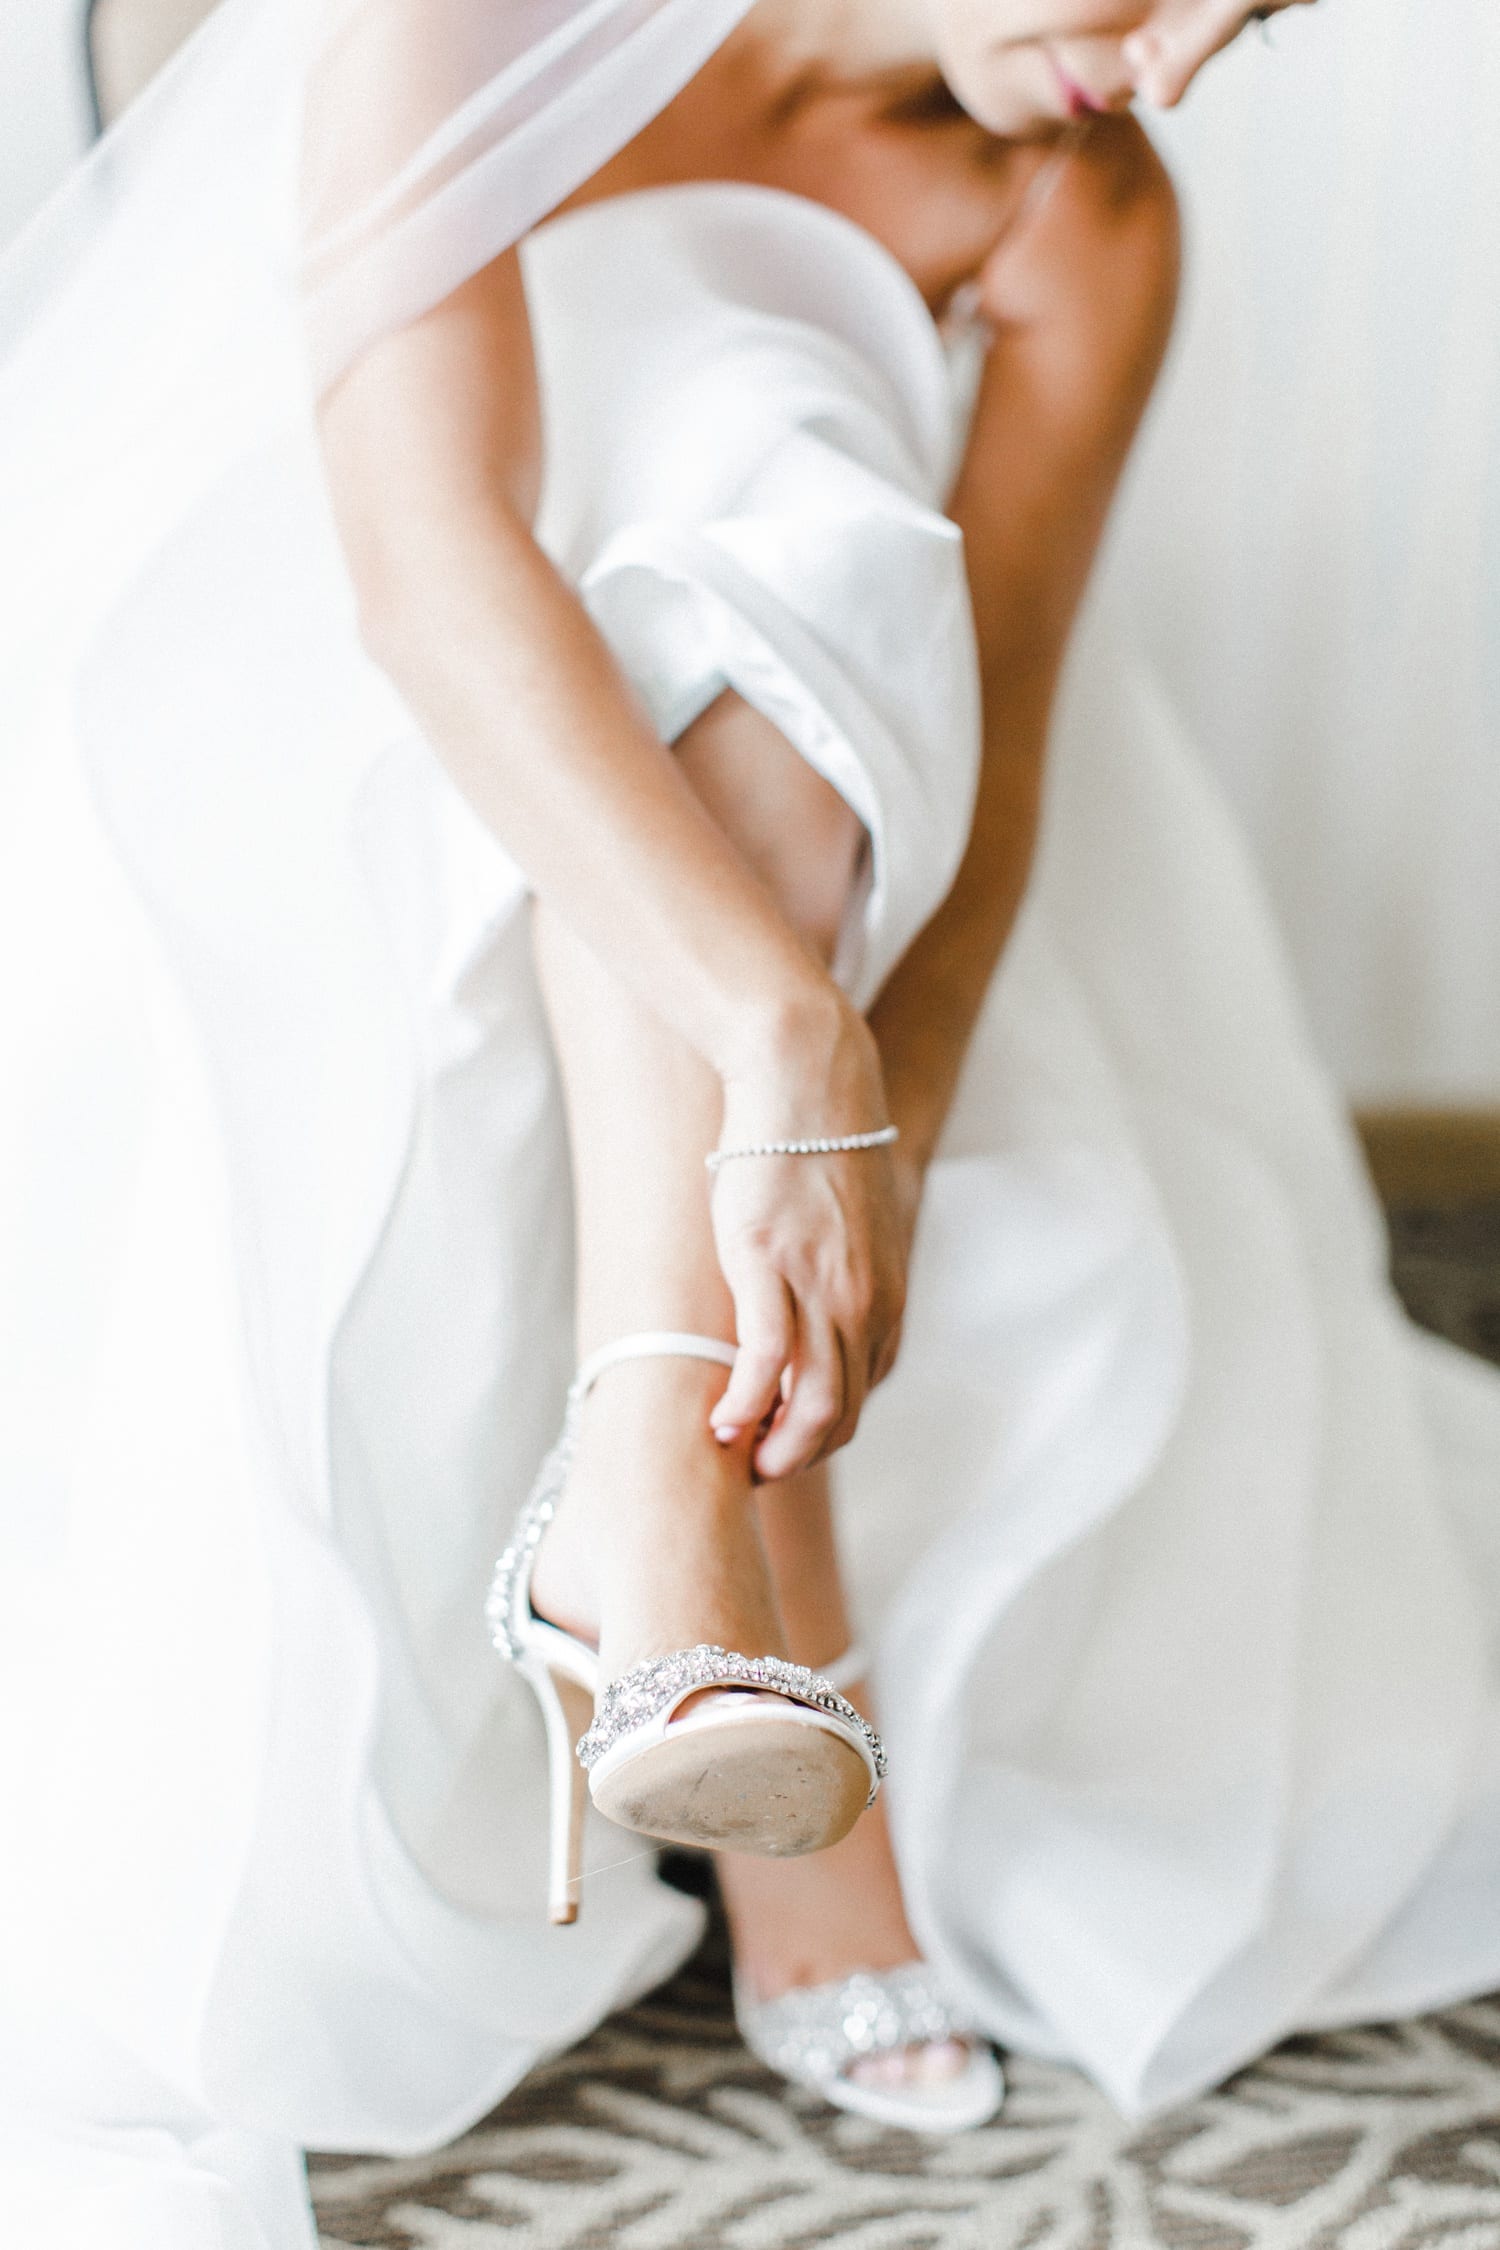
#2 Make Your Food Look Colorful and Interesting
Make the food look good, but more importantly, make it look like it has a lot of flavors. Use props that complement the food in some way.
For instance, if you have a Tex-Mex restaurant and are serving chicken fajitas on a slate platter with lime wedges, maybe use some cilantro to add some green color to your photo. Or, if you’re selling Italian food at an Italian restaurant, maybe put out some fresh basil leaves alongside your pasta dish, so people know what they’re looking at when they see the photo in their Facebook feed or Instagram story.
If possible (and legal), try using fresh produce or meats rather than pre-cooked ones since those tend to look better in photos than prepackaged meals do.
#3 Shoot from Different Angles
To get the best photos of your food, you’ll want to shoot from different angles. This will help you capture more of the look, feel, and flavor of your restaurant’s cuisine.
For example, if you take a photo from above, it might seem as though your dish is too small for its price tag. However, if you take a picture from below and include some background information about what goes into making it (like fresh ingredients), customers can see how much work went into preparing the dish and why it costs so much money.
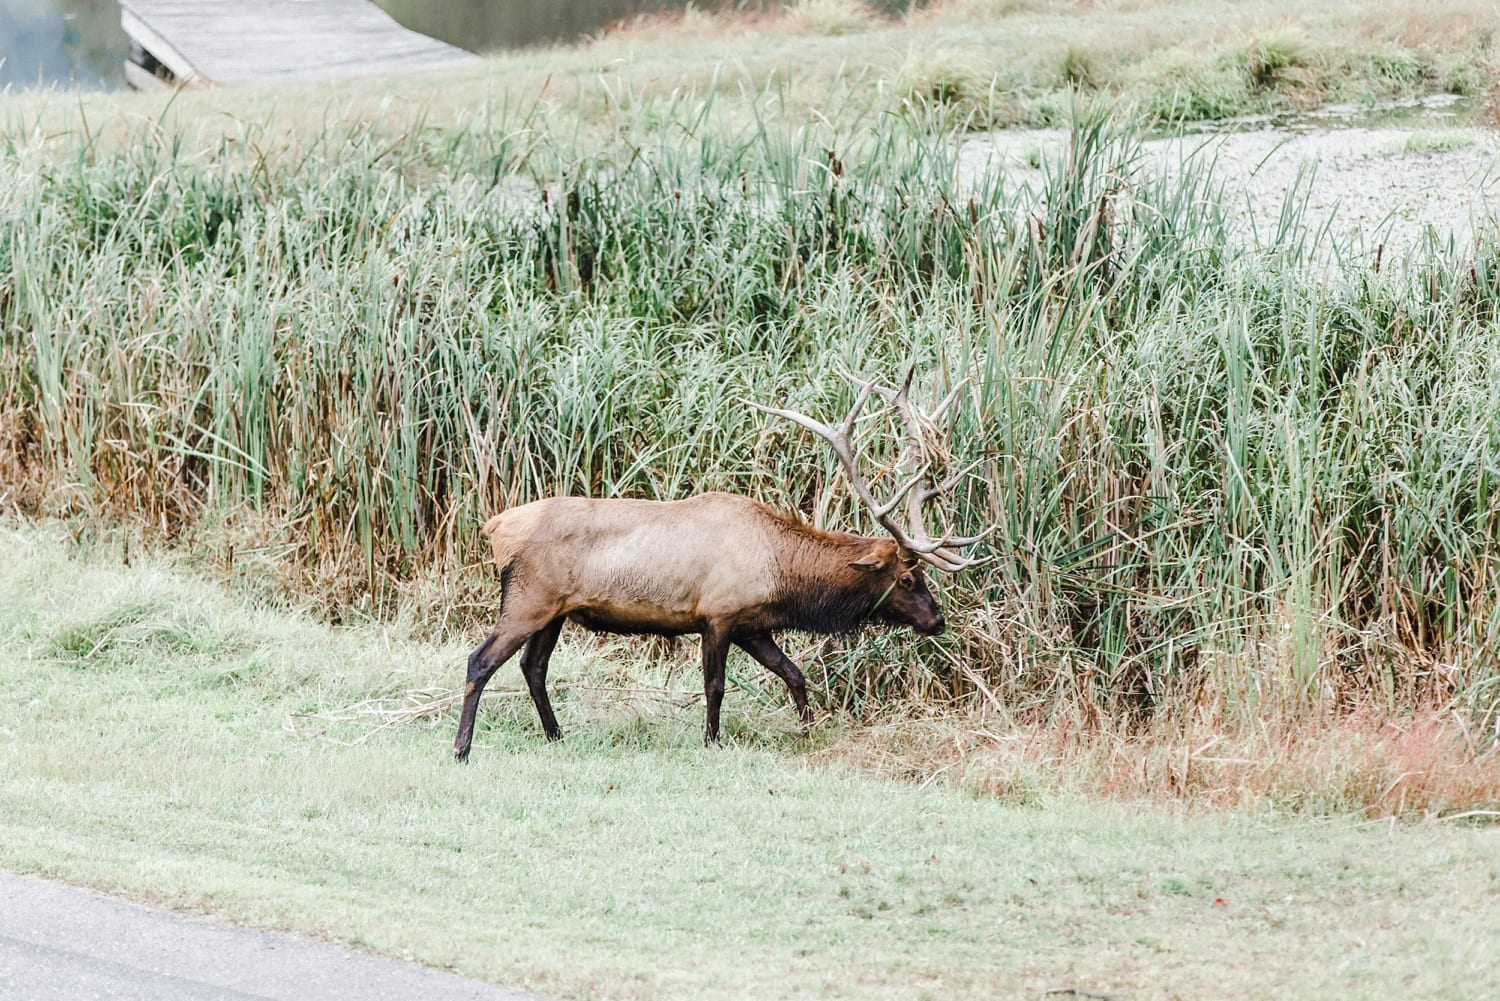
Also, consider taking photos from different heights. The same goes for distance. Professional photographers will know how to handle such different angles. It’s also important to get the right perspective so that the food is always the center of attention in your photos.
#4 Improve the Lighting in Your Restaurant
Natural light is the best way to get high-quality photos of your food and drinks. The sun provides a natural, pleasing light that will enhance the appearance of your dishes. Take advantage of lighting in the restaurant as well. If you have lamps or other sources of artificial lighting in your restaurant, use them to create a more appealing ambiance for customers and increase their appetites.
Ensure consistency throughout the restaurant. All areas of your restaurant must have consistent lighting so that there are no shadows on any part of any dish or drink, which can distract from its appearance and make it look unappealing. This is also important when you’re taking photos of your restaurant’s interior to highlight the ambiance.
#5 Take Pictures of the Kitchen
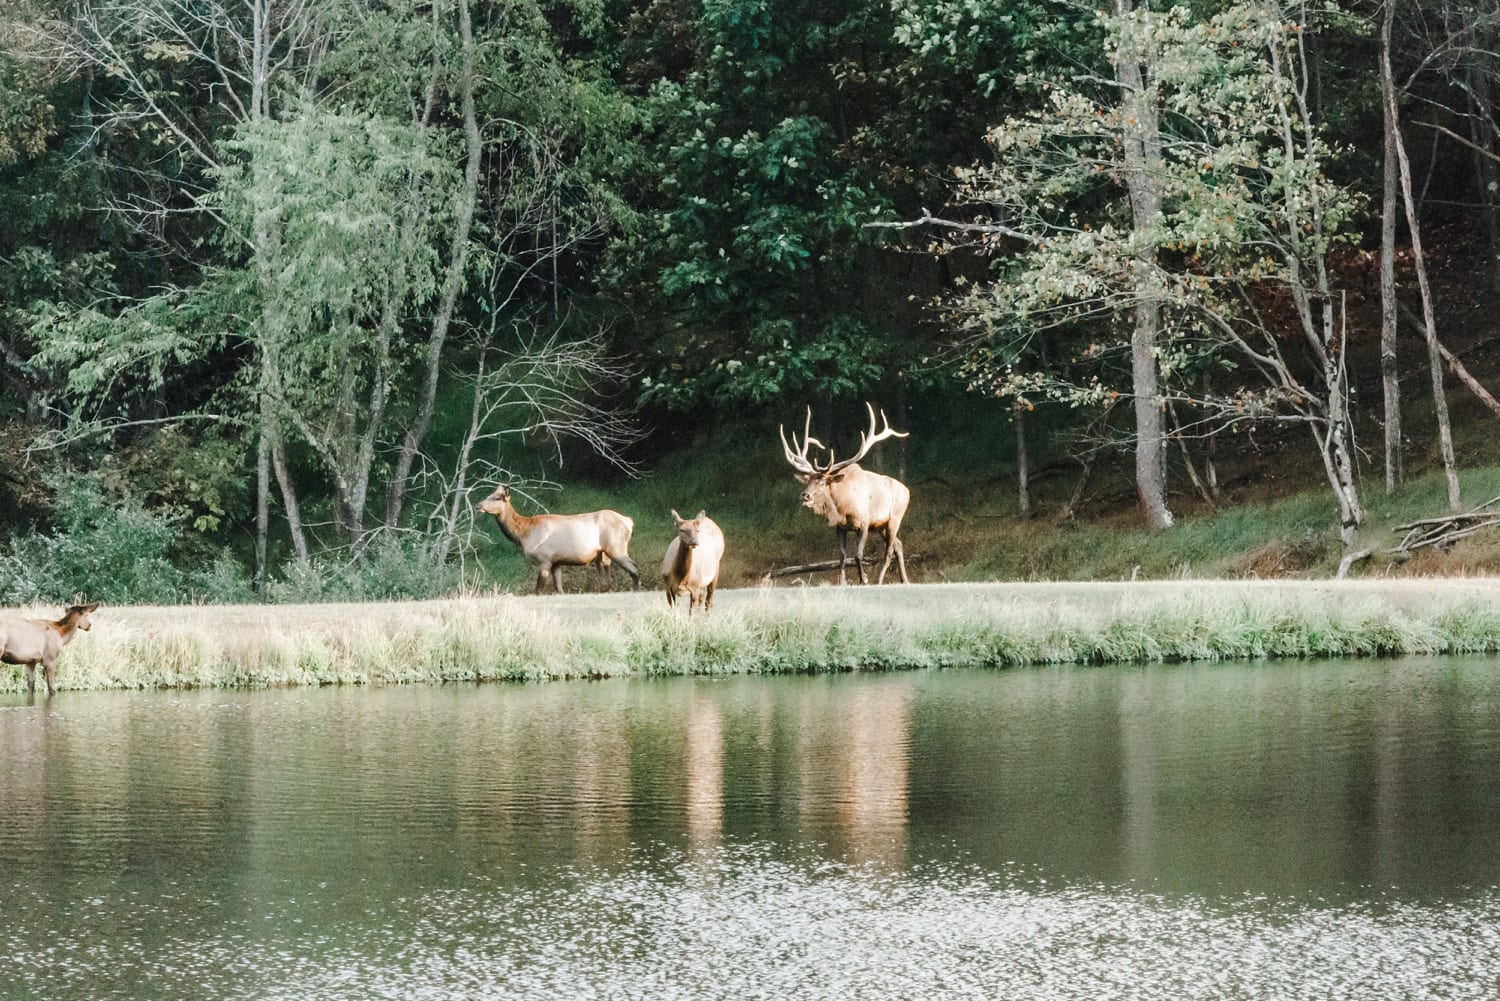
The kitchen is one of the most important elements of a restaurant. A clean, organized kitchen can set your restaurant apart from others and make it more appealing to customers. Take pictures of the kitchen from different angles to showcase its spaciousness and functionality. Make sure you include pictures of all equipment, utensils, appliances, ventilation, and more.
You should also have photos taken of the food being prepared. People often enjoy looking at the ways their food is cooked for them and the overall process in general.
There you have it. These photography and photo shoot tips will help you get the most out of your restaurant’s online presence and give your customers a great first impression when they see your online presence.
BLS data shows that in the United States, there are around 640,000 total private food service establishments. If you want to survive the competition, you need to start attracting more customers. As you can tell, you must first appeal to them with your food and its photos before you can appeal to them with your food.
Cover of I Am Sparkling: N.V. Parekh and His Portrait Studio Clients by Isolde Brielmaier, published by Damiani (all images courtesy Damiani)
Isolde Brielmaier’s I Am Sparkling: N.V. Parekh and His Portrait Studio Clients (Damiani, 2022) is a critical contribution to scholarship on mid-century studio photography in Africa. Studies on the genre have often leaned geographically toward West Africa, and it is thanks in part to these efforts that figures such as Malick Sidibé and Seydou Keïta, among many others, have risen in prominence over the last few decades. Comparatively, there have been far fewer studies of photography in East Africa — to which Brielmaier’s text contributes a previously unstudied narrative. I Am Sparkling uses the prolific studio practice of Asian-African photographer N.V. Parekh to examine studio portraiture in the decades prior to and immediately post Kenya’s independence from colonial rule in 1963. By looking closely at portraiture during this revolutionary era in Mombasa’s history, Brielmaier profiles varying approaches to studio portraiture in the region and sitters’ agency in framing evolving and diverse identities before the camera’s lens.
Photograph by N. V. Parekh, from I Am Sparkling: N.V. Parekh and His Portrait Studio Clients, published by Damiani
The advent of photography in Africa is often attributed to Europeans, who used photography as a tool not only to capture images of idyllic landscapes and exotic creatures, but as a mechanism to clinically document and violently categorize human beings. As Brielmaier articulates, however, in East Africa in particular the photographic medium also critically evolved through exchanges between migrants from South Asia and the Swahili residents of Mombasa. In the mid-1800s, many South Asian men migrated to East Africa, where they established some of the region’s first photography studios. While these early images often mimicked European photographic norms, as studio audiences changed — particularly amidst the rise of new urban identities in Mombasa — so did studio portraits.
Parekh was one of the most well-known and popular photographers in East Africa. I Am Sparkling is remarkable for its extensive interviews with Parekh and his family, but also for Brielmaier’s deep research on the sitters who would come to Parekh to have their portraits taken. The author identified and spoke with 57 of the photographed individuals discussed in her book; meanwhile, countless others offered descriptions of friends or family members who had solicited Parekh for a portrait. The author’s commitment to understanding and telling individual people’s stories — specifically, what moments in their lives prompted their desire to have their photograph taken — led her to become part of the community in Mombasa, locating Parekh’s subjects often by showing his images to community members.
N. V. Parekh, left: “Portrait (couple in sunglasses)” (1956) and right: “Portrait (man with cigarette”) (c. 1963) from I Am Sparkling: N.V. Parekh and His Portrait Studio Clients, published by Damiani
It was these conversations that enable Brielmaier to write, for instance, that Mrs. Munyao (many of the figures in Brielmaier’s book are referred to by their last names) came to Parekh to mark the completion of her nursing degree, or that Mzee Ali wanted to commemorate the purchase of a new belt. The book’s title comes from an interview Brielmaier conducted with Mrs. Uweso, who had recently learned she was pregnant. The woman’s face is bathed in soft light as she gazes just outside the photograph’s frame. “Look at the light, the glow,” Uweso told Brielmaier during an interview. “I’m sparkling.”
Brielmaier is fiercely committed to telling her sitters’ stories, and thinking of photography as a collaboration between photographer and subject — a presentation of how a sitter wants to be seen. The studio, in other words, became a place for sitters to search for and define themselves, and assert agency in a changing world — particularly in the independence era. Images taken during this period, as Brielmaier notes, were decidedly less insistent on emphasizing time-honored traditions than on individual identity. As the author states, “The idea that photographs do not merely represent identity; that instead they also work to produce [identity] is central.” Parekh’s clients would arrive with images from magazines to guide the photographer’s choice of studio lighting, for instance, or adopt a particular pose or persona inspired by a Hollywood movie — decisions that align reflect new forms of leisure and new consumption patterns. A number of clients also asked for Parekh to lighten their skin tones during the development process (as a reader, further commentary from Brielmaier would have been welcomed on this subject). These images pose potent questions about the problematic conflation of whiteness and modernity, and the racist colonial ideals that persisted amidst the fanfare of the independence era.
Photograph by N. V. Parekh, from I Am Sparkling: N.V. Parekh and His Portrait Studio Clients, published by Damiani
Many of these images also were able to derive and sustain their power because they were (or were not) distributed. Brielmaier observes that while some images were displayed publicly in the home — say, in a living room setting — others were arranged in carefully-composed photo albums, and were only shown to trusted individuals. This final example is exemplified by the number of Muslim women who recruited Parekh to take their portraits. While photography was widely understood at the time as forbidden by the Qur’an, Brielmaier explains that many women would only look at their portraits privately, or would keep them to be shown only to close female friends. Photographs, in these instances, became a means of facilitating and deepening female intimacy, friendship, and agency within a broader world that has historically exploited women — in many instances, via the photographic medium itself. Ultimately, Brielmaier’s book upends an often anthropological treatment of photography, casting new light not only on the photographic medium in East Africa, but on the varied lives of its many subjects in mid-century Mombasa.
Photograph by N. V. Parekh, from I Am Sparkling: N.V. Parekh and His Portrait Studio Clients, published by Damiani
I Am Sparkling: N.V. Parekh and His Portrait Studio Clients by Isolde Brielmaier(2022) is published by Damiani and is available online and at independent booksellers.
If you are lucky, you will meet some fantastic photographers. It’s a real privilege working with them, isn’t it? There are common factors most good photographers have. But, above anything else, they all have one thing in common.
What Is a Good Photographer?
I should start by saying what I mean by a “good photographer.” A good photographer takes a good photo. To do that, they know how to compose and expose a shot. They then use the camera and lenses that are best for the job they want to do. All those things are subjective choices, and what they decide is best for them isn’t necessarily so for everyone. Importantly, they know that.
They happily accept that others will come to a completely different approach to getting the best shot. Those photos may not be to their taste. However, they take notice of other methods of taking a picture.
Good photographers also look at different camera systems to discover what they could do for them.
Bad Photographers and the Art of Photographic Failure
Therefore, one can conclude that the opposite of bad photographers who quickly criticize others while thinking their point of view is the only valid one. They invariably believe their way of getting a photo and the camera system they use is the only way. Similarly, if they don’t like a particular genre or style, they believe it has no value for anyone. They cannot take any criticism about the system they use and are affronted by anyone who suggests a different opinion from their own.
My evidence for that? Look at the comments section of most camera reviews; you will see people jumping up and down and making derisive comments about the kit. They will then attack the person who wrote the review and sometimes their photography.
Compare their photography to the galleries of those who praise articles and other people’s photos. Those with a more positive outlook invariably take better pictures. Those with the worst attitudes will have no gallery and hide behind a false persona to cover their (probably) justified low self-opinion.
The strange thing is that people with an opposing viewpoint are far more likely to comment on an article than someone who is positive-minded. It’s as if they are trying to compensate for their lack of ability by trying to run others down.
The Best Camera Is not the One You Have With You
Camera brands have little to do with successful photography. Good photographers will appreciate the kit’s good points and accept their camera is not perfect. A bad photographer will defend their choice of camera to the death, no matter what, and take every opportunity to snipe at others. A camera is just a camera; a good photographer will take good photos with it, no matter the brand or model.
You Are Better Than You Think You Are (Unless You Already Believe That)
Many good photographers don’t appreciate their skills. They don’t have false modesty about the quality of their work either. However, they do realize they are on a journey of constant development. Moreover, they are always searching for ways to make their photography better. Whether through experimenting with new techniques, repeatedly photographing the same subject in different conditions, or delving into new genres, their photography is about improvement. Bad photographers invariably have an over-inflated idea of their skills.
One common factor that many bad photographers use to rationalize their belief that their way is best is that they use their length of experience to validate their point of view. “I’ve been photographing for 35 years.” That is rarely a reasonable justification, as some of the most exciting photographic work comes from younger photographers.
Do You Share Your Knowledge?
Good photographers always share their knowledge big-heartedly. Their generosity of spirit is essential to them. They revel in helping others become better at what they do. They celebrate other photographers’ successes too. Look at most of the great names in photography; they are renowned for imparting what they have discovered and the skills they have honed.
Tallest flower, first plucked.
Tallest tiger, first hunted.
Tallest tree, first felled.
Anyone who becomes successful at what they do becomes a target for others who will try to destroy their success. That kind of conduct is almost expected in the modern world, thanks to trolling on the internet. It’s the same appalling behavior in some media outlets, and even some of our leaders incite hatred. This sad reflection of the darkest side of human nature is something we should not accept in photography.
But it does happen in the photography world too. I’ve seen it even at the club level. One expects club leaders to support their up-and-coming members, but I have seen them cruelly attacking others’ work that is better than theirs. Clubs that are run like that are rarely successful, and sometimes, those actions ruin the enthusiasm of talented beginners.
Similarly, great names in photography are often the target of jealousy-driven scorn by those who are less successful. Brushing off criticism comes easily to the successful photographer; after all, they have nothing to prove.
A successful photographer could change the last word of the above poem to “photographed,” although the five-seven-five format of the haiku will no longer work. That’s okay because the most successful photographers rarely stick to convention.
The One Thing That Makes a Good Photographer Great
There is one thing, though, that makes a good photographer stand out. That is their passion that shines through in their photography. That is probably one of the hardest things to convey in an image. It is more than the technical abilities, getting the correct exposure or depth of field right. It is more than composing the shot to comply with one compositional rule of another. It certainly has nothing to do with the lens or camera. Embedding our emotions is the one thing we should strive to achieve with our photography.
How do you do that? If you find joy in the sunrise, wonder at the finest details of an ant, deep friendliness towards your model, amazement at the feather patterns of a bird, excitement at seeing a predator hunt, or fascination in the abstract patterns, then you have succeeded.
However, sadly, there will always be those who fail to read that passion in your images. But that’s their problem, not yours.
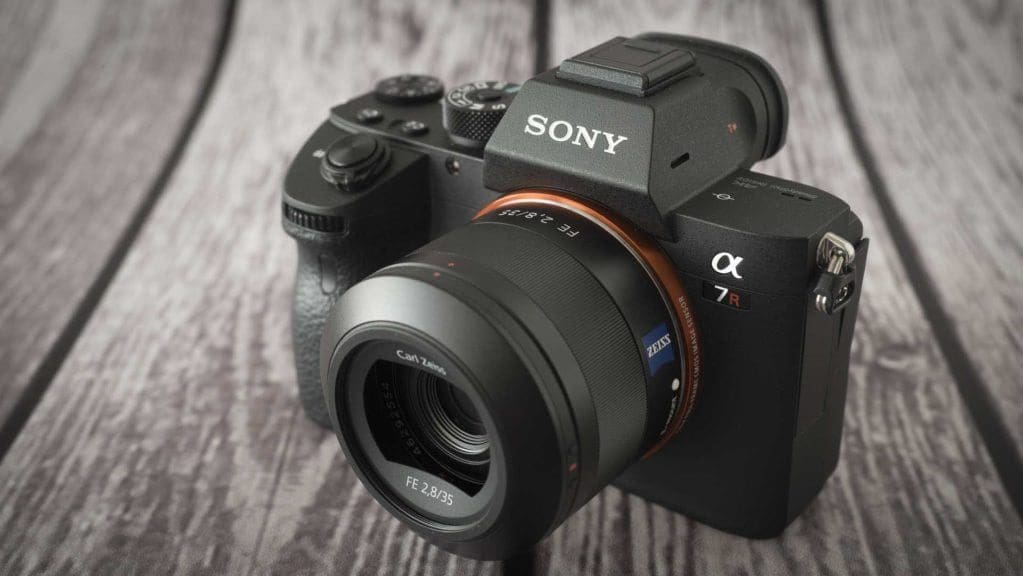
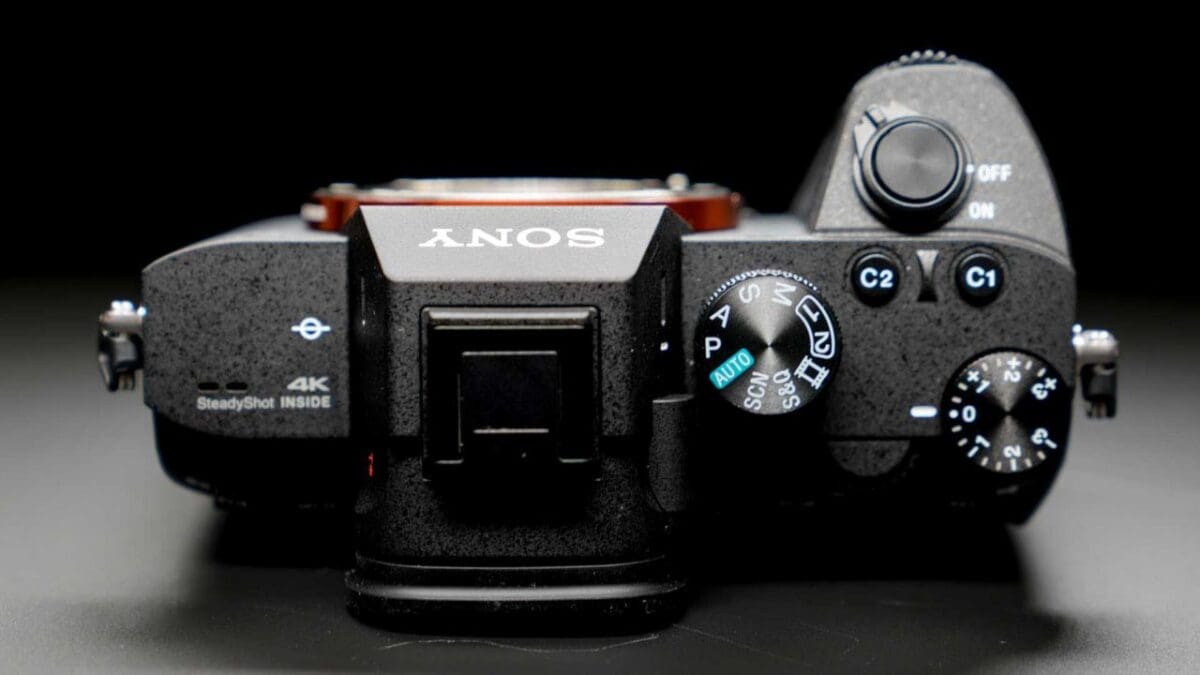
In the early days of the Sony Alpha A7-series there was the A7, the A7R and the A7S. Things were quite simple. The A7S was the one for video, the A7R was the high-resolution model and the A7 was the more affordable option. It was fairly easy to choose the right camera.
The situation has got a bit more complicated since then. We’ve had the introduction of the Mark II and Mark III versions of each camera and Mark IV version of the A7R and A7, and now the Sony A7R V has arrived.
And let’s not forget the Sony A7C.
So how do you know which is the best Sony A7 camera to choose when there are so many available new and secondhand? Well, in some ways the original distinguishing features still help.
For a deeper dive into the many different camera types and features available, check out our range of camera buying guides.
Sony A7R series = High Resolution
With 61 million effective pixels on their full-frame sensors, the Sony A7R IV and Sony A7R V are the highest resolution cameras in the A7 range. Their high pixel counts enable the two camera to capture a huge amount of detail and, thanks to Sony’s fantastic sensor-building knowhow and the BSI design, noise is controlled well. That said, we’d recommend making ISO 12,800 the top value you use if possible.
Meanwhile, the 42.4Mp A7R III has the same sensor as the A7R II. Both of them resolve more detail than the original A7R which has a 36.4Mp sensor, but they can’t match the A7R IV or A7R V.
Where the A7R III scores over the A7R II for image quality is with the improved dynamic range at the lower sensitivity settings. However, we’re only talking about around 0.5EV. And while that could be significant for landscape photography, if you use ND grads or composite images, then it’s not THAT big a deal.
The A7R III also feels more rounded than the models that go before it. Its autofocusing system is impressive so it’s even suitable for shooting sport. The very best focusing system, however, is in the A7R V which has 693 phase detection points and the very latest subject detection options which include Human (Right/Left Eye Select) / Animal (Right/Left Eye Select) / Bird / Insect / Car / Train / Airplane, all of which work in stills and video mode.
Sony has improved the handling of each successive model. Consequently, the A7R V’s handling is significantly better than the A7R’s and quite a bit better than the A7R IV’s. Sony’s most recent camera feature a touch-screen, but Sony only made full use of it with the A7R V. With the A7R IV and A7R III, it’s only really useful for zooming in and out of images or setting the AF point.
There’s also a joystick that simplifies setting the AF point on the A7R III, A7R IV and A7R V. Of course, if you shoot still life, macro or landscape photography that may not be a major issue for you. This is a bit fatter and easier to find on the A7R IV and A7R V than the Mark III camera.
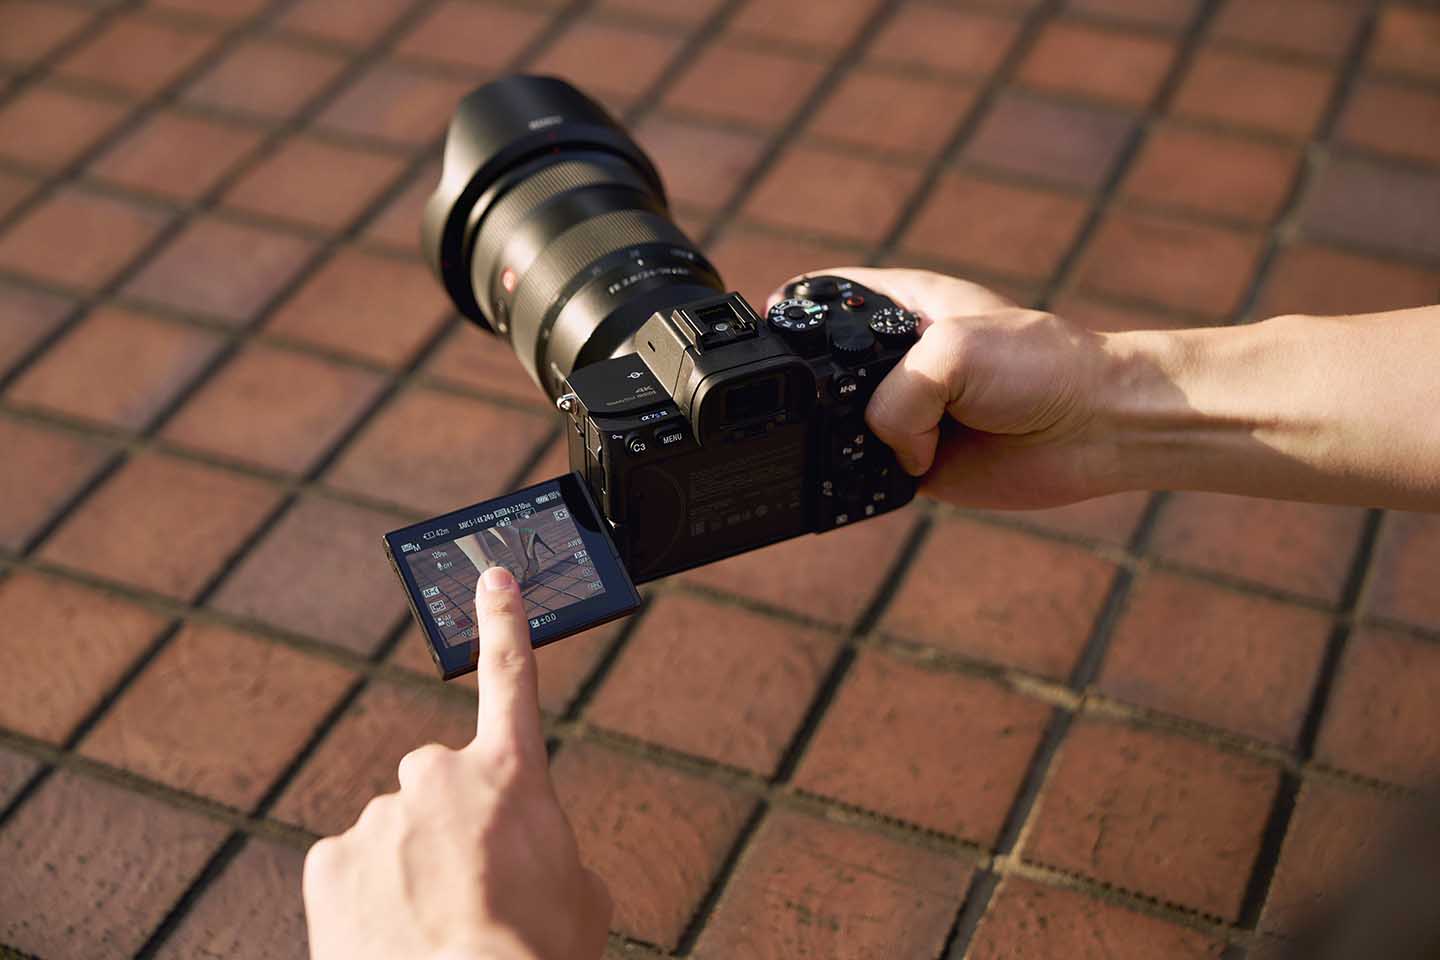
Another significant change that Sony has made with the A7R V in comparison with earlier models is that as well as being slightly larger (3.2-inches vs 3-inches) and higher-resolution (2,095,104-dots vs 1,440,000-dots), the A7R V’s screen is mounted on a 4-way tilting mechanism. It’s like a tilting and vari-angle screen combined whereas the A7R IV has a standard tilting screen.
Get the best deals on the full range of Sony A7R cameras at Amazon UK and Amazon US.
Which is the best Sony A7R-series camera?
If you find the Sony A7R available at a bargain price, it’s worth considering, but it wouldn’t be our first choice of the A7R-series cameras. Its AF system isn’t a patch on the latest version and the handling can get annoying. The Eye AF (human and animal) that’s available with the A7R III and A7R IV, is superb, but if you want it to work for humans in video you’ll have to opt for the A7R IV or A7R V. The new Sony A7R V makes some very nice upgrades on the A7R IV, including the ability to set the subject tracking to Human (Right/Left Eye Select) / Animal (Right/Left Eye Select) / Bird / Insect / Car / Train / Airplane.
If you don’t need quick AF point selection and the fastest focusing, nor the improved dynamic range, then the A7R II looks like a good solid proposition. It also makes a significant saving on the A7R III. However, if you can afford it, the A7R IV captures a lot more detail and is more affordable than the newer A7R V.
We haven’t finalised our full Sony A7R V review yet, but we’re already confident that it’s one of the very best cameras out there.
Sony A7S-series = Video
While the A7S, A7S II and A7S III are intended as the video cameras, Sony hasn’t stinted on the video features of the A7R II, A7R III, A7R IV, A7R V and A7 III. However, where the A7S models win is with their low-light capability. They all have a native sensitivity that tops out at ISO 102,400.
Their low (12Mp) pixel counts mean that they handle noise extremely well.
What the A7S and A7S II don’t do well in low light, however, is focus. That’s not an issue for many videographers who routinely focus manually, but it’s a little behind the times. Thankfully, the Sony A7S III addresses this. It has a Hybrid AF system with 759 phase-detection points and 425 contrast-detection points, Real Time Eye AF (Human and Animal) for stills and video. Its AF system is also claimed to operate at down to -6EV.
Naturally, if you’re considering an A7S series camera, video is your primary concern. The A7S and A7S II are both proven in this area and deliver great quality results. But the A7S III is a more capable 4K camera.
It has full-sensor readout and can shoot 4K video at up to 120p or full HD footage at up to 240p, with full-sensor readout no pixel-binning and with the hybrid autofocus system in action.
There’s also 10-bit colour depth and 4:2:2 colour sampling available in all recording formats.
In addition, Sony has introduced new/improved codecs including XAVC S-I 4K (All-Intra), XAVC HS 4K (Long GOP) and XAVC S 4K (Long GOP), plus there’s S-Log2 and S-Log3 and improved S-Gamut3 and S-Gamut3.Cine colour science.
The A7S III also supports 16-bit raw video output to an external recorder via HDMI – that’s a first for the A7S-series. The output is full-frame 4264 x 2408 16-bit with a choice of 59.94p/50p/29.97p/25p/23.98p frame rates and colour spaces.
Sony has also upgraded the A7S III’s dual card slots so that as well as SD/SDHC/SDXC UHS-II media, they can accept the new CFexpress Type A cards. These cards are required to get the top-quality results in the enhanced S&Q (Slow and Quick) modes.
Sony has also responded to one of the biggest requests made for the A7S III and given it a vari-angle touchscreen. That means it’s easier to see the scene then you’re shooting above or below head-height, and for many, makes an external monitor unnecessary.
If you like the idea of a vari-angle screen for vlogging but you’re not sure keen on the A7S III’s price tag, take a look at the Sony A7C. Announced in September last year, it has a first-rate 24Mp full-frame sensor, the Bionz X processing engine and excellent autofocusing capability along with a reasonable video specification. There’s no raw video capability but you shoot high-quality 4K footage in S-Log2 or S-Log3.
However, Sony hasn’t given the A7C the A7S III’s revised menu structure or its excellent touch-control. Also as a 0.39-inch type, A7C’s viewfinder is also pretty small for a full-frame camera.
Get the best deals on the full range of Sony A7S series cameras at Amazon UK and Amazon US.
Which is the best Sony A7S-series camera?
With the Sony A7S III now on the market, there are likely to be some bargains available on the A7S II. That camera has been doing a great job for many videographers and the A7S III doesn’t make an upgrade in resolution. Where it wins, however, is with the improved handling and feature set that should make creating great 4K video that bit easier.
You can order the Sony A7S III from Adorama in the US and Wex Photo Video in the UK.
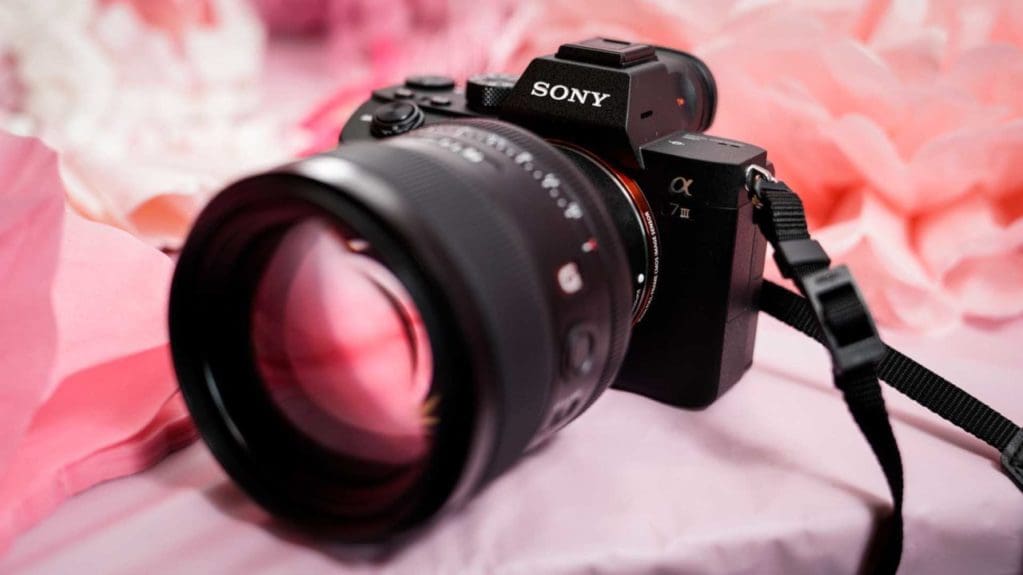
Sony A7 series = The Affordable Option
While the A7 II was pretty decent, the Sony A7 III is much better. What’s more, at launch Sony priced it quite aggressively for a full-frame camera at £2000/$1,998 (body only) or £2,500/$2,198 with the 28-70mm lens. However, its price has fallen since launch.
Those are still not figures to be sniffed at, but that money brings you a very capable AF system, that’s streets ahead of the A7’s and A7 II’s. It also brings improved handling with the mini-joystick control, a touch-screen and twin card ports.
The A7 III’s full-frame sensor also has a pixel count of 24.2 million, which as well as being a popular figure, allows a good balance between detail resolution, file size and noise control. Add in 4K (3840 x 2160) video recording with S-Log plus a battery that has a much longer life than the A7 II’s and the Mark III looks like an easy decision.
On 21st October 2021, the Sony A7 IV was unveiled to the world and it makes some significant steps up in comparison with the A7III. Most notably, the A7 IV has a 33Mp Exmor R BSI (backside illuminated) CMOS sensor which means its pixel count is 36% higher than the A7 III’s.
Sony has also paired the A7 IV’s sensor with its latest Bionz XR processor, previously seen in the Sony A7S III and Sony A1. This extra processing power enables the A7 IV to have the same native sensitivity range (ISO 100-51,200) despite its hike in resolution.
The maximum continuous shooting rate is also the same at 10fps.
Another area where the Sony A7 IV distinguishes itself from the A7 III is with the autofocus system. That’s because the A7 IV has Real-time Tracking AF and Eye AF from humans, animals and birds for both stills and movies.
The A7 III gained real-time AF for animals but not birds with a firmware update and only for stills, not video.
So far we’ve only been able to shoot a few images for our early Sony A7 IV review, but the Eye AF seems more responsive with humans and animals than the A7III.
On the video front the headline figures for the A7IV are 4K recording in XAVC S-I format at up to 60fps with 10-bit 4:2:2 colour to either an on-board memory card or via HDMI to a recorder.
The 4K 30p video is oversampled from 7K using the full-frame, but 4K 60p is oversampled from 4.8K in Super 35 (APS-C) mode so there’s a 1.5x crop.
That’s a nice improvement on the A7 III which doesn’t have 10-bit colour nor 4K 60p capability and applies a 1.2x crop to 4K 30p footage.
While the specification improvements might not seem dramatic to some, the handling of the A7IV is dramatically enhanced. For a start, the electronic viewfinder has a nice boost in resolution as it’s a 3.69-million-dot unit rather than a 2.36-million-dot device, and it has a refresh rate of up to 120fps.
In addition, the A7 IV has a 3-inch 1,036,800-dot vari-angle screen rather than a tilting screen. This makes it much more versatile and it can be angled to help with portrait orientation shooting as well as landscape. It can even be flipped round for vlogging and shooting selfies.
Sony has also given the A7IV the revised menu arrangement that first appeared on the A7S III and later the A1. It’s considerably more user-friendly than the old menu system.
Sony also has another ‘affordable’ full-frame camera, the A7C, which is a bit more compact. However, its current street price is around the same as the A7 III’s and although it brings a vari-angle screen, in other respects it’s not quite so well specified. Unless you really want a vari-angle screen, we’d recommend going for the A7 III, but if you can afford it, the Sony A7 IV has the best of both worlds.
Get the best deals on the full range of Sony A7 series cameras at Amazon UK and Amazon US.
Which is the best Sony A7-series camera?
The Sony A7 III can be bought for around £1,699/$1,998, which is temptingly below the £2,499/$2,498 launch price of the A7 IV. But as well as the resolution boost and improvement to the AF system, the new camera makes some very nice upgrades to the handling so we’d be sorely tempted to save a little longer.
Which Sony A7 camera should you choose?
If you’re still not sure about which Sony A7 camera is best for you at this stage and you’re desparate to make purchase, plump for the A7 IV. It’s a great all-rounder and it’s designed with enthusiast photographers in mind. It’s a camera with all of the specification you need right now, plus plenty of room to grow with.
With the A7 IV, you’ll be able to shoot a wide range of subjects including fast-moving sport and action. Noise is also controlled well and the level of detail in images won’t disappoint.
If you’re keen to get more resolution then the A7R V is the best choice and its AF system is incredible. If video is your primary concern then go for the Sony A7S III.
Of course, if you’re really torn and you feel you might need to be able to combine high-resolution stills shooting with high-speed, blistering AF and 16-bit raw video recording, the 50Mp Sony A1 is the camera for you. It is currently available for £6,500 / $6,500 but it looks like the camera that will see many professional photographers, including sports, wedding and journalist photographers switch to mirrorless photography.
Article Name
Which Sony Alpha A7 camera? How to choose the right model
Description
With 8 Sony Alpha A7-series cameras available, you might be wondering which one to buy. We take you through the options to help you choose the right A7-series camera for you and your photography.
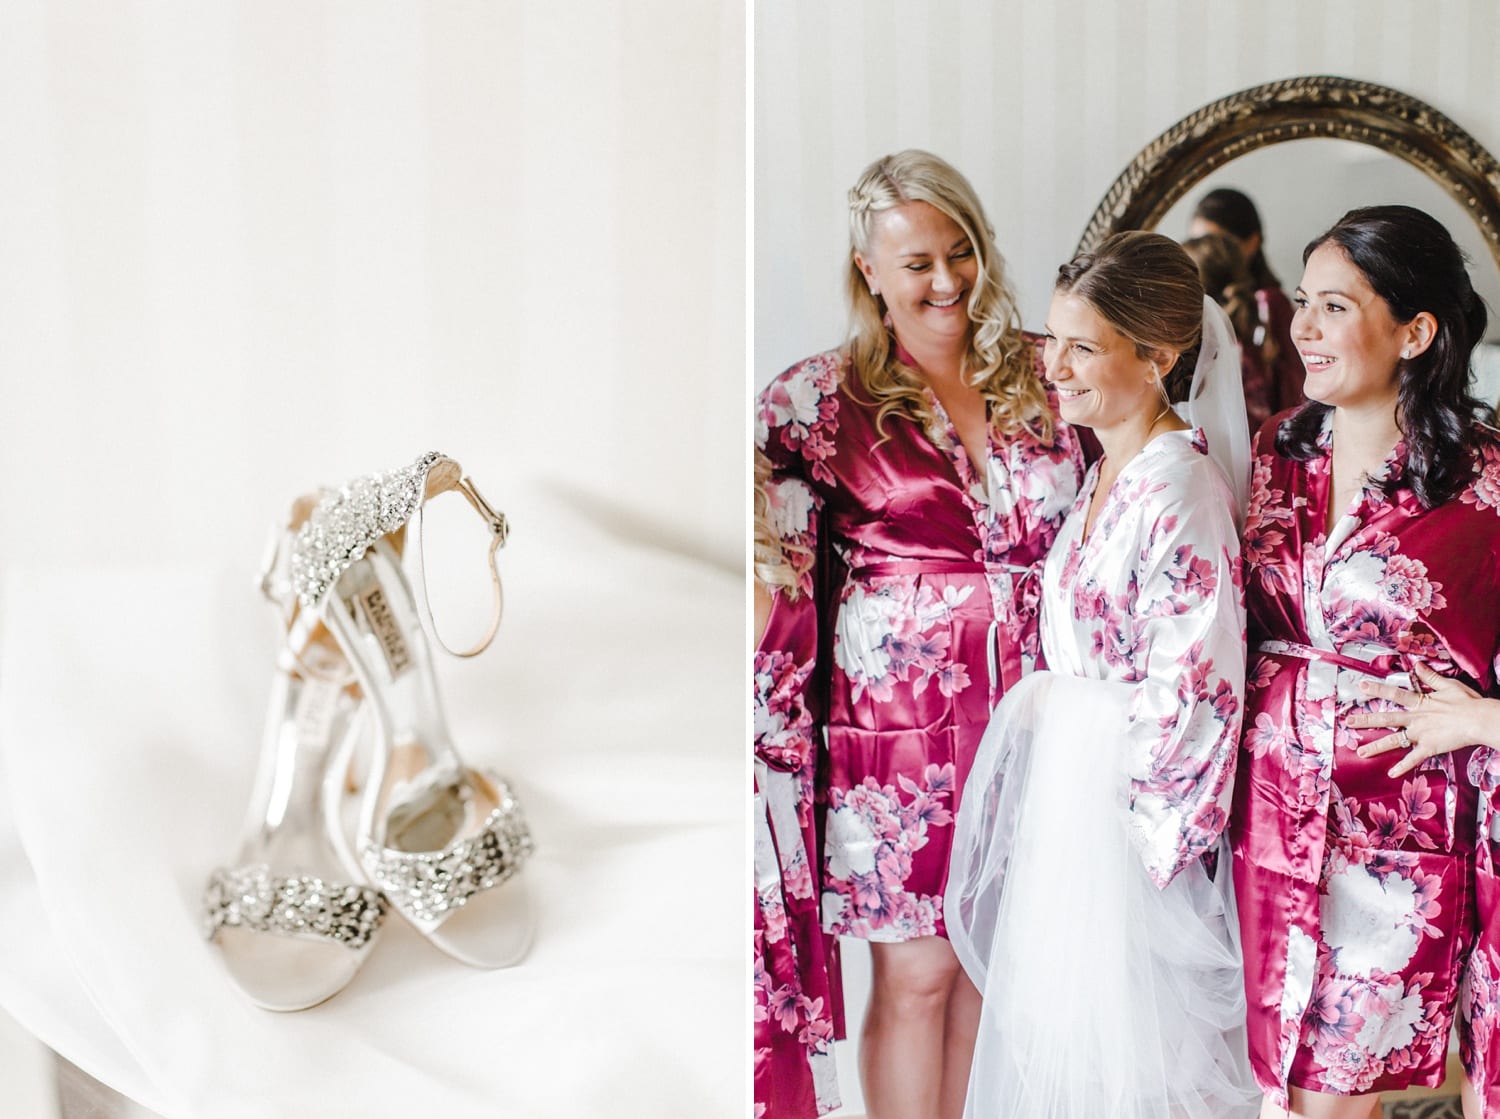
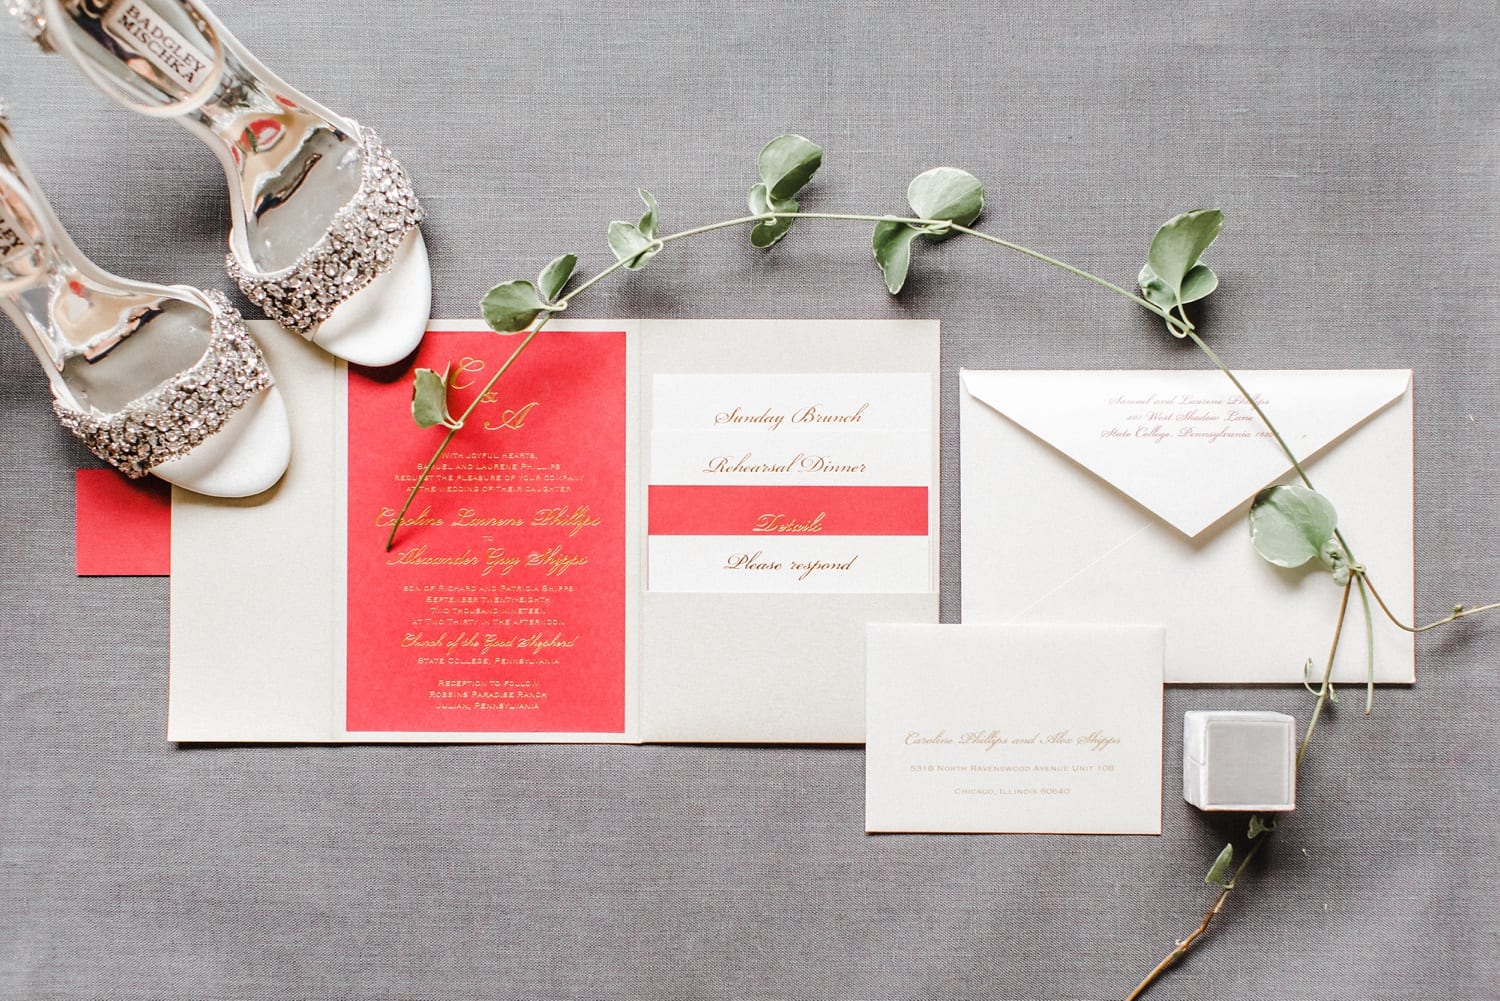
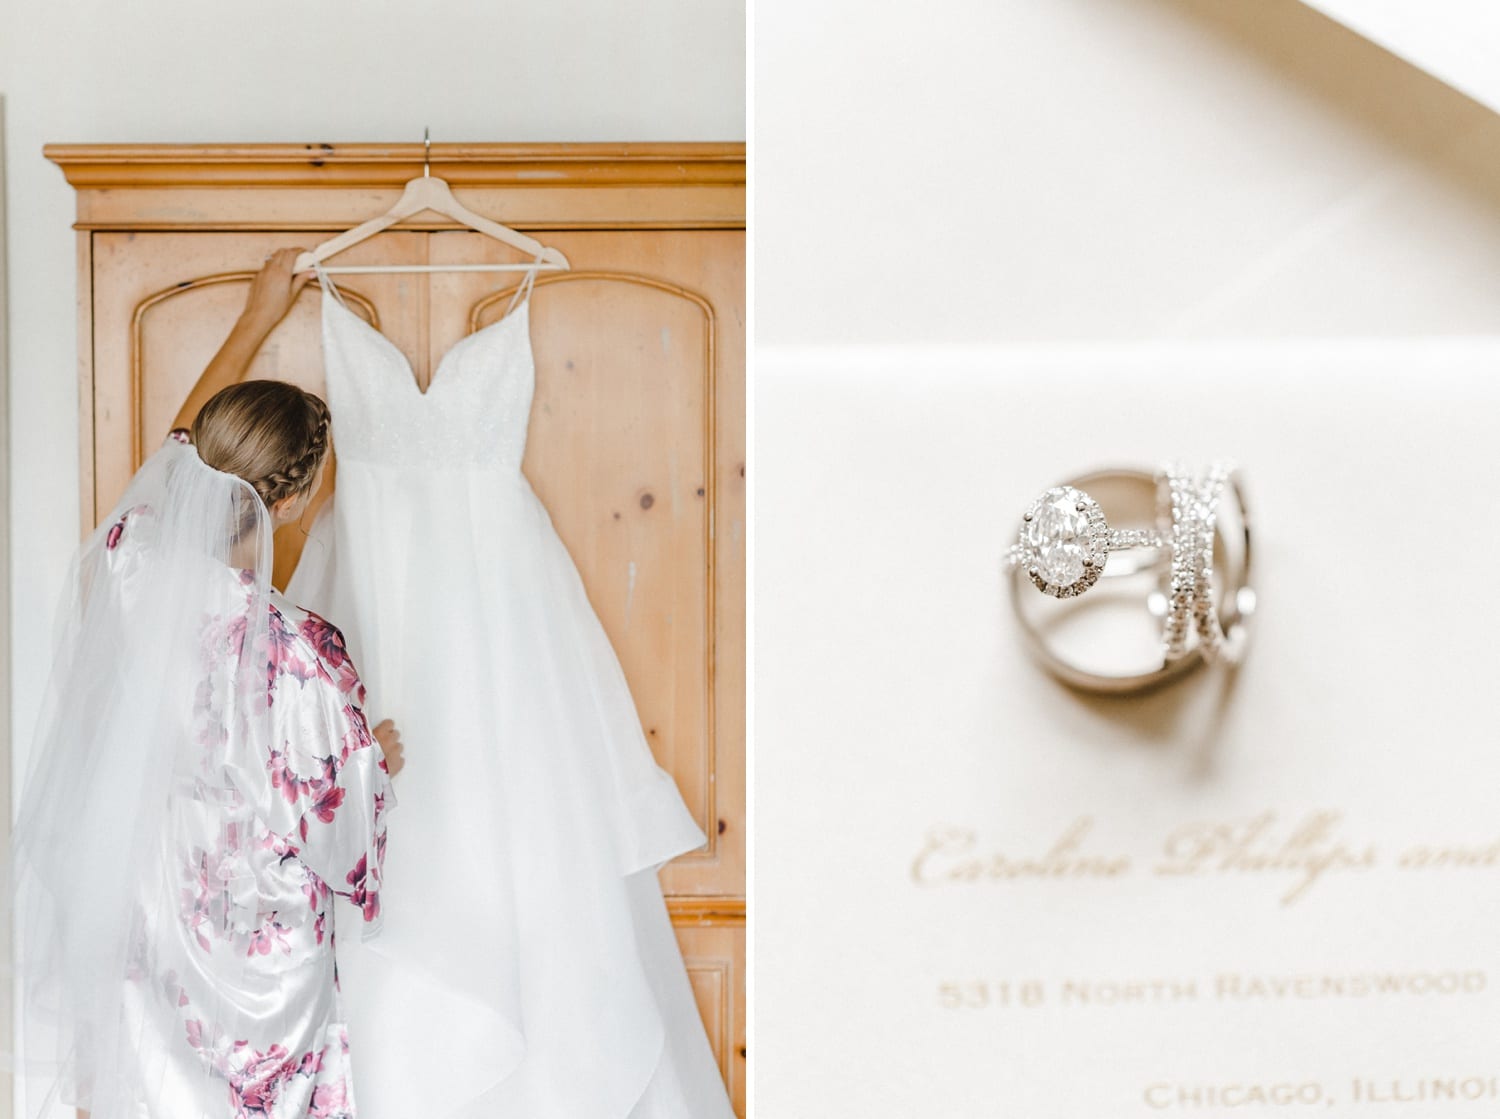
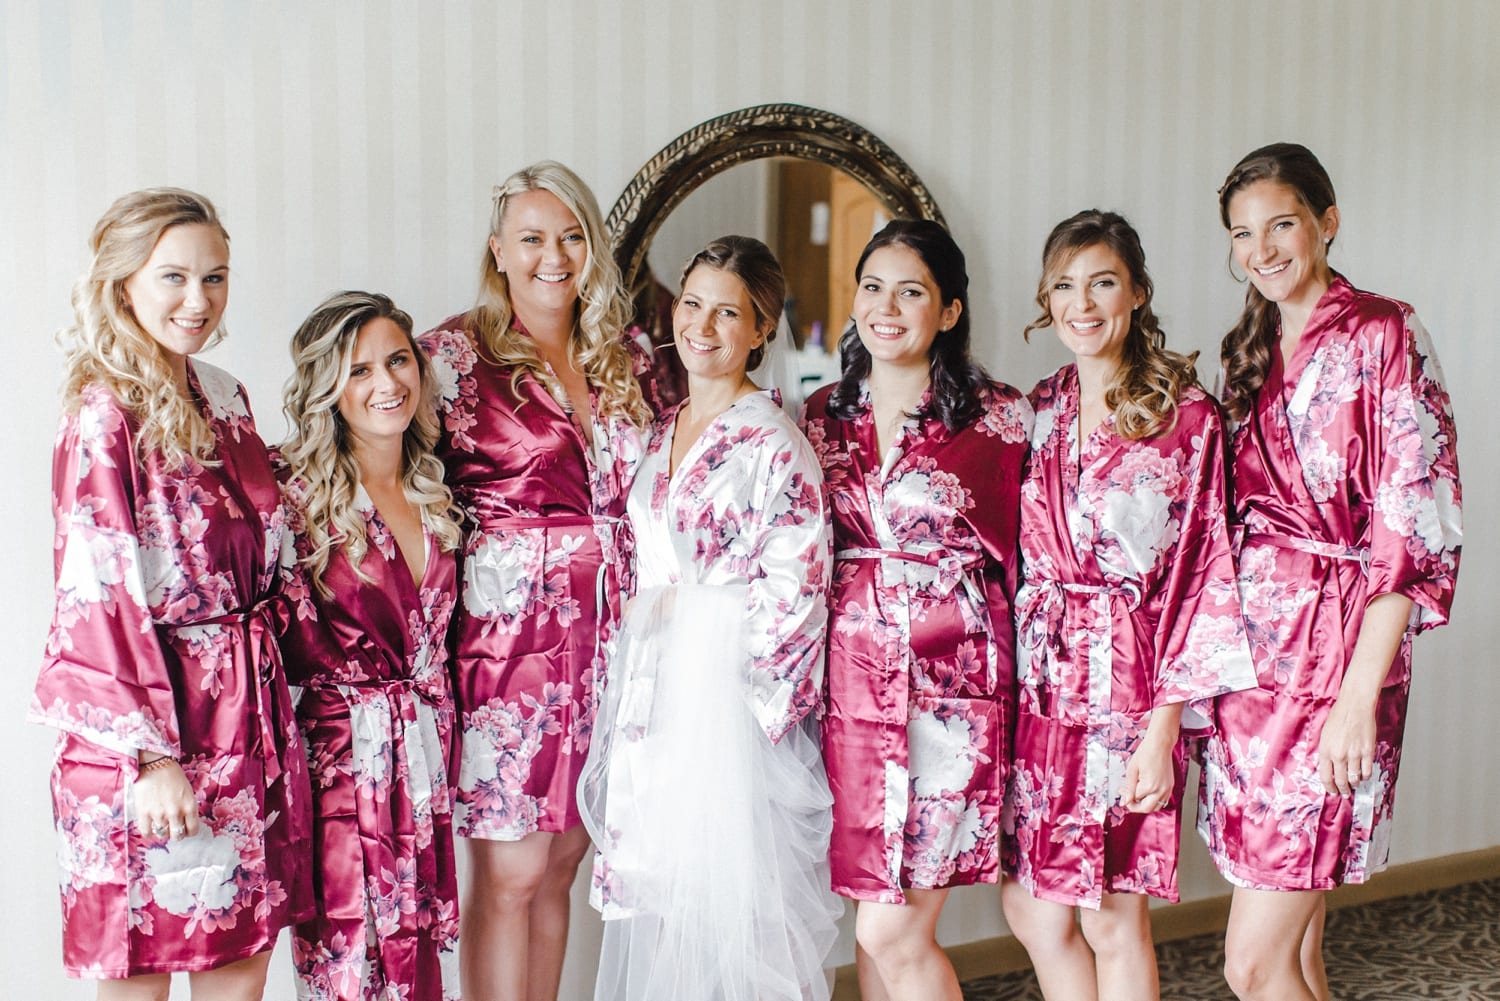
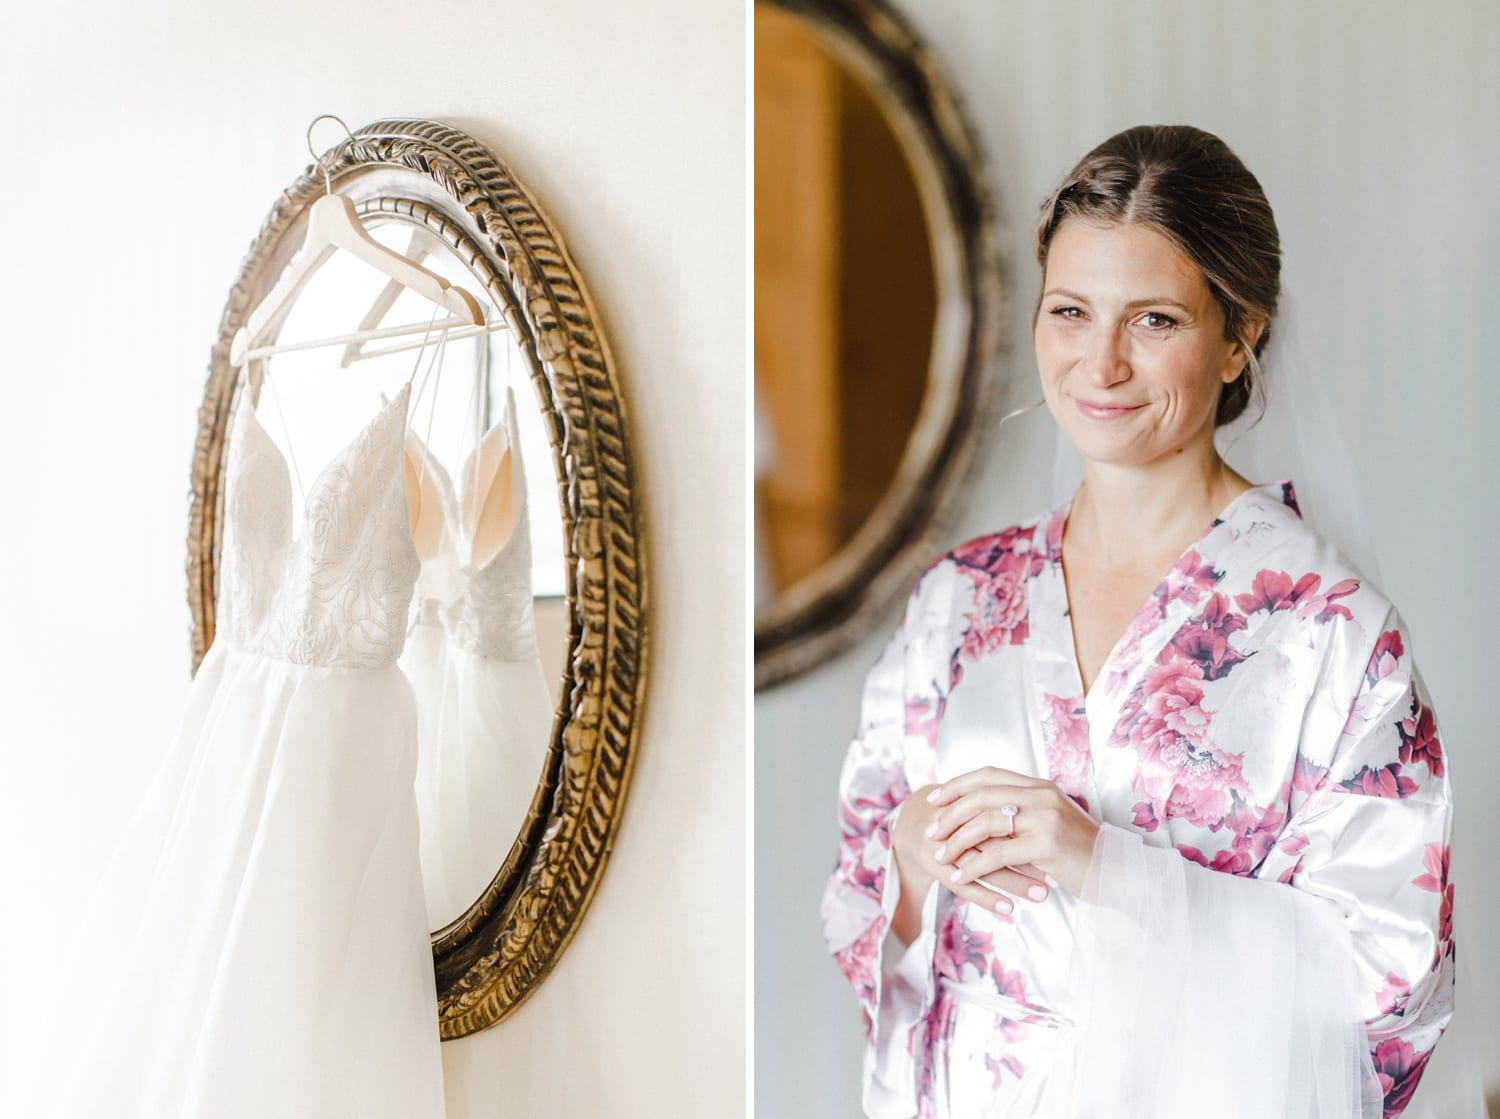
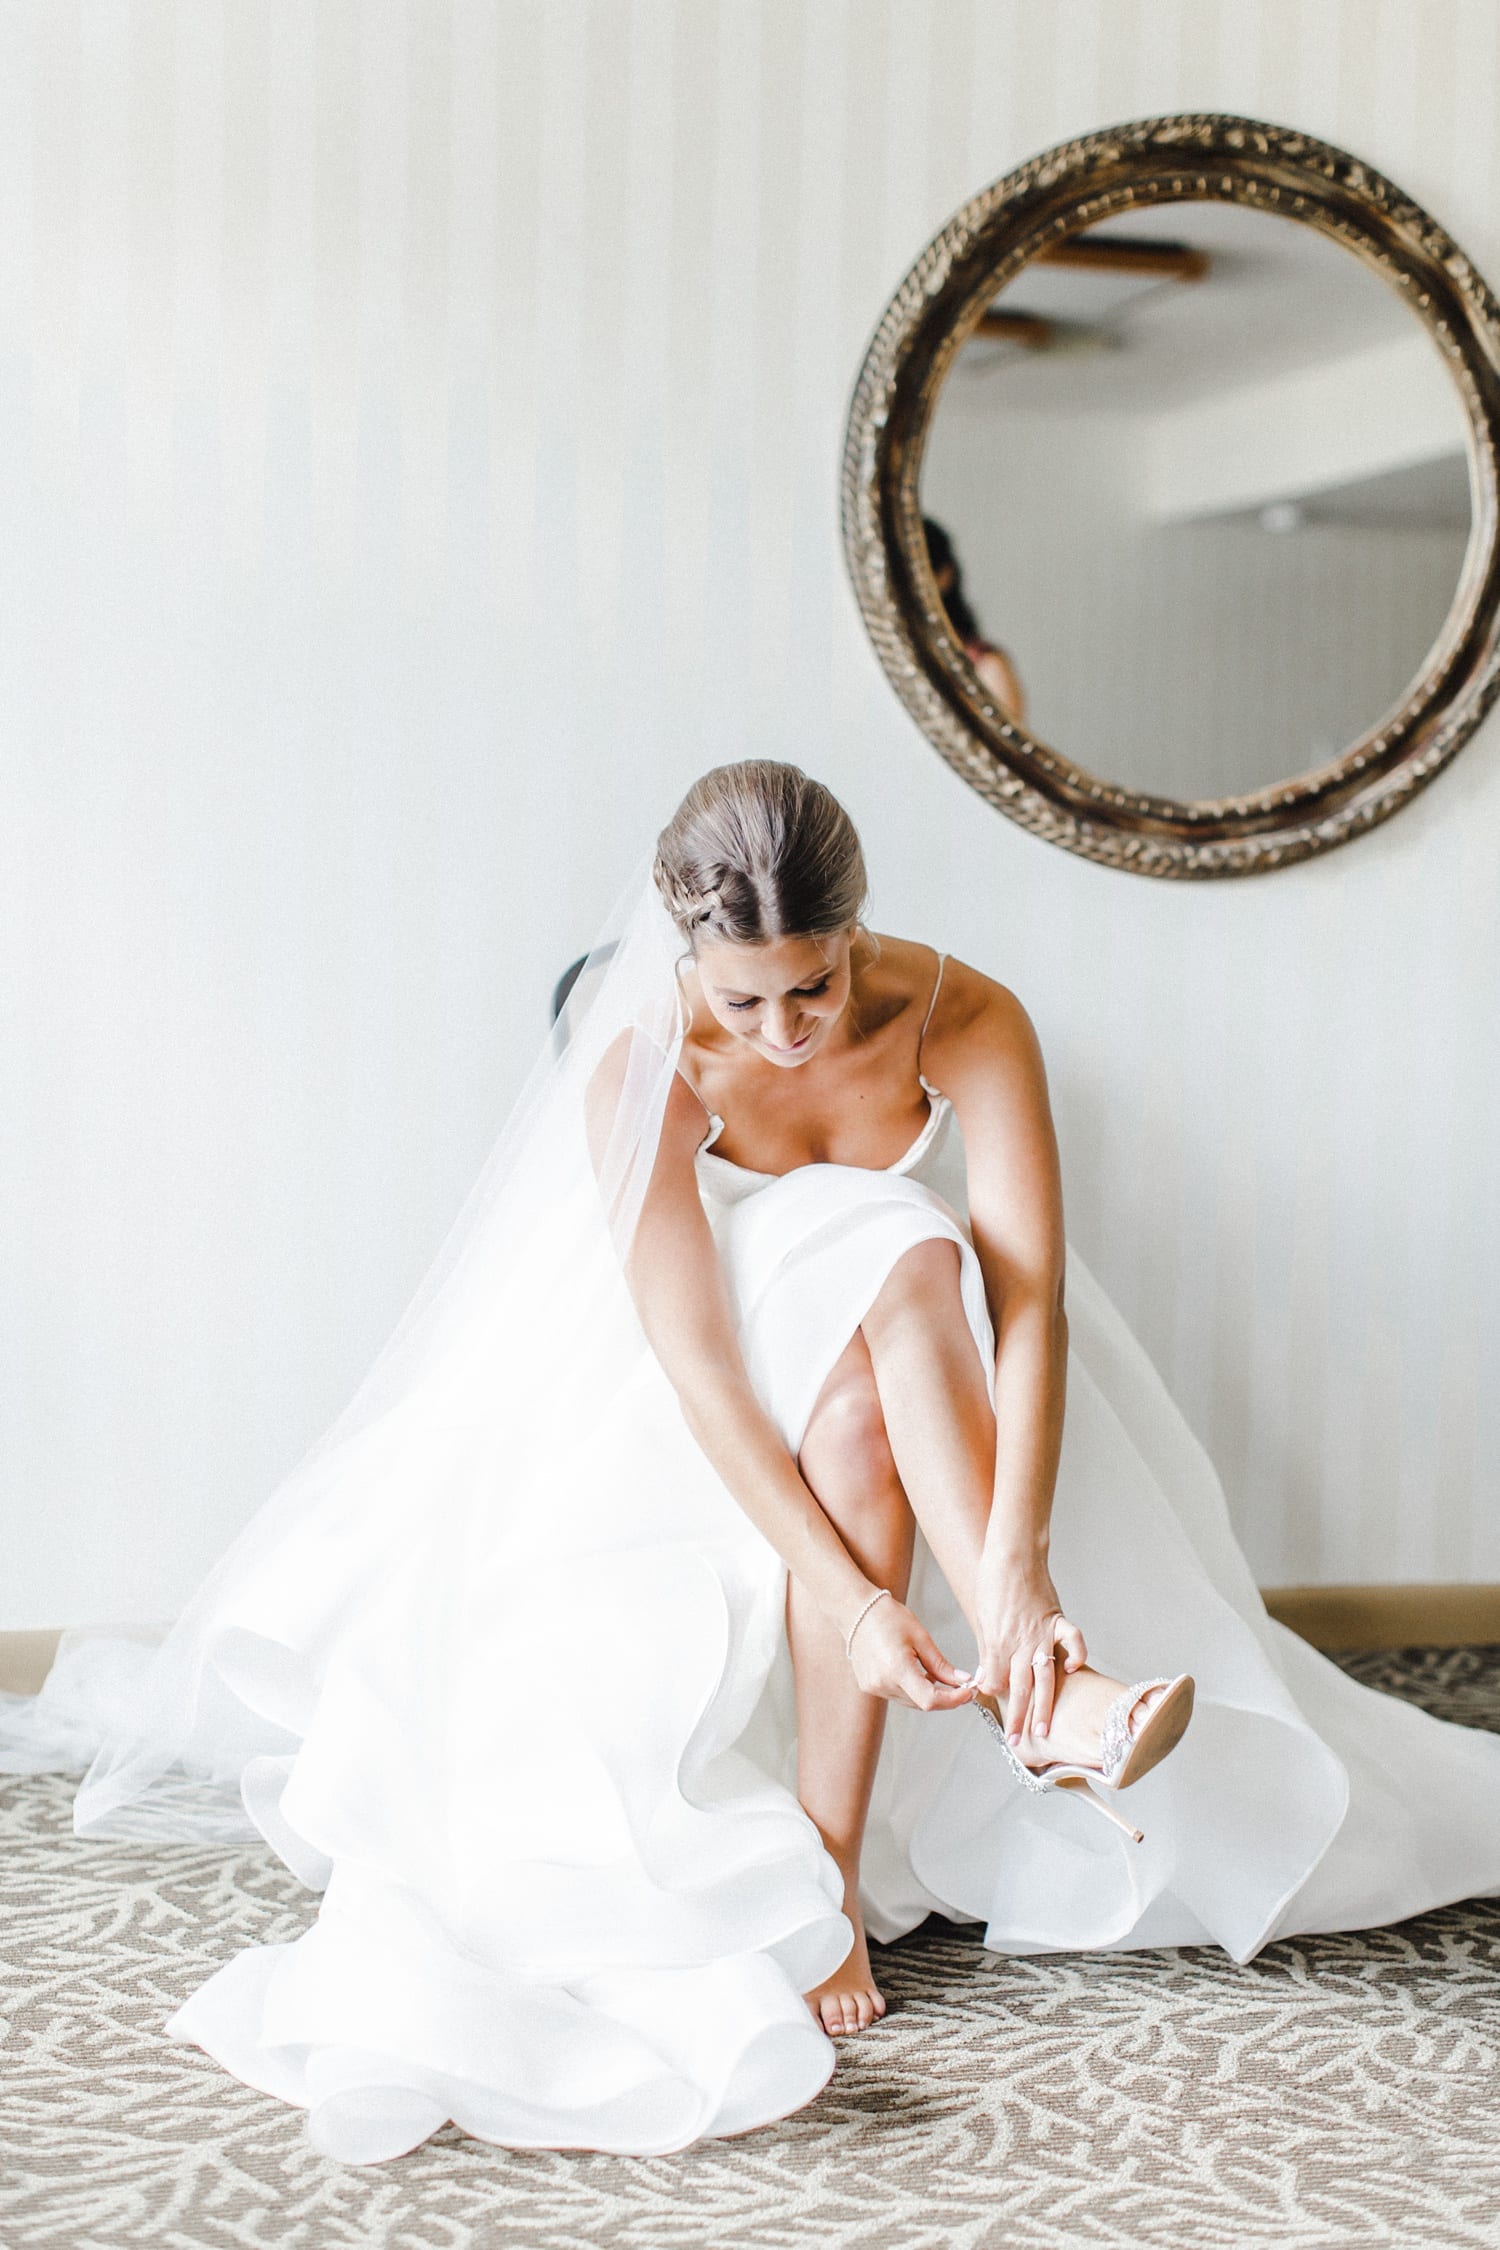
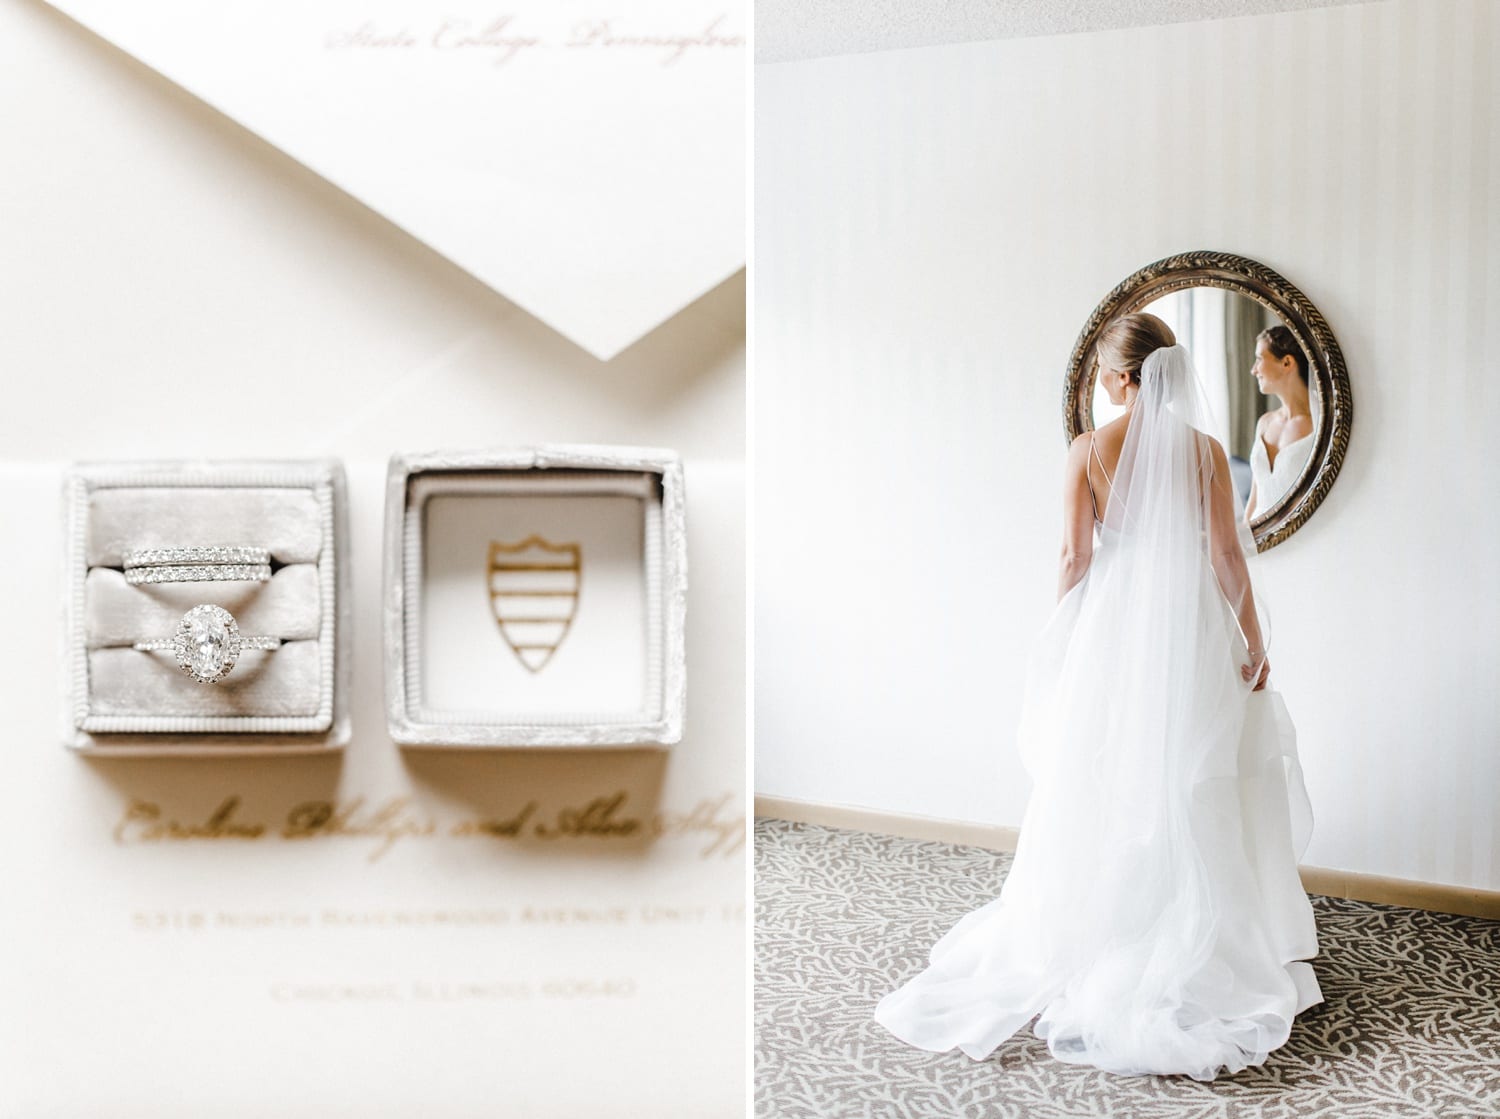
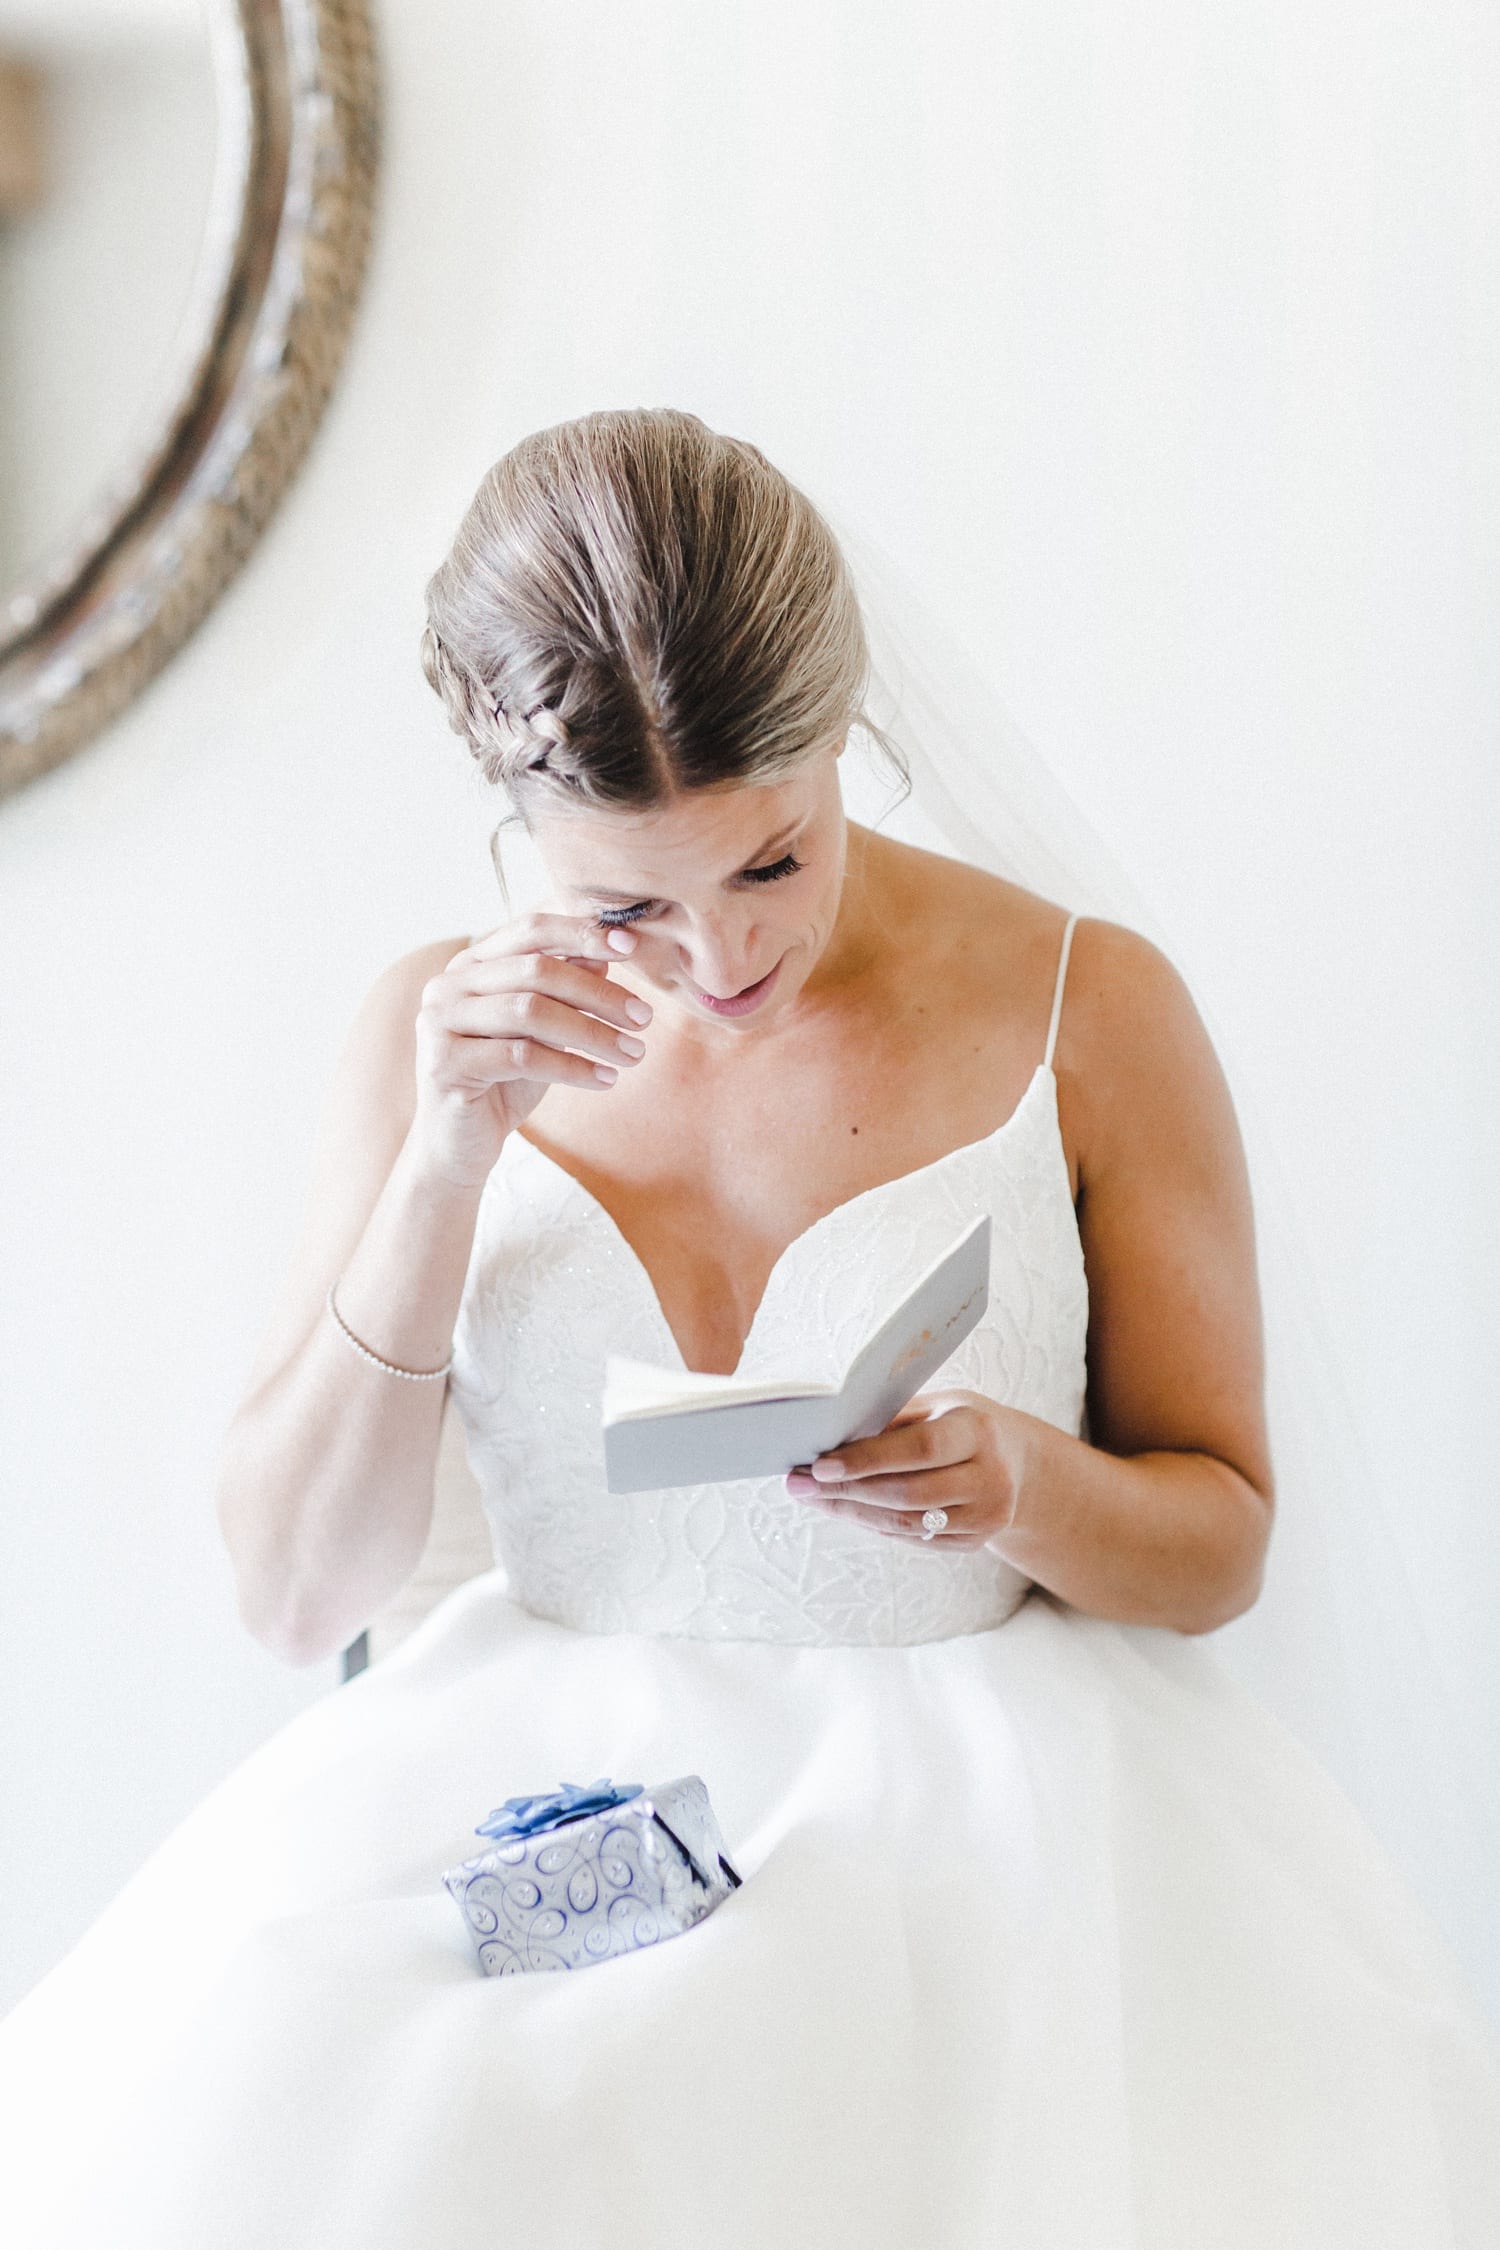
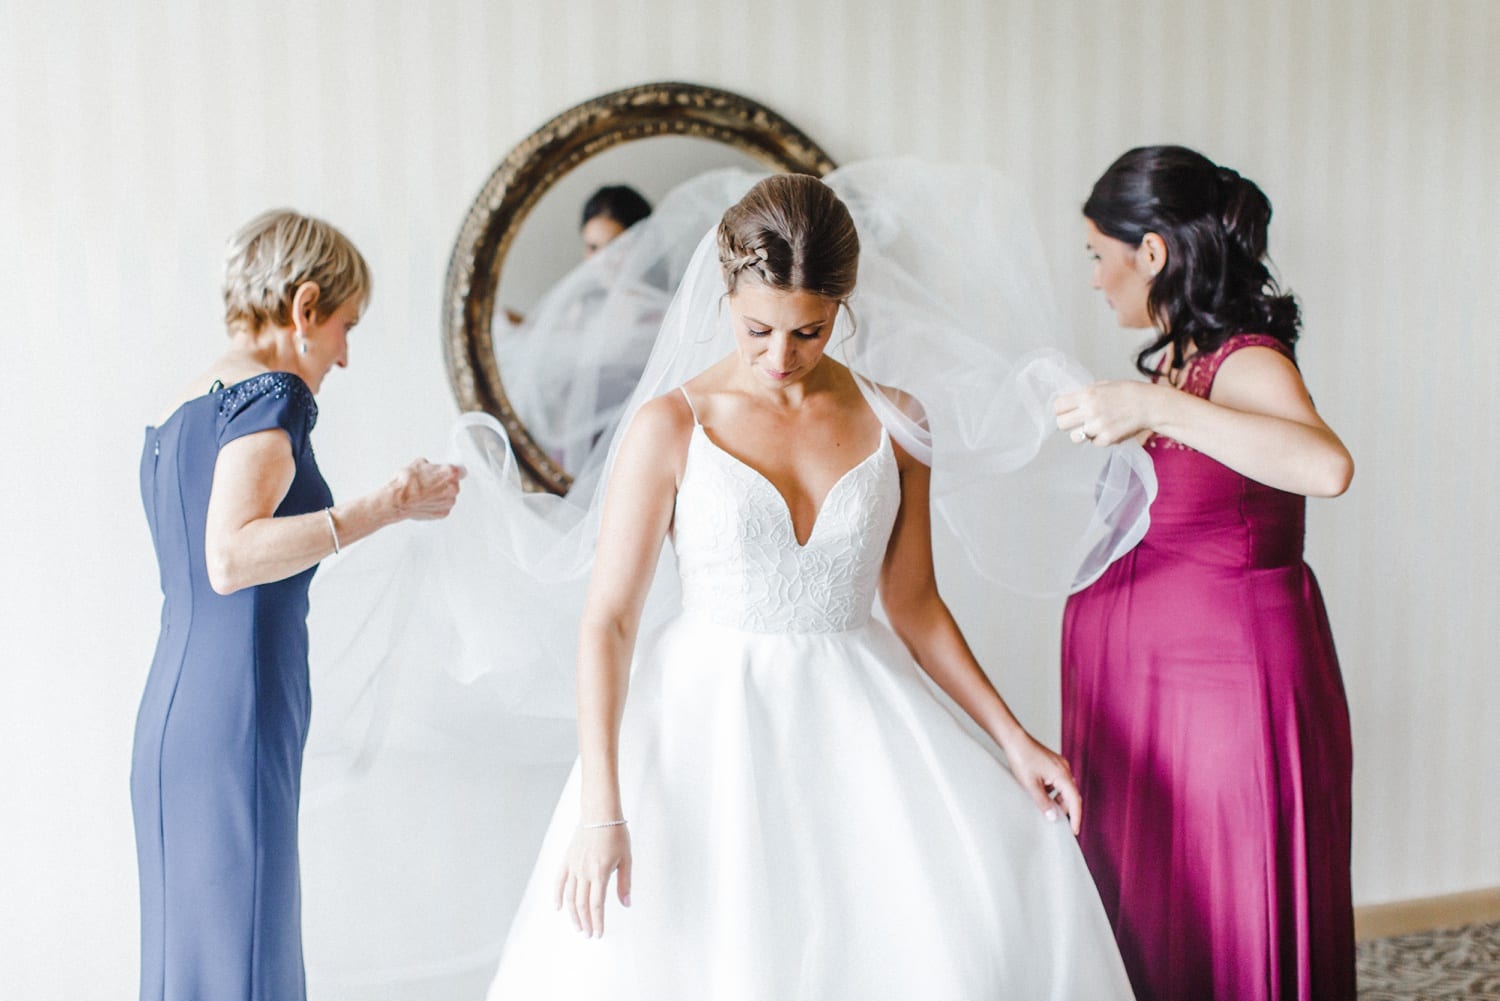
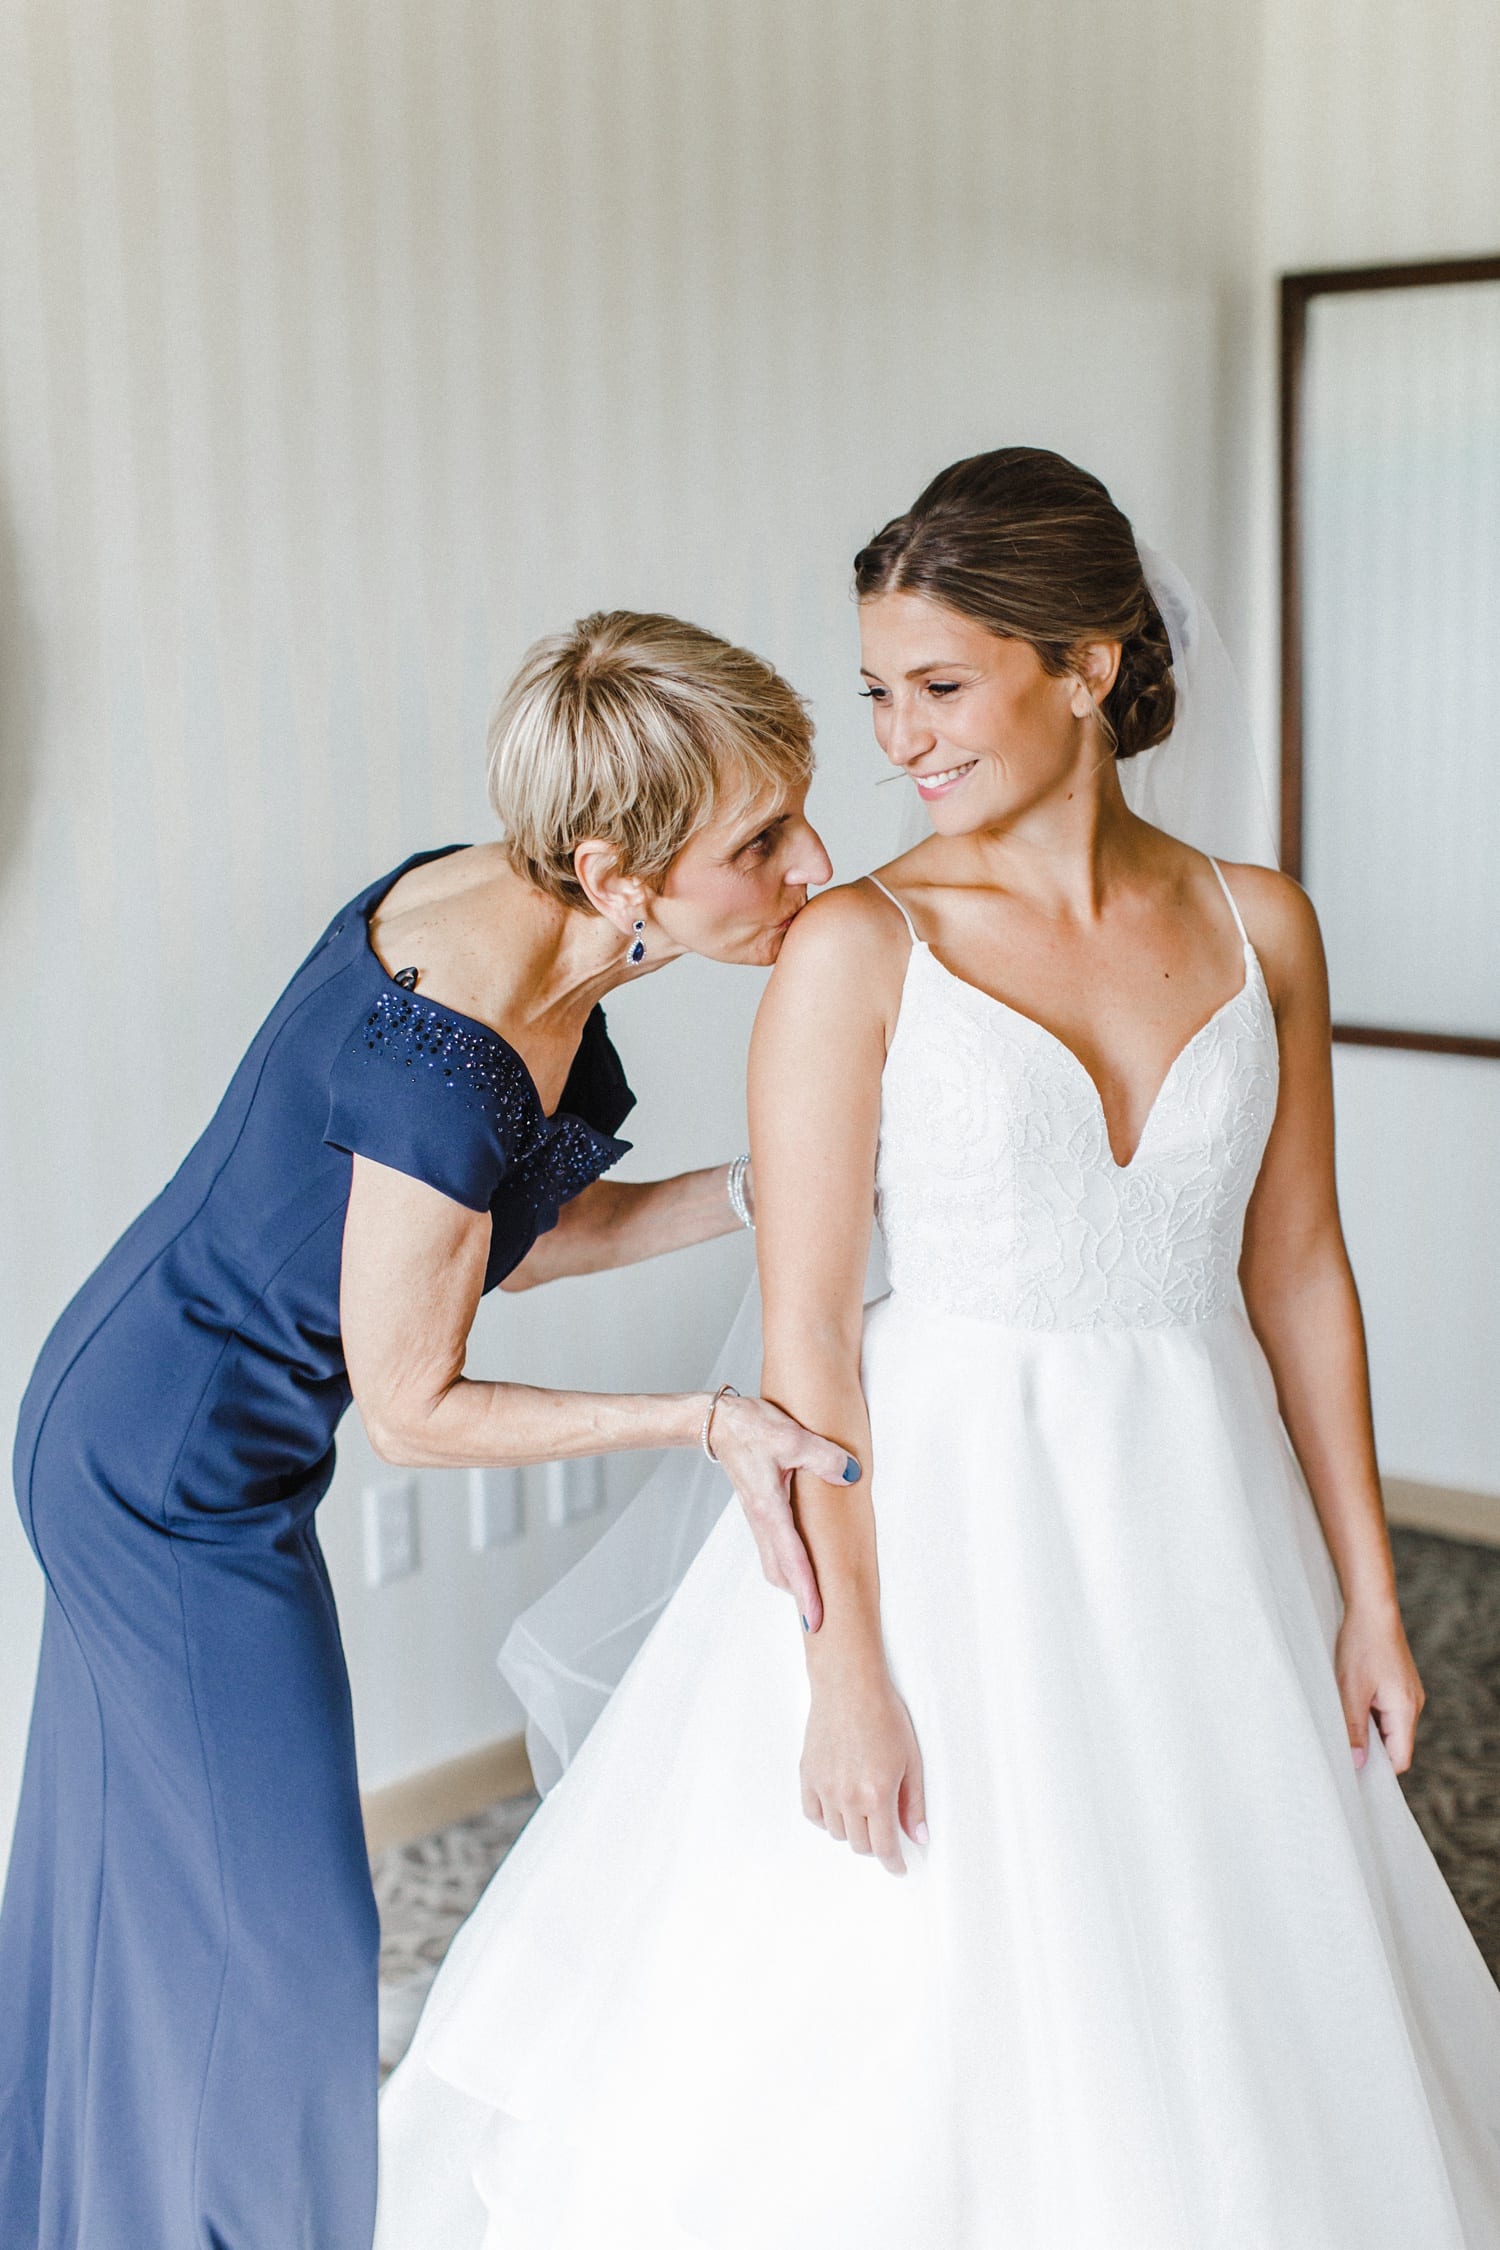
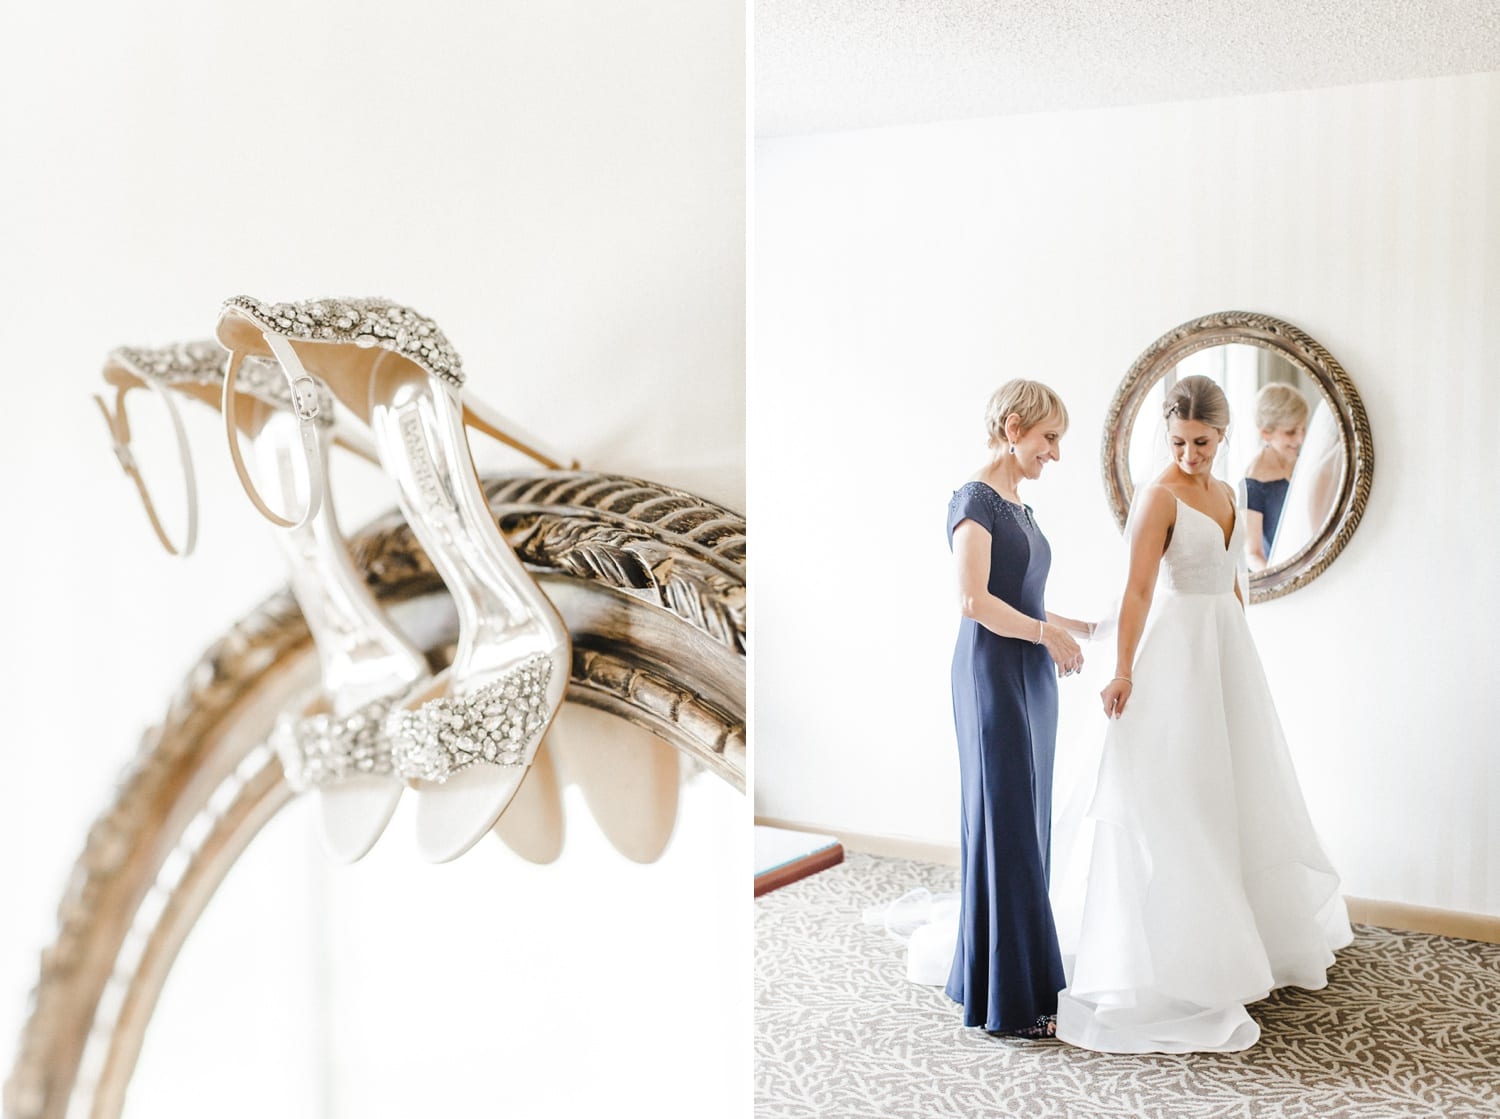
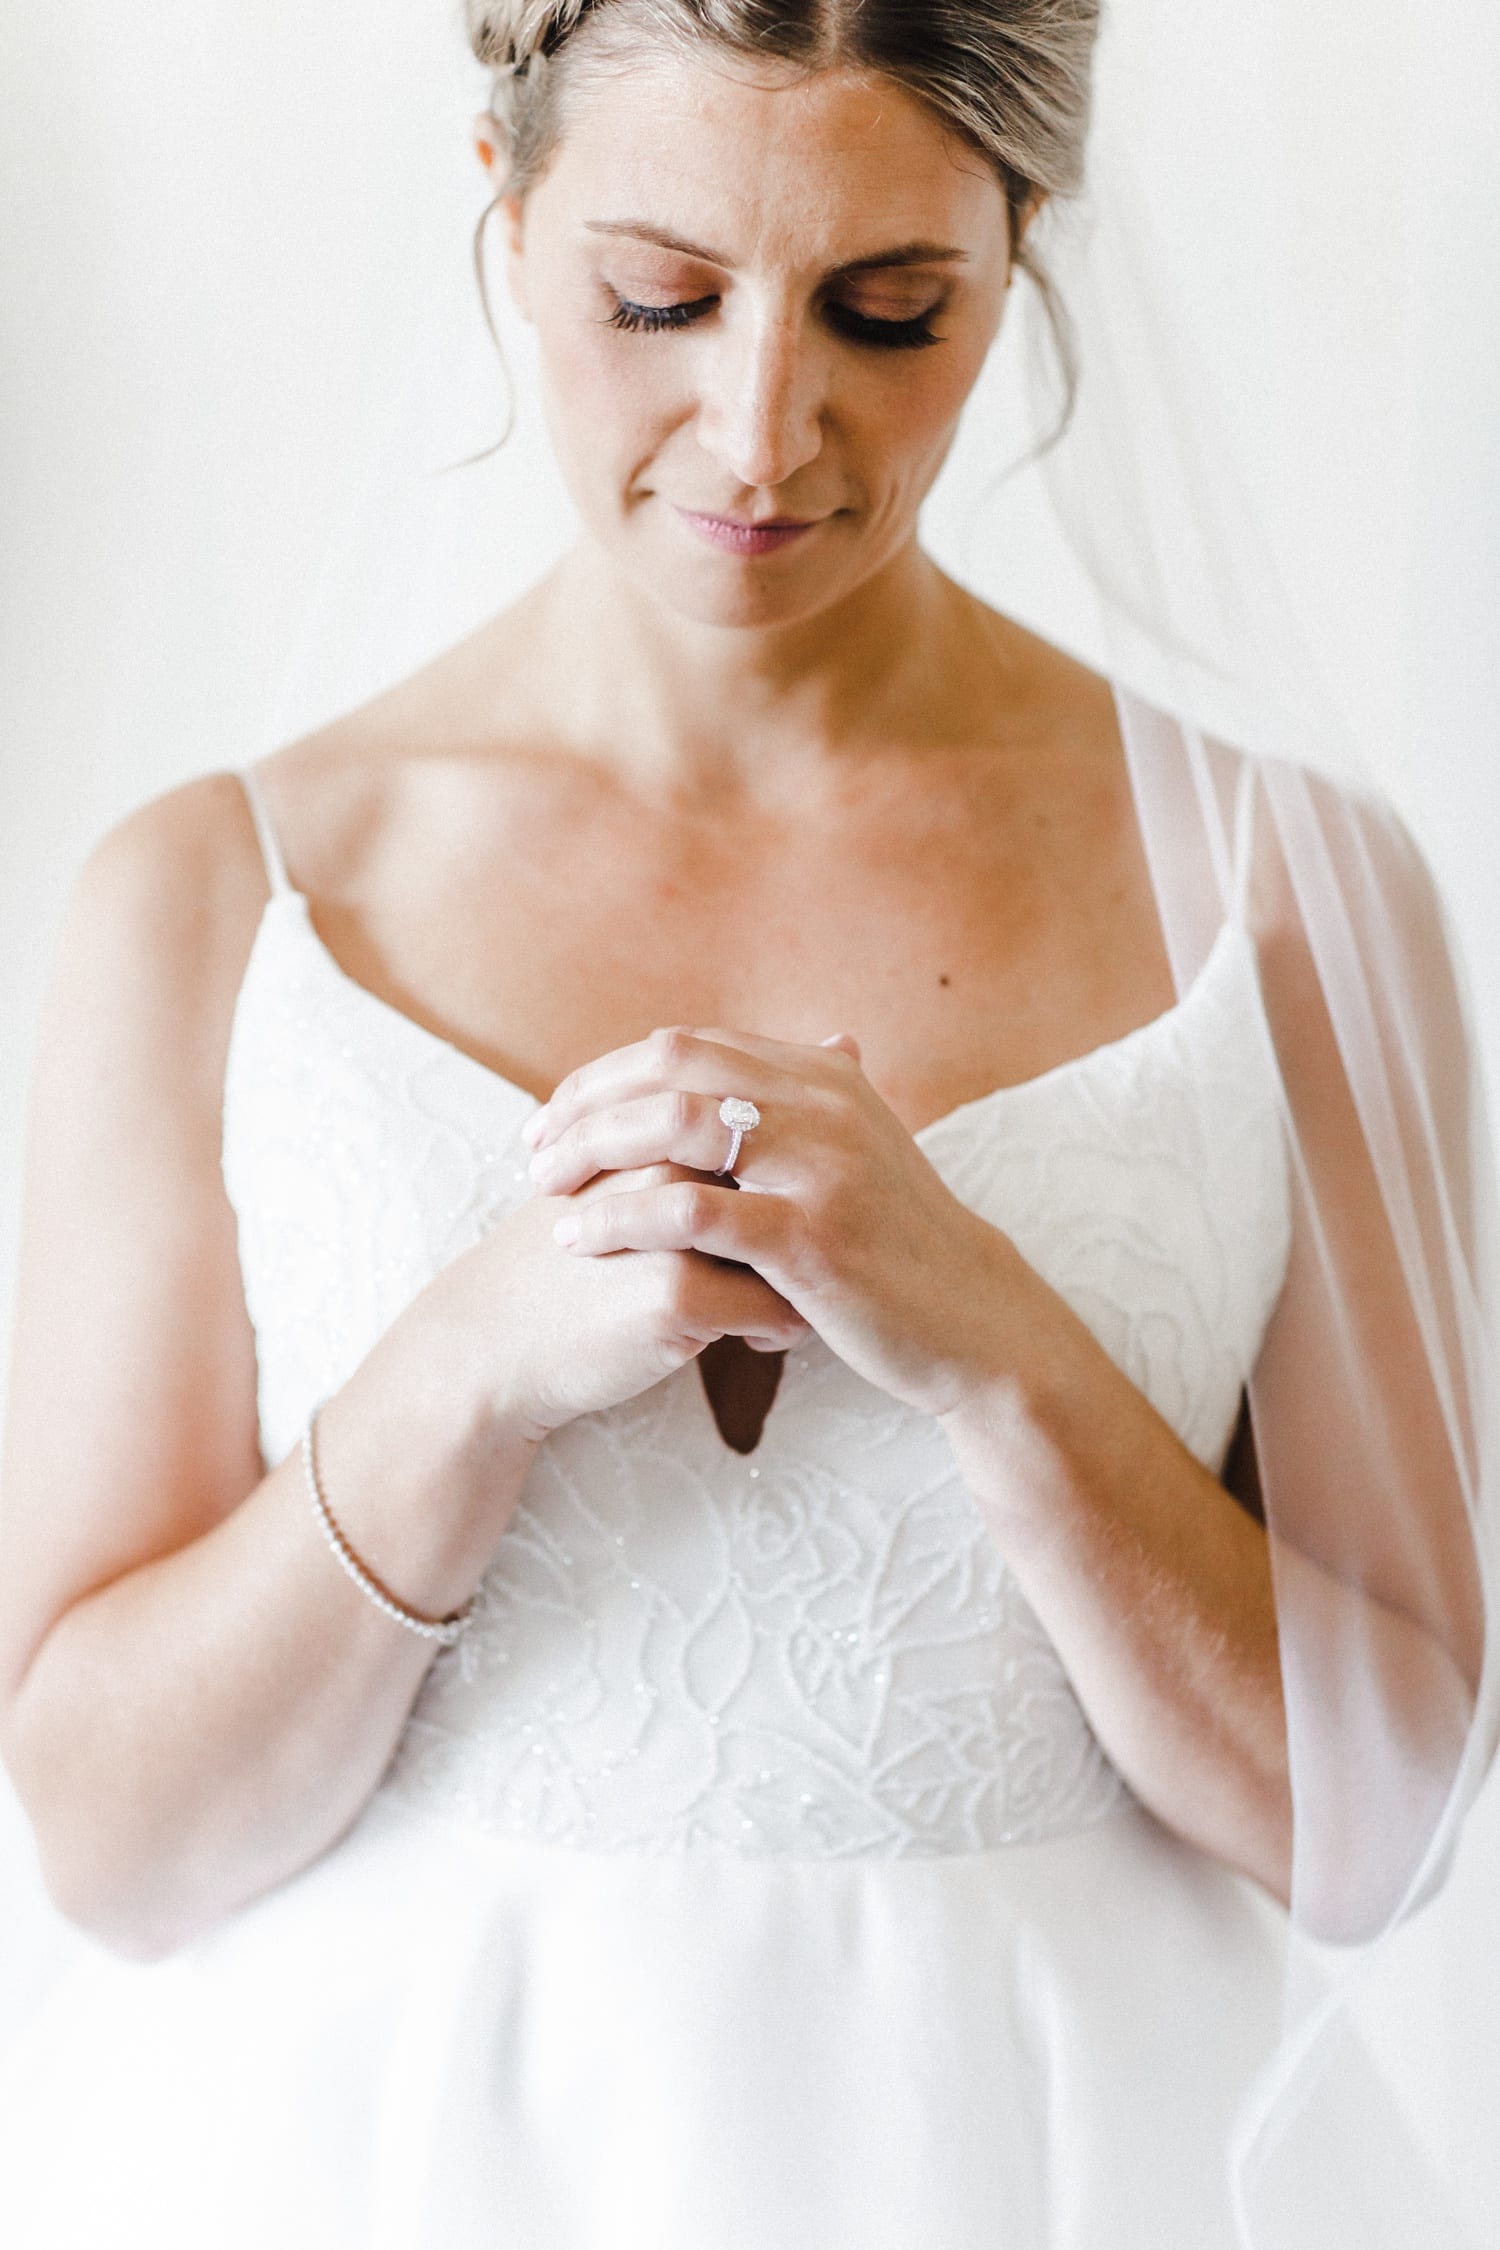
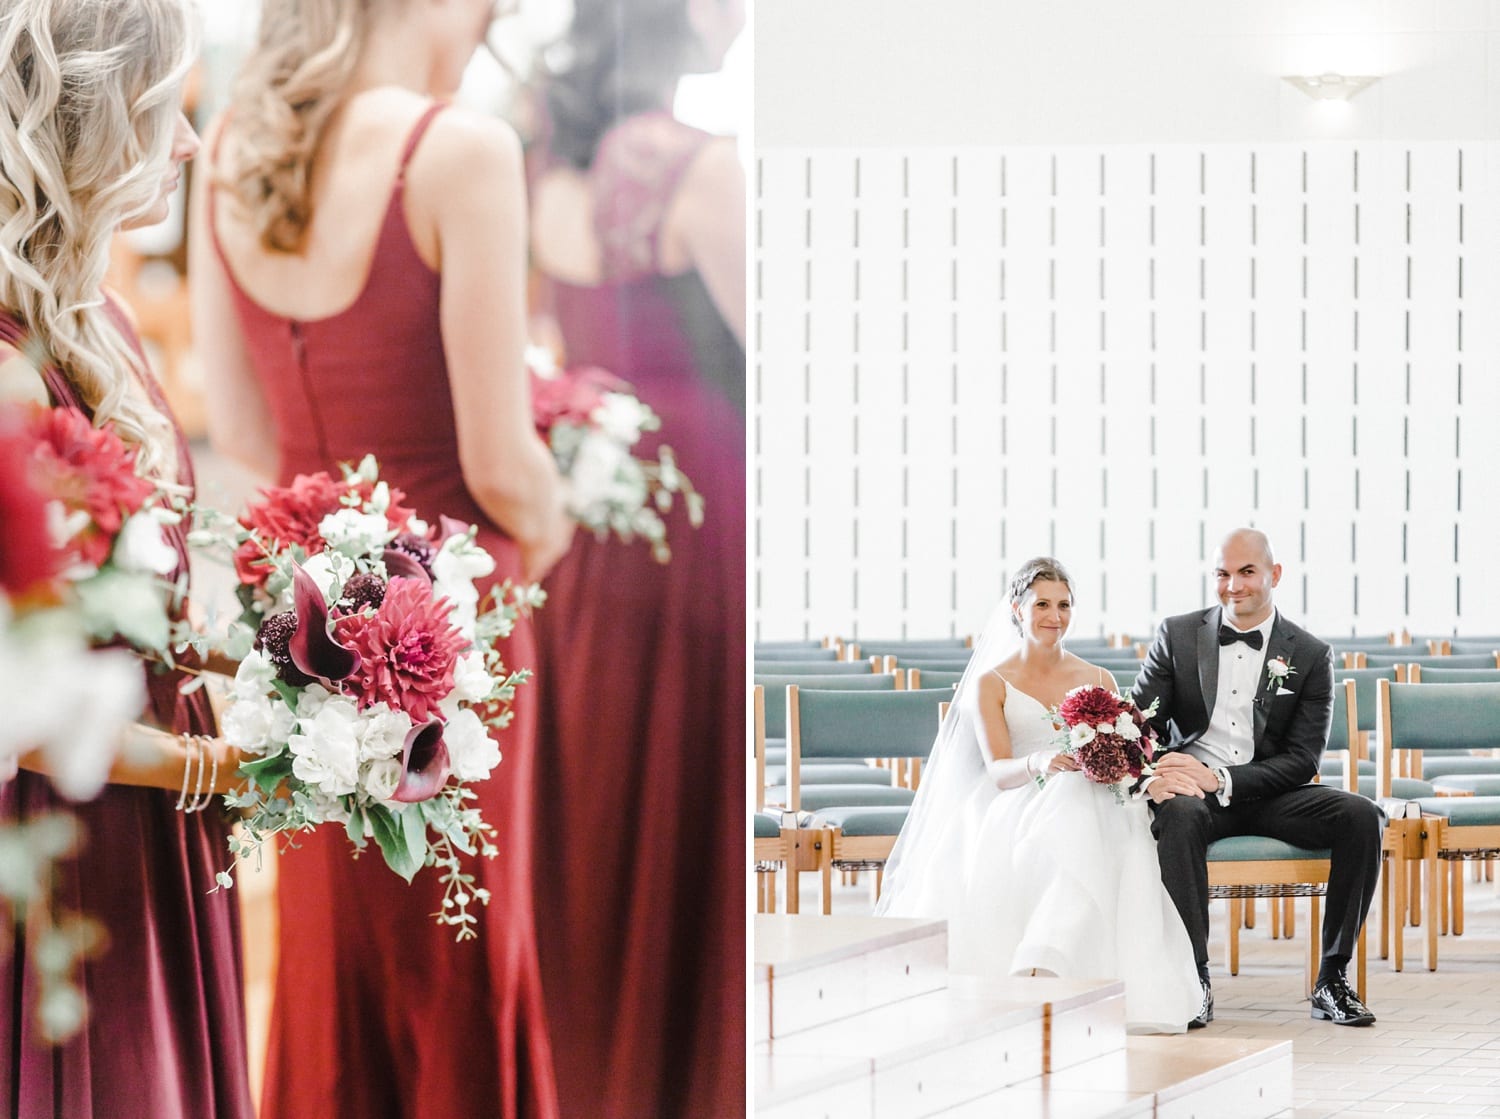
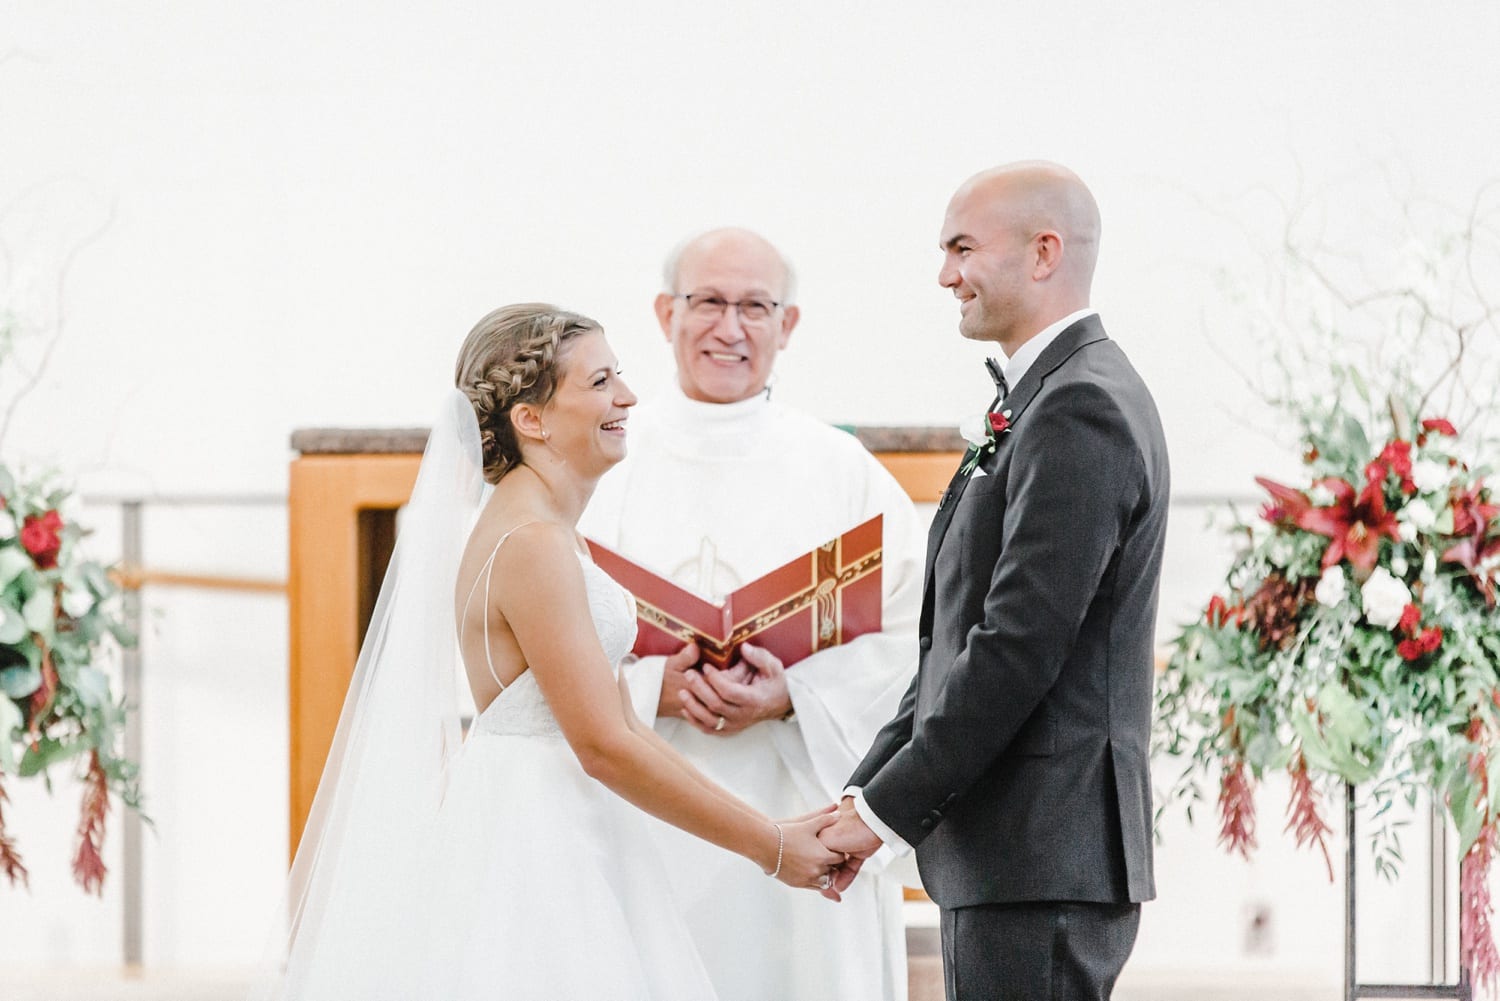
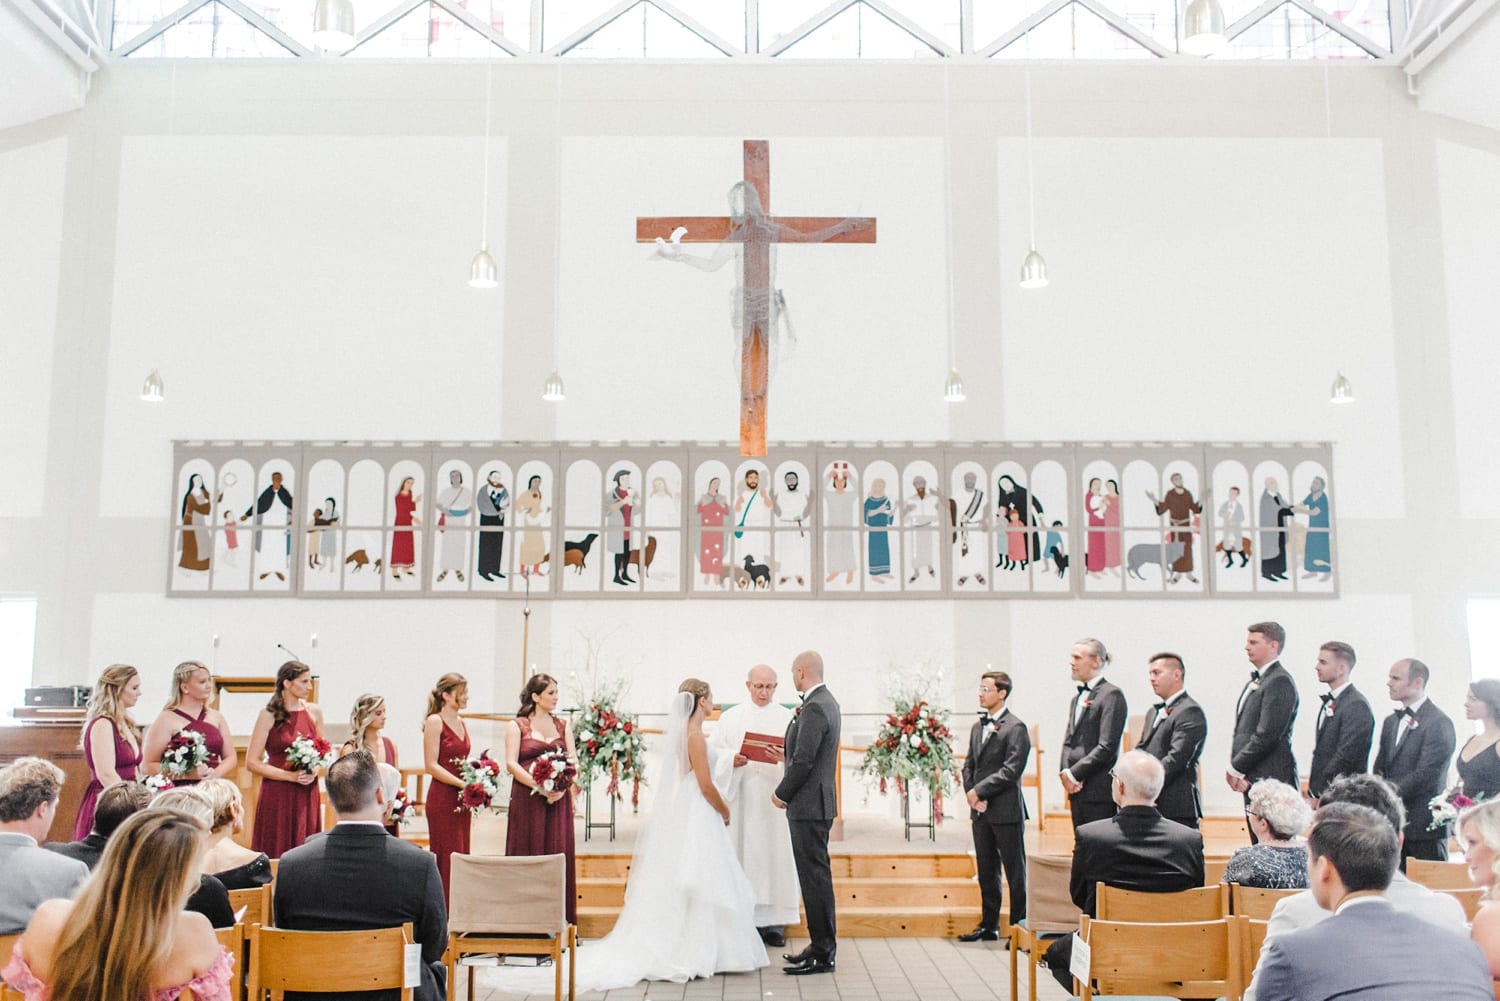
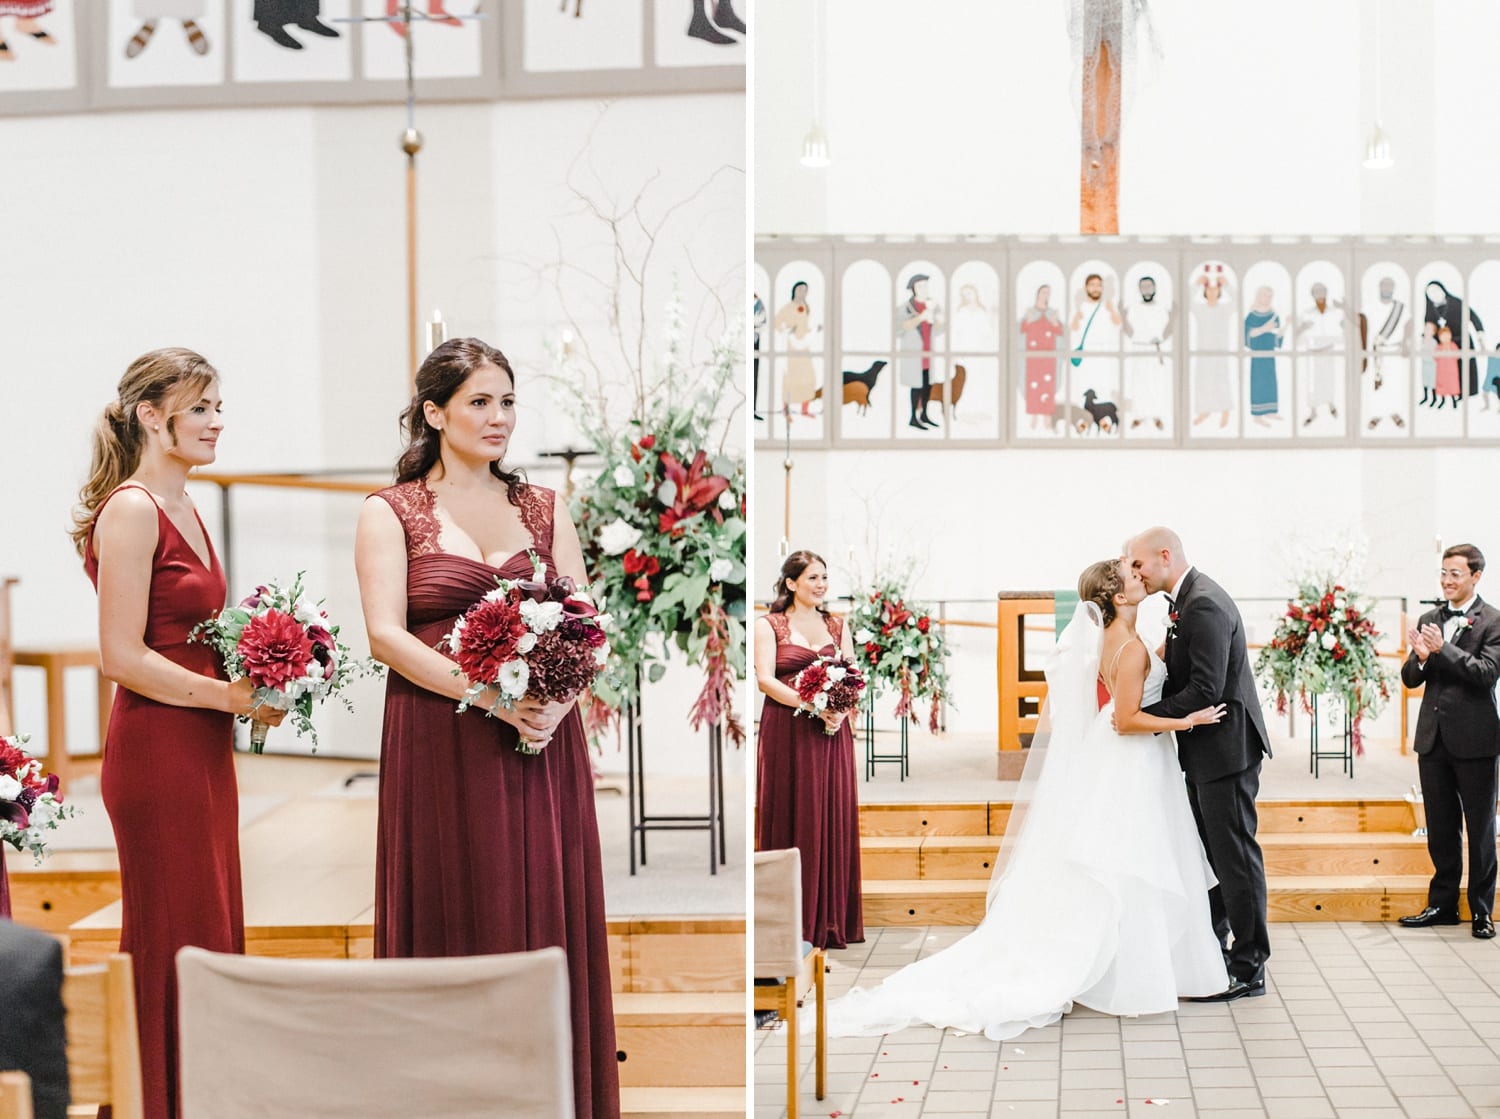
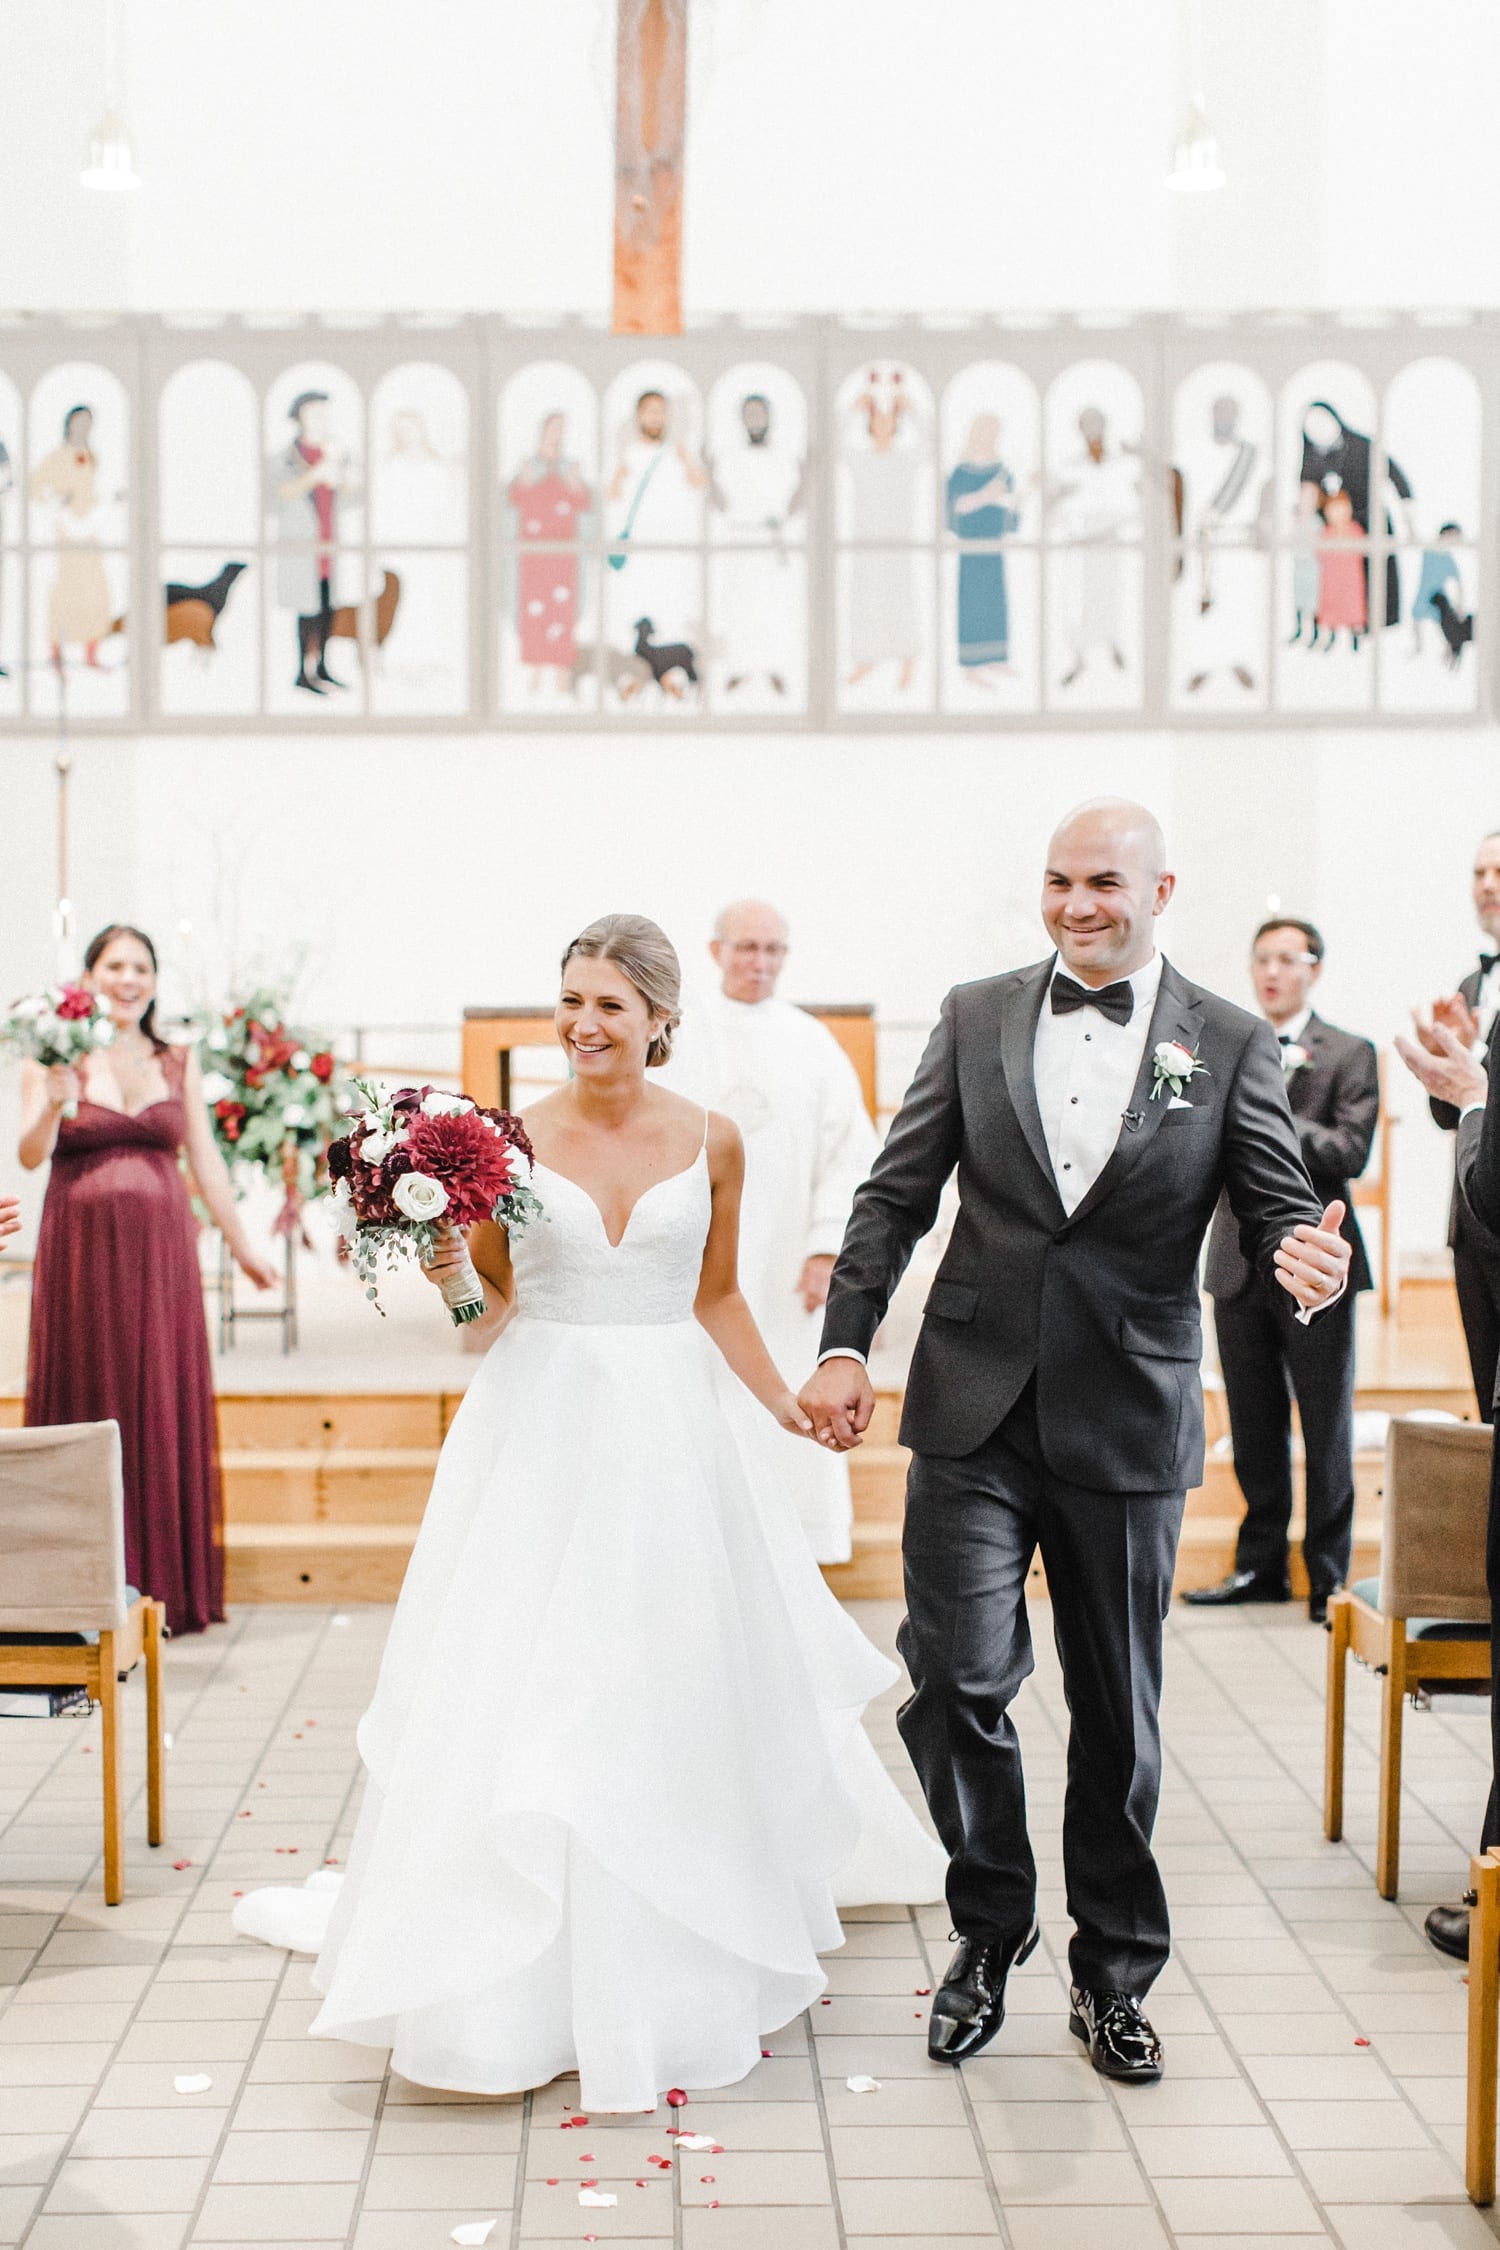
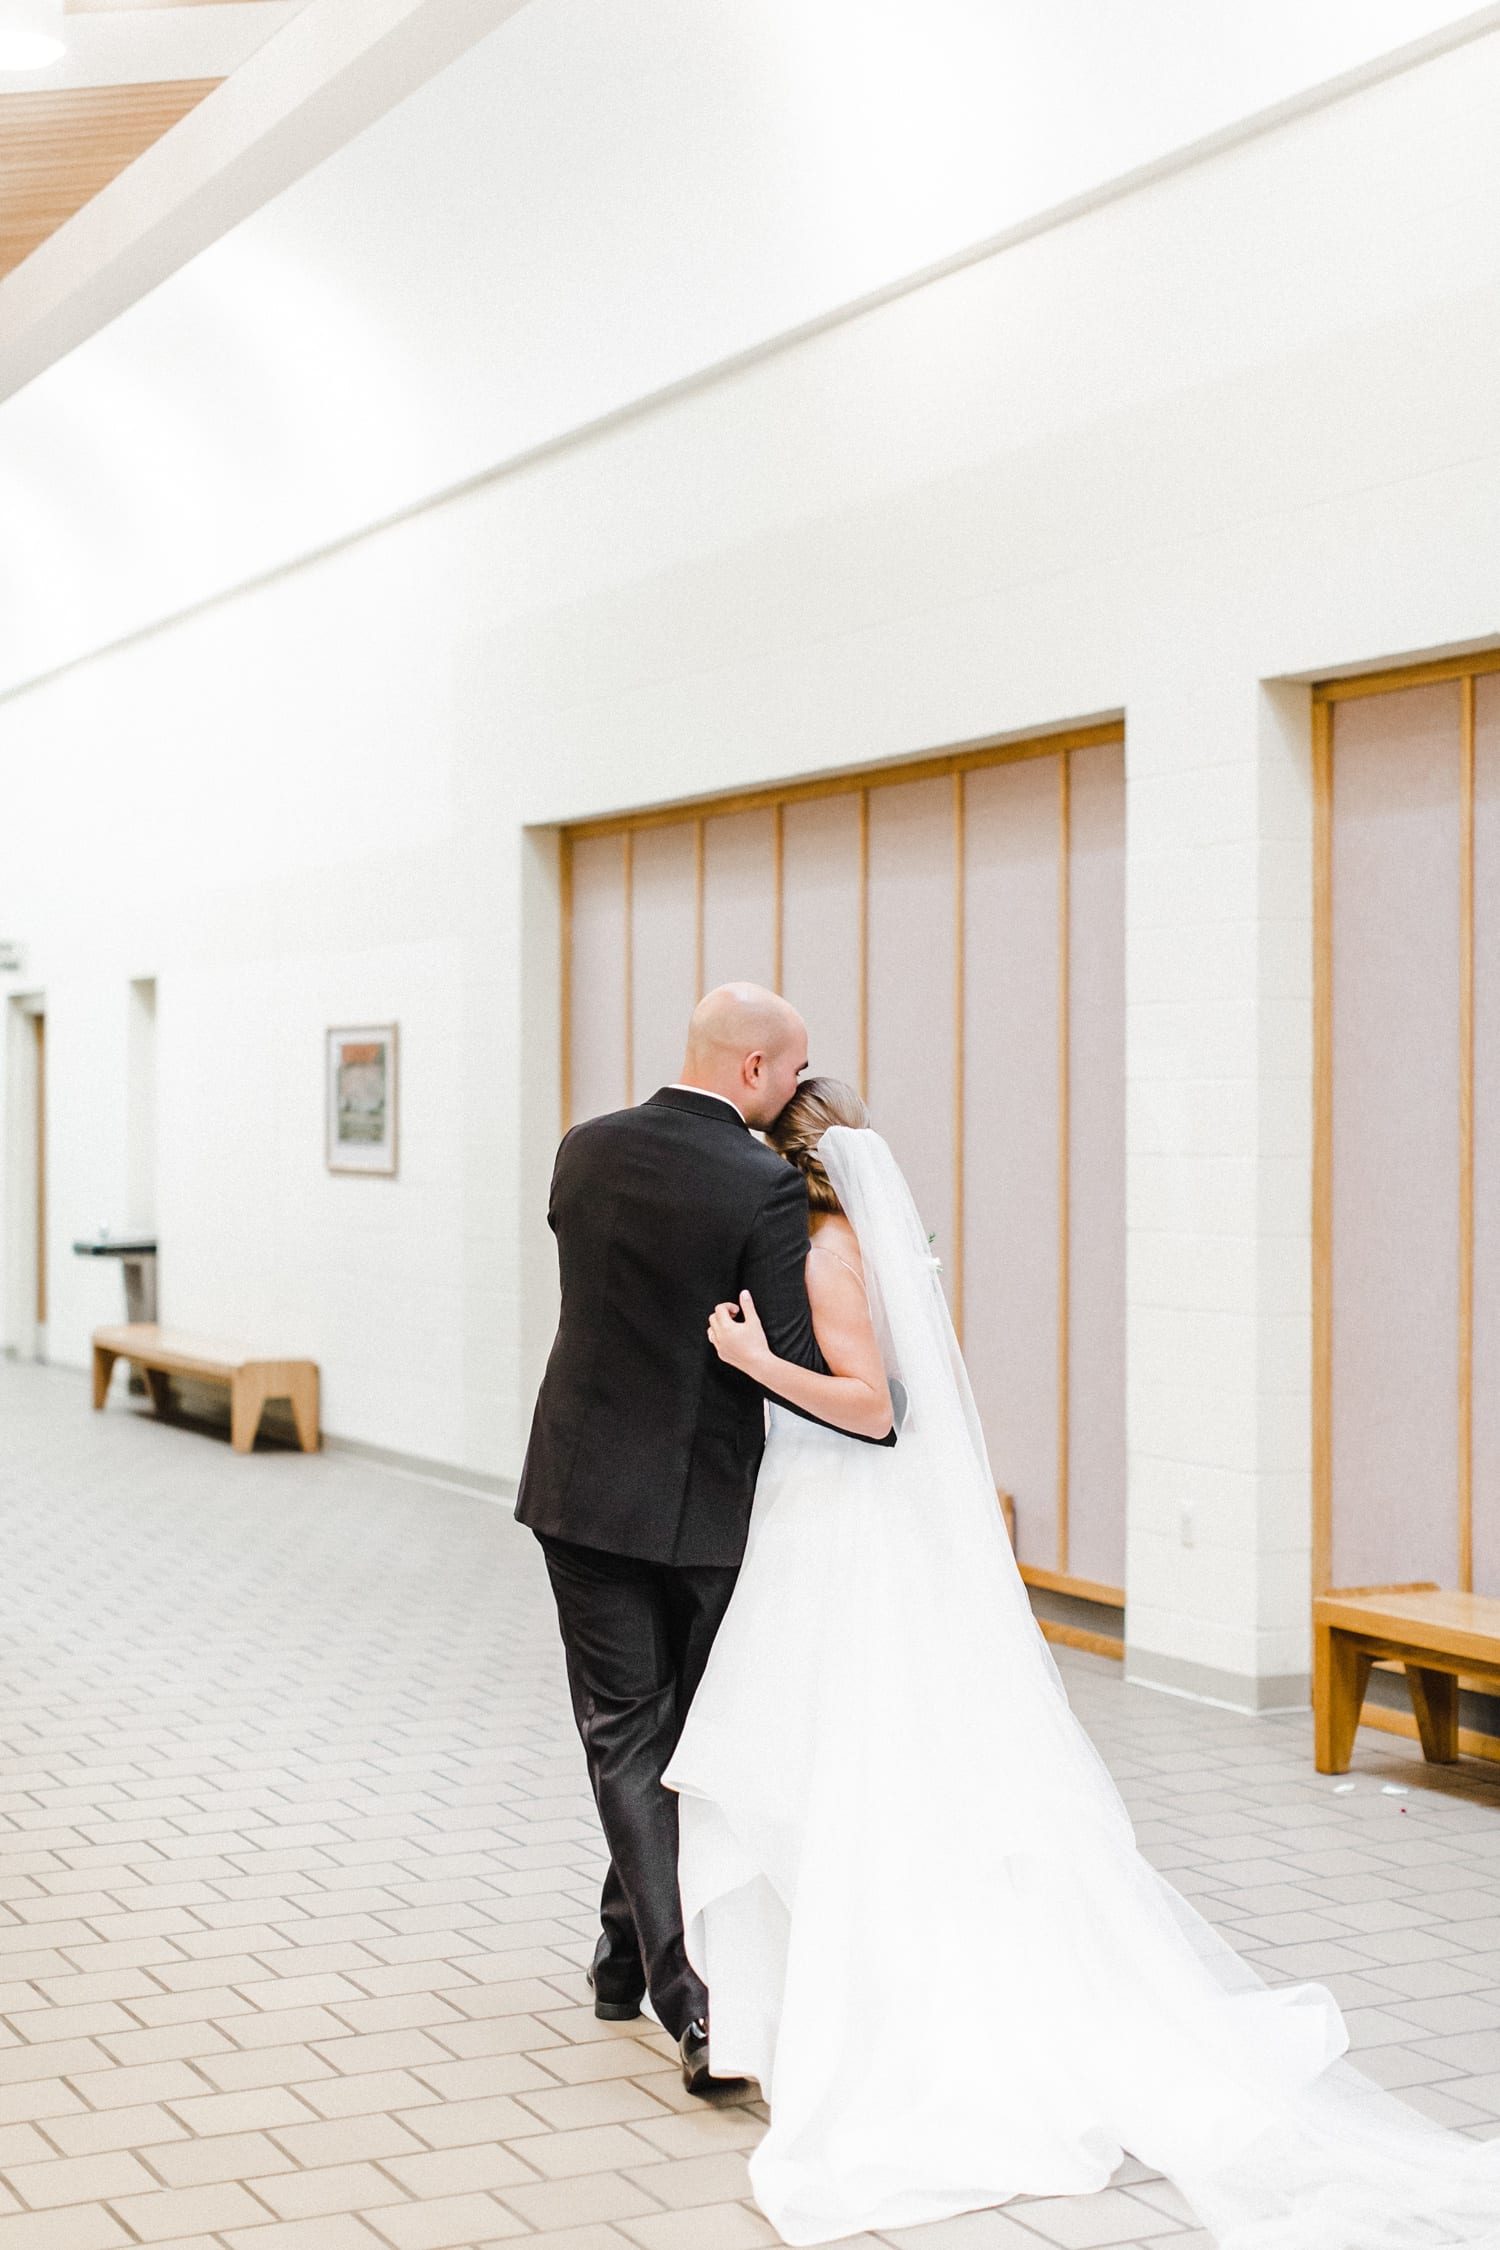
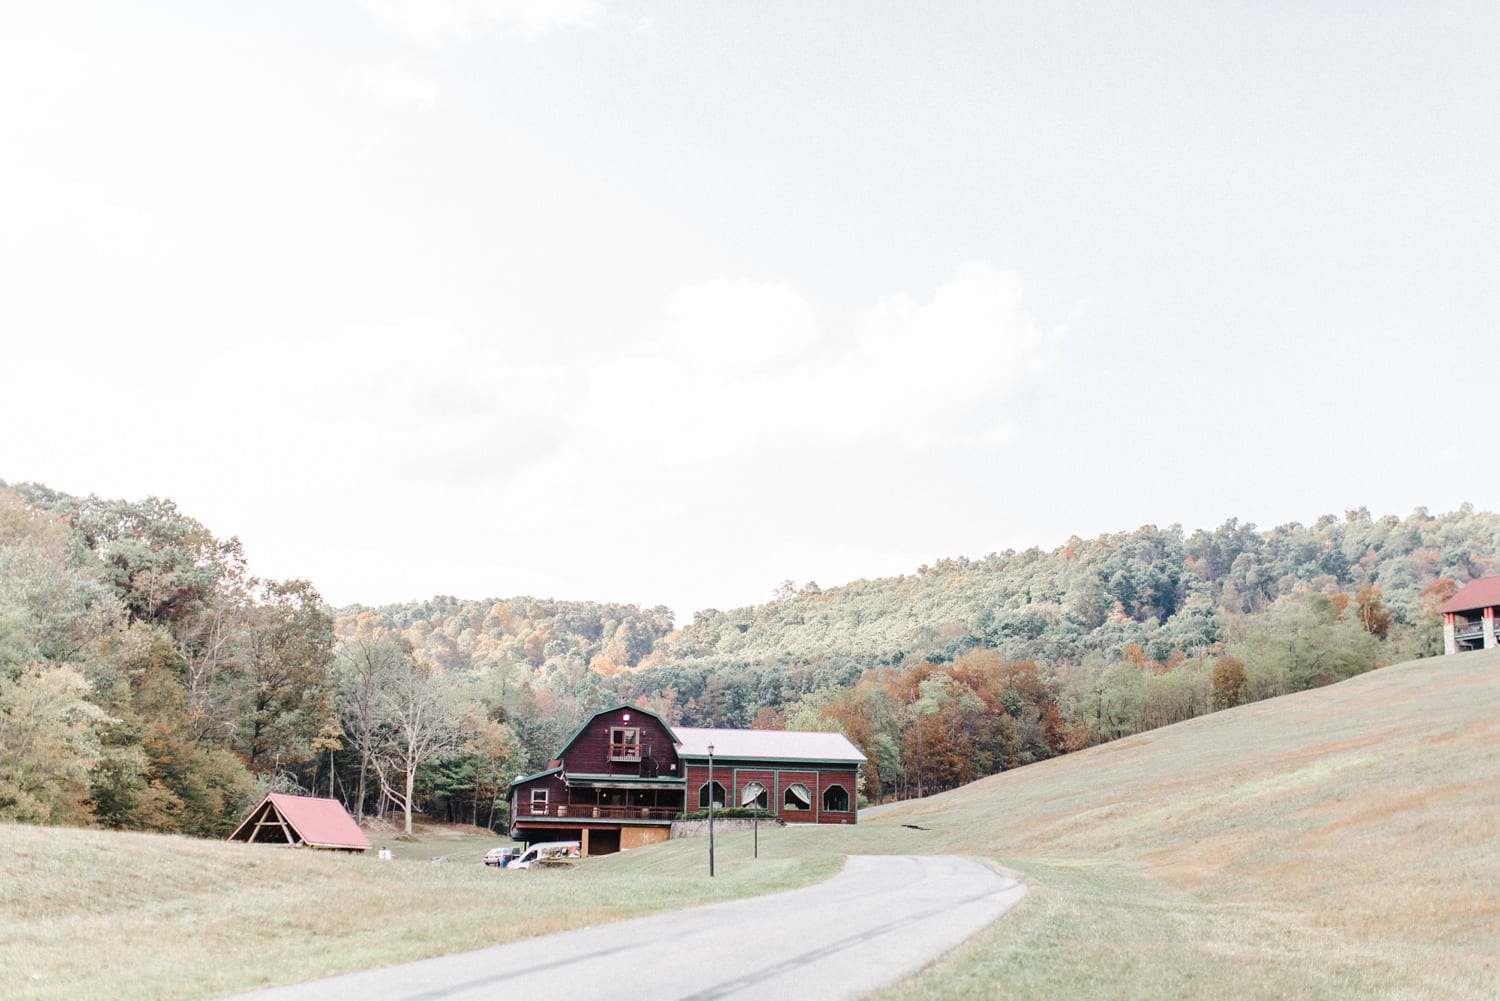
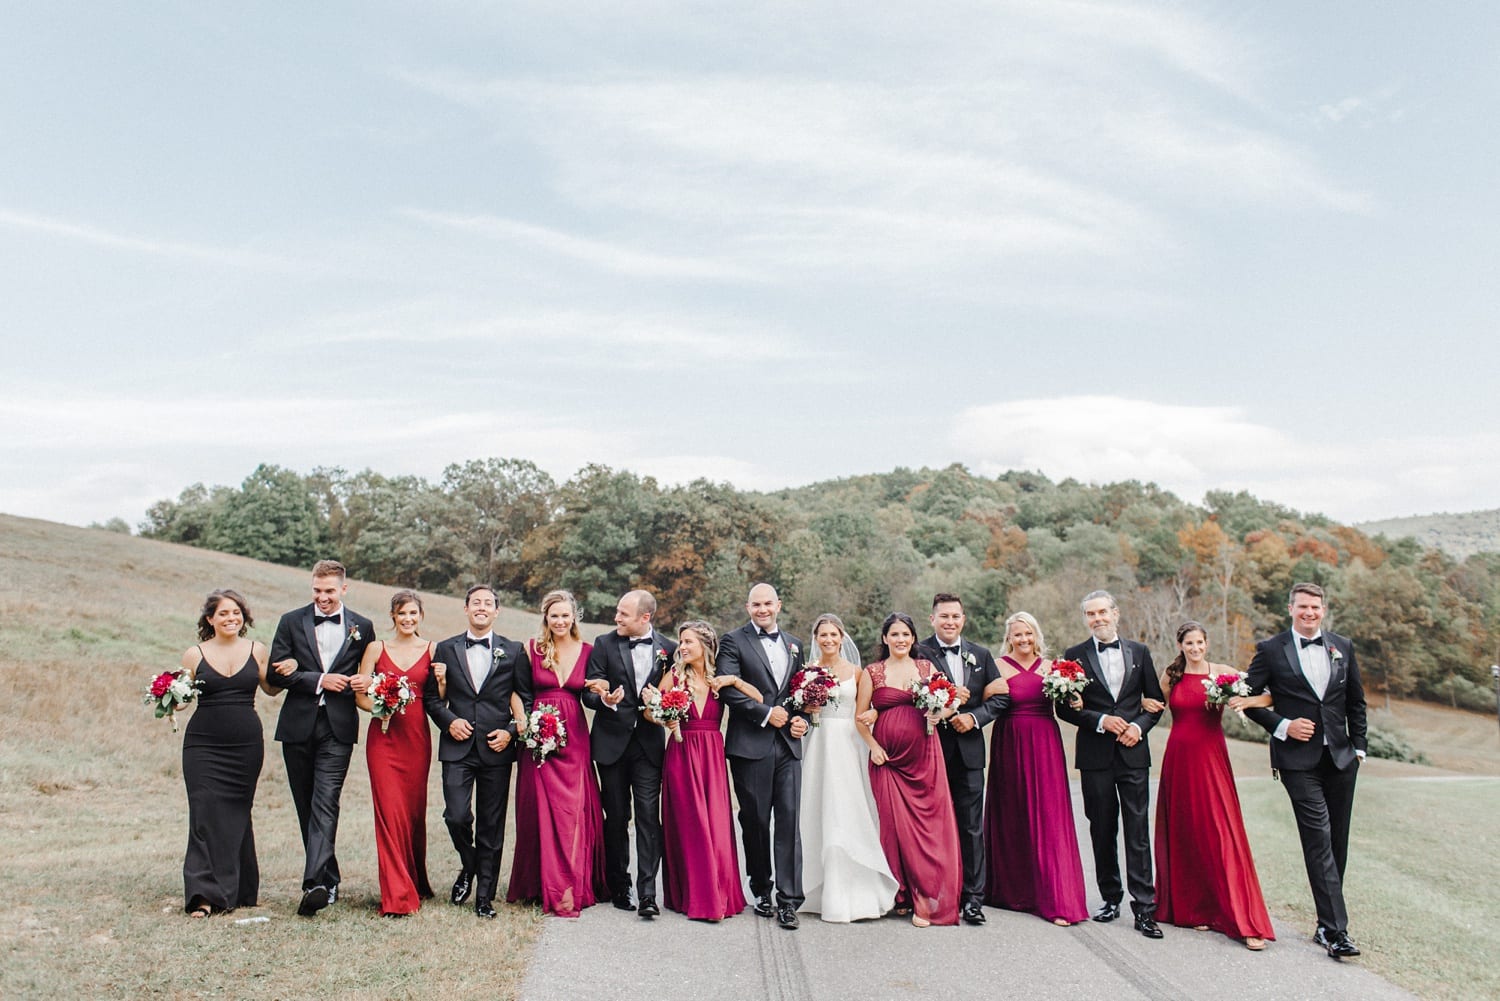
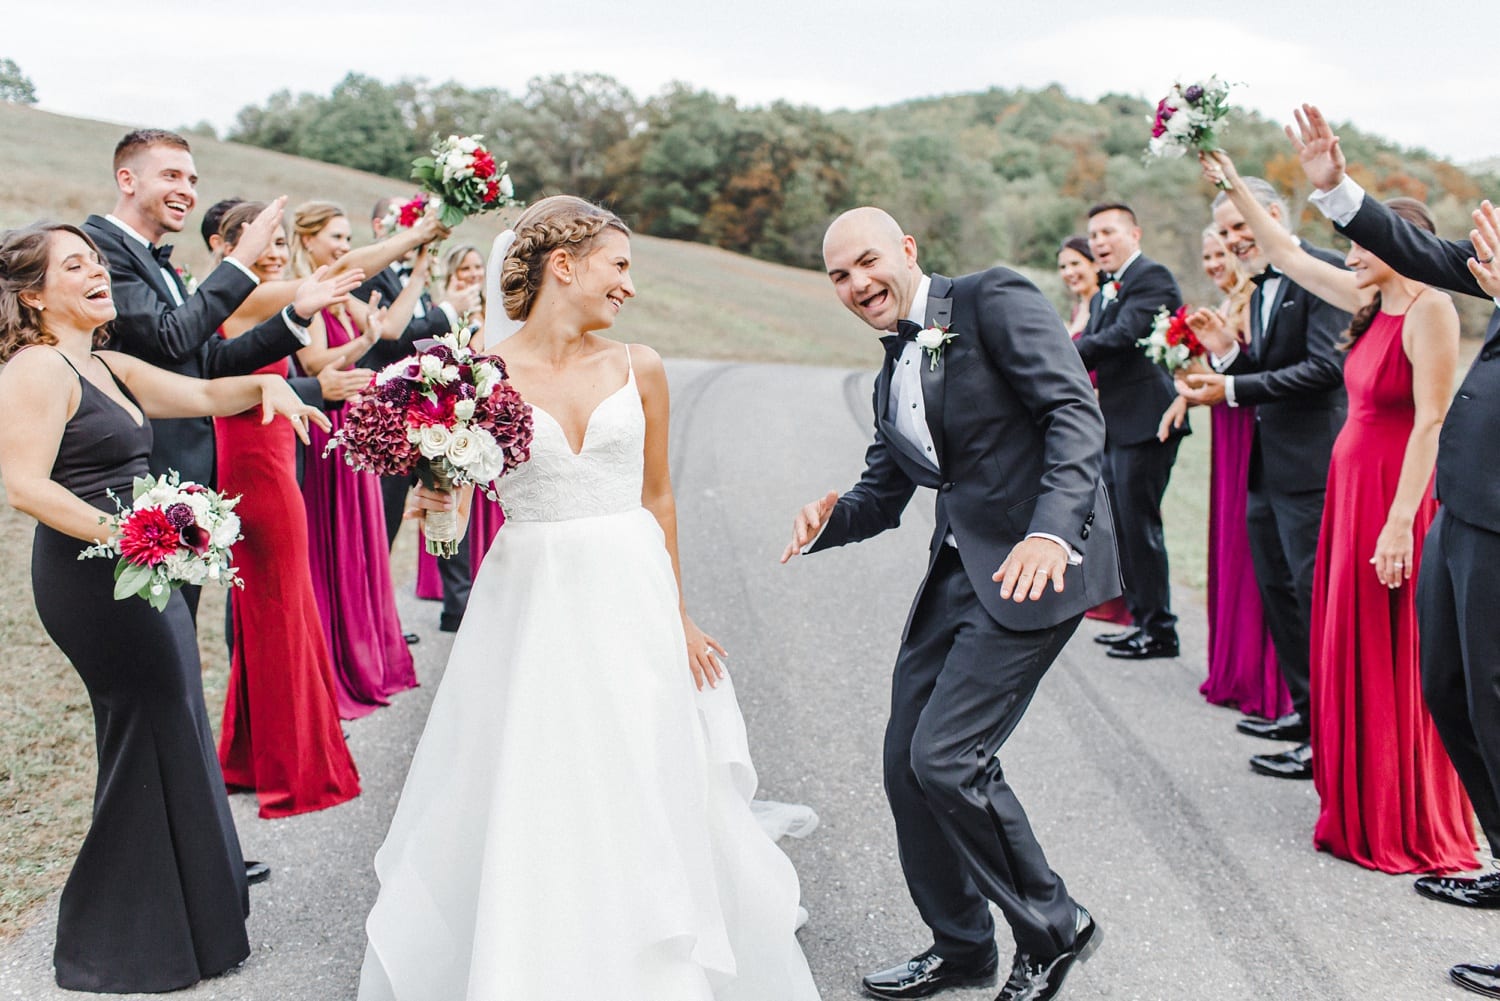
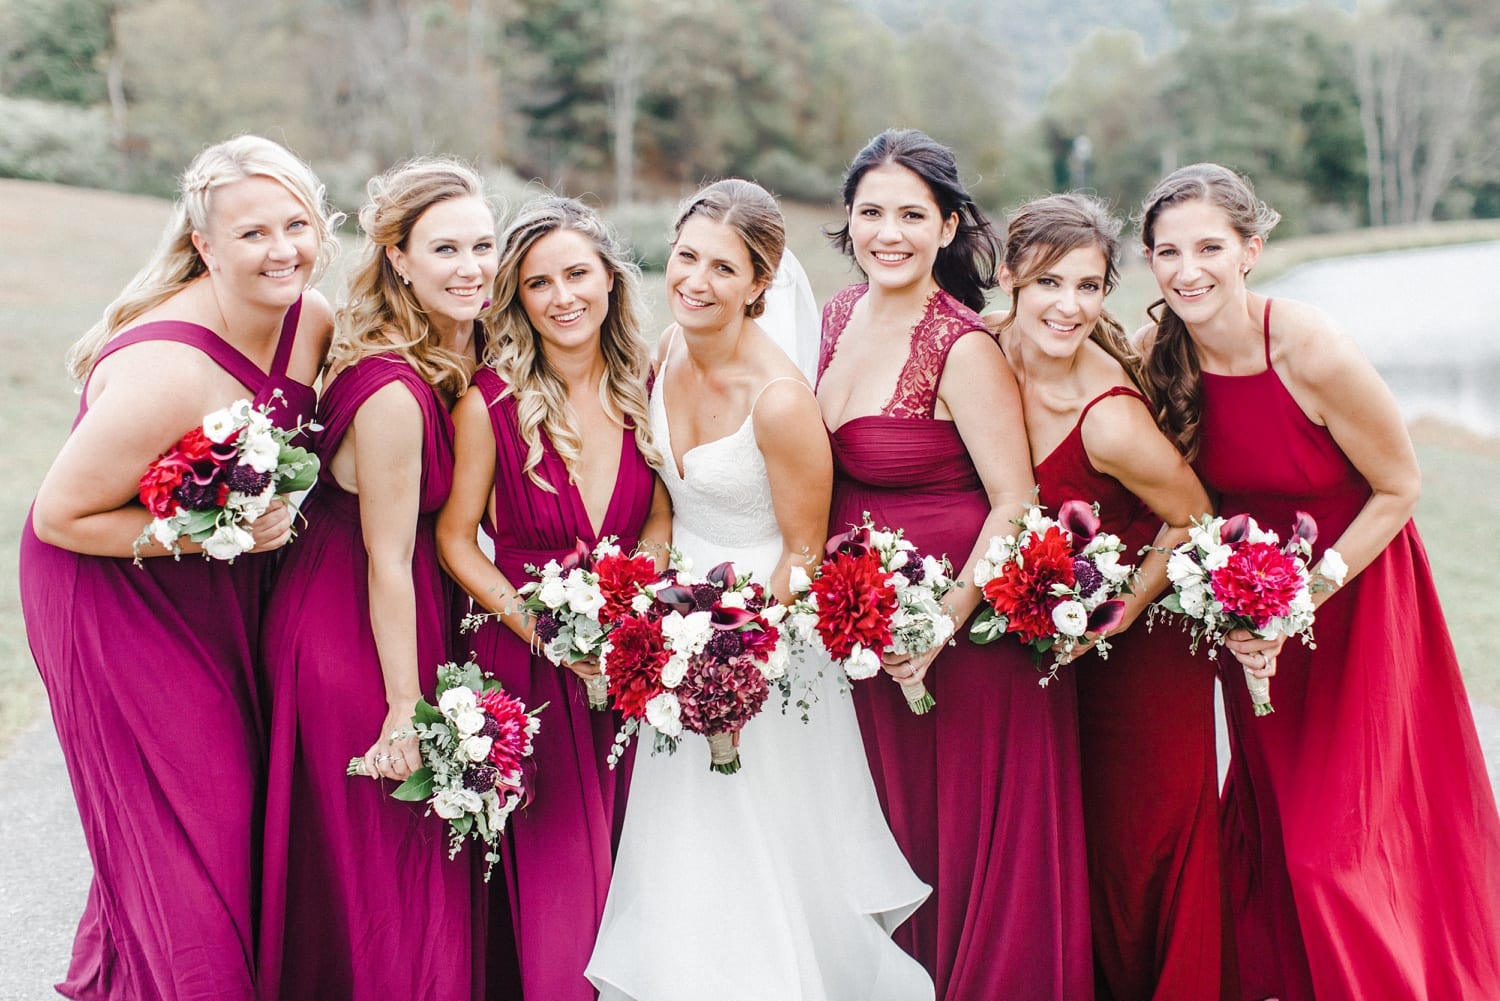
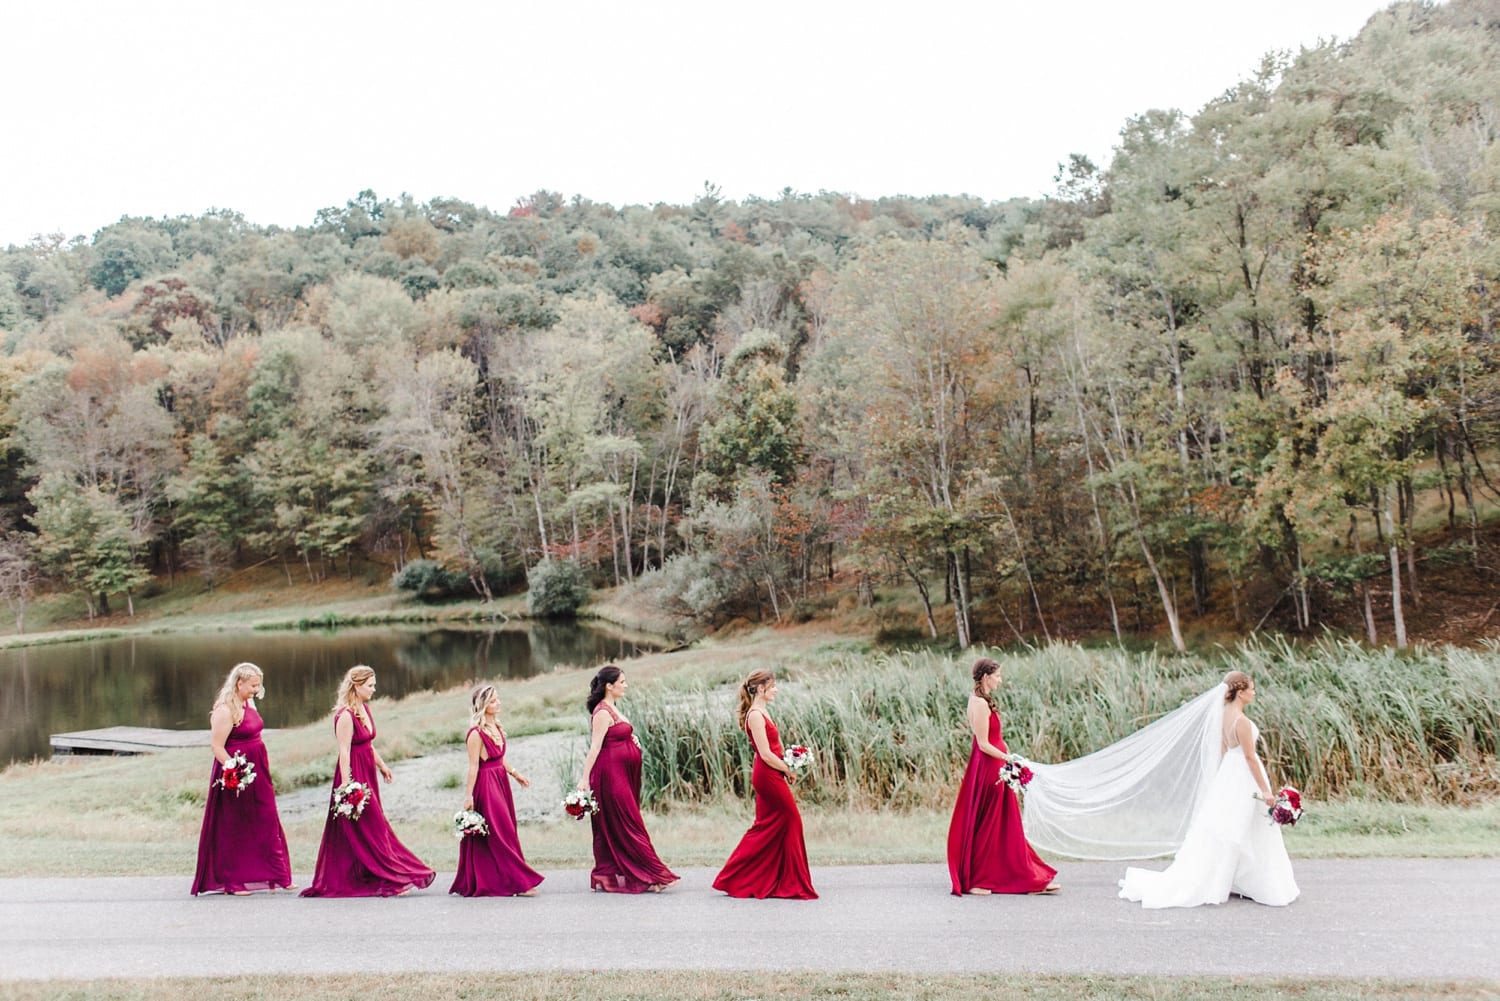
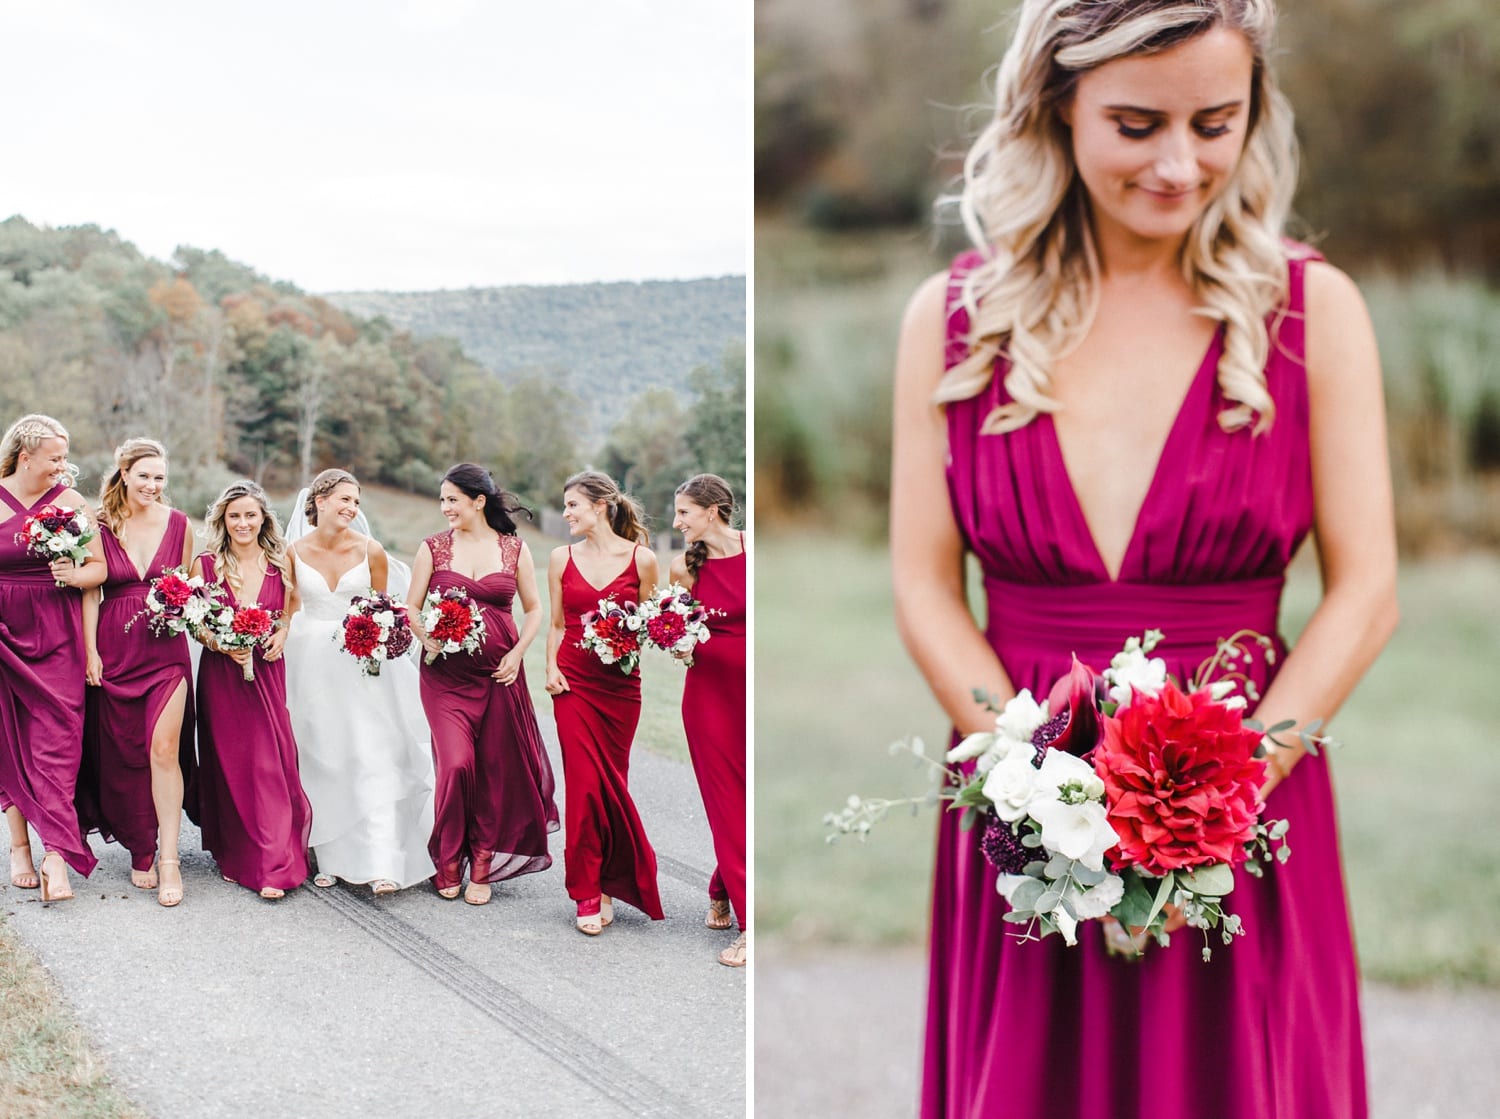
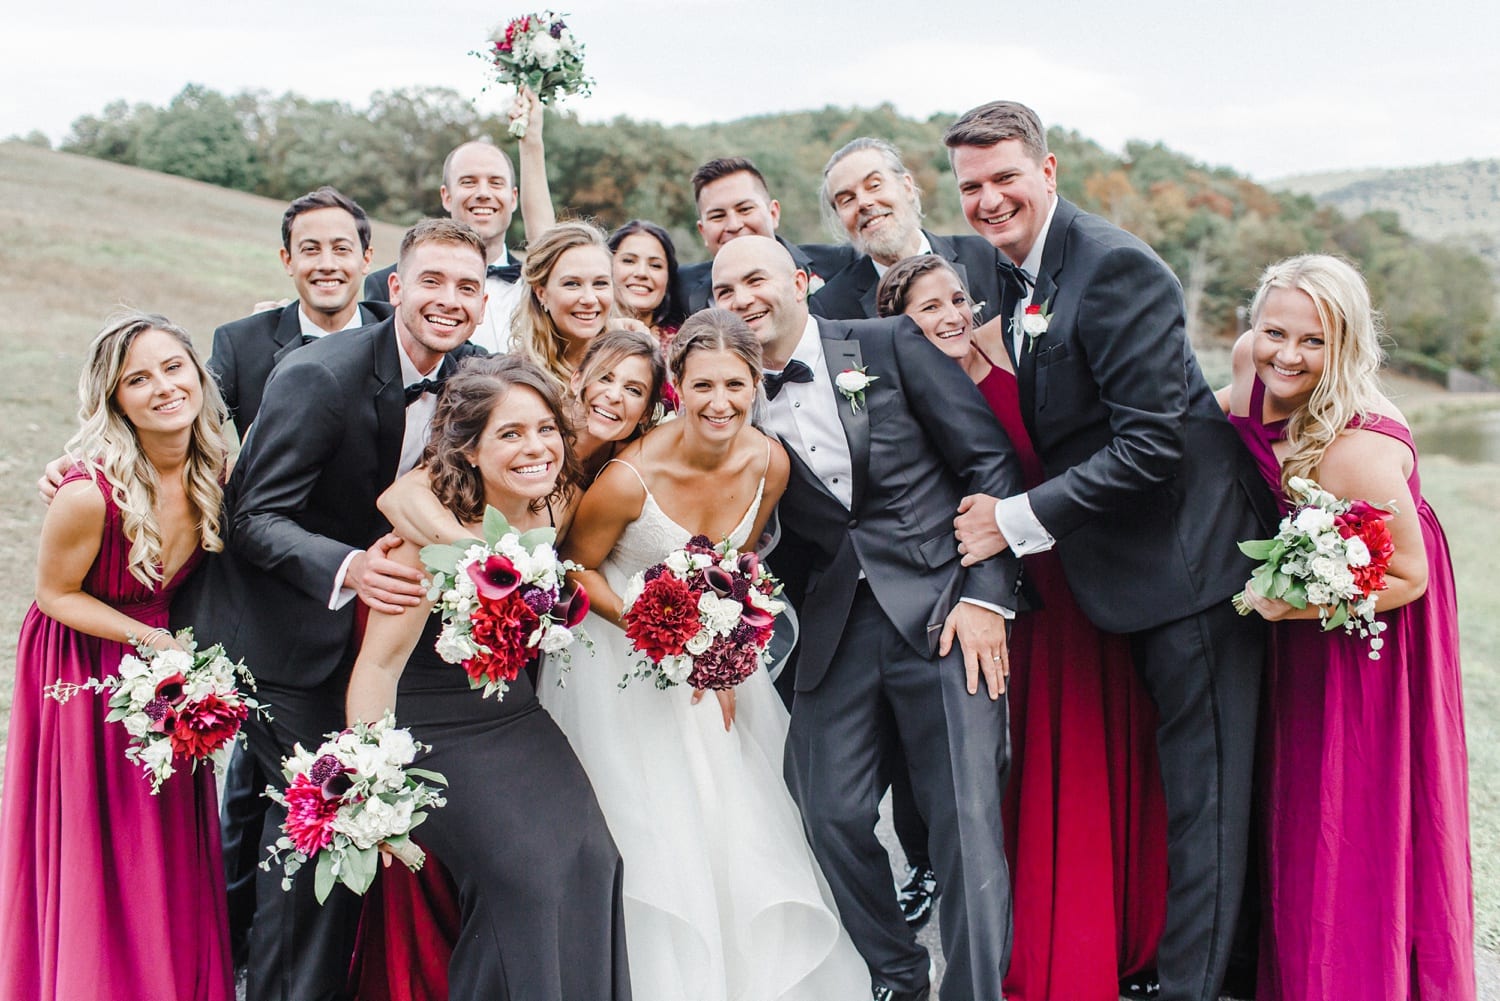
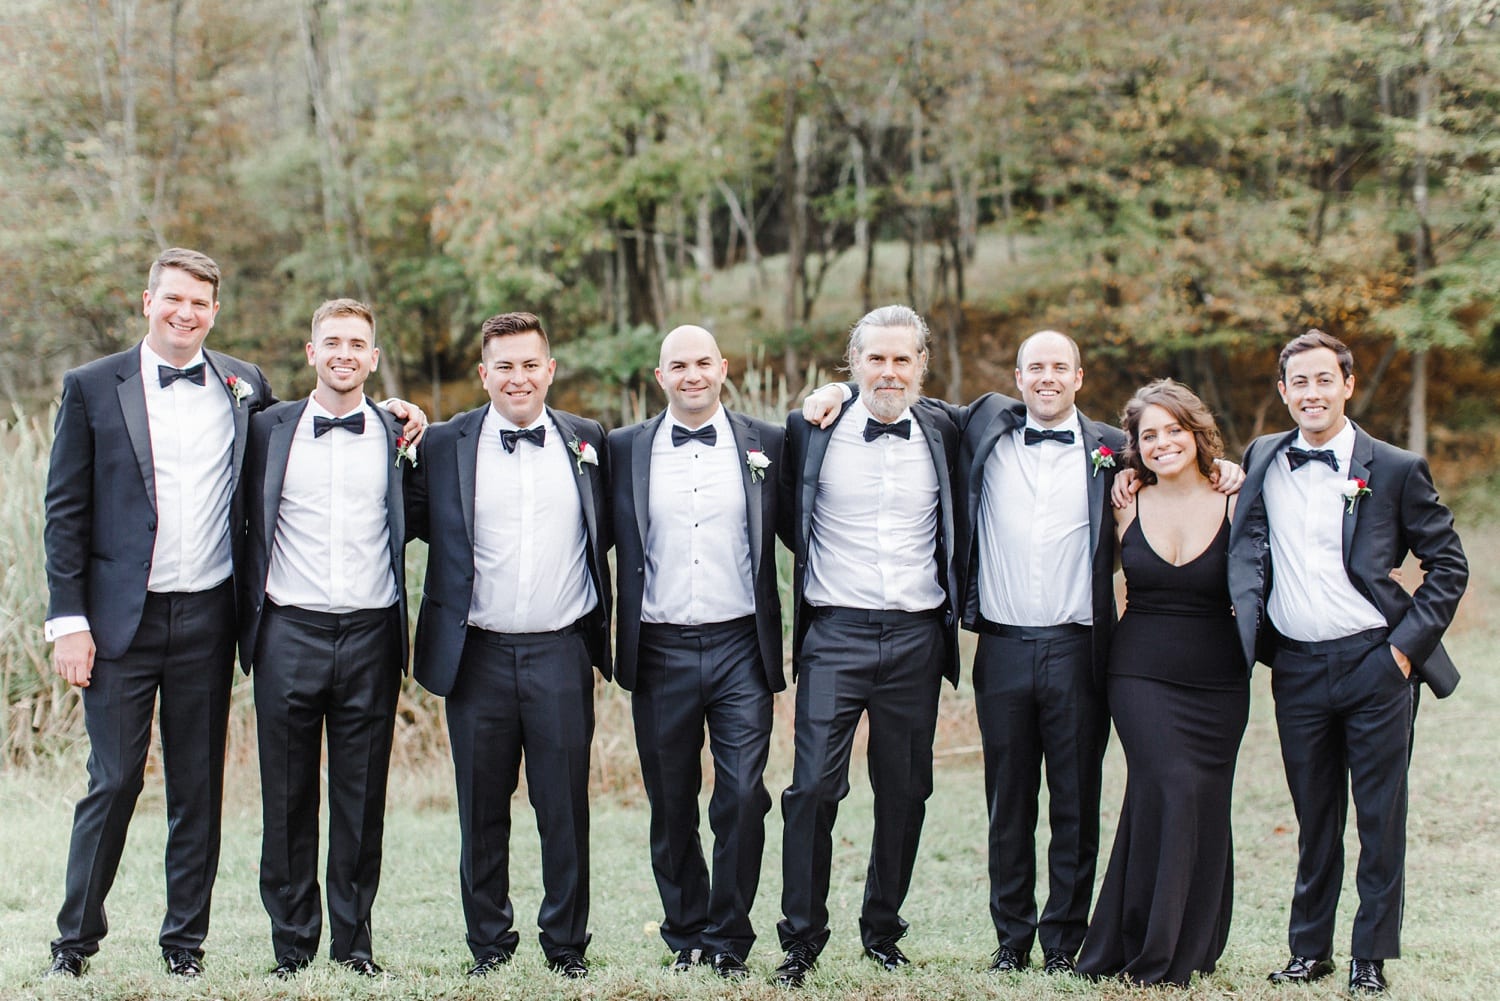
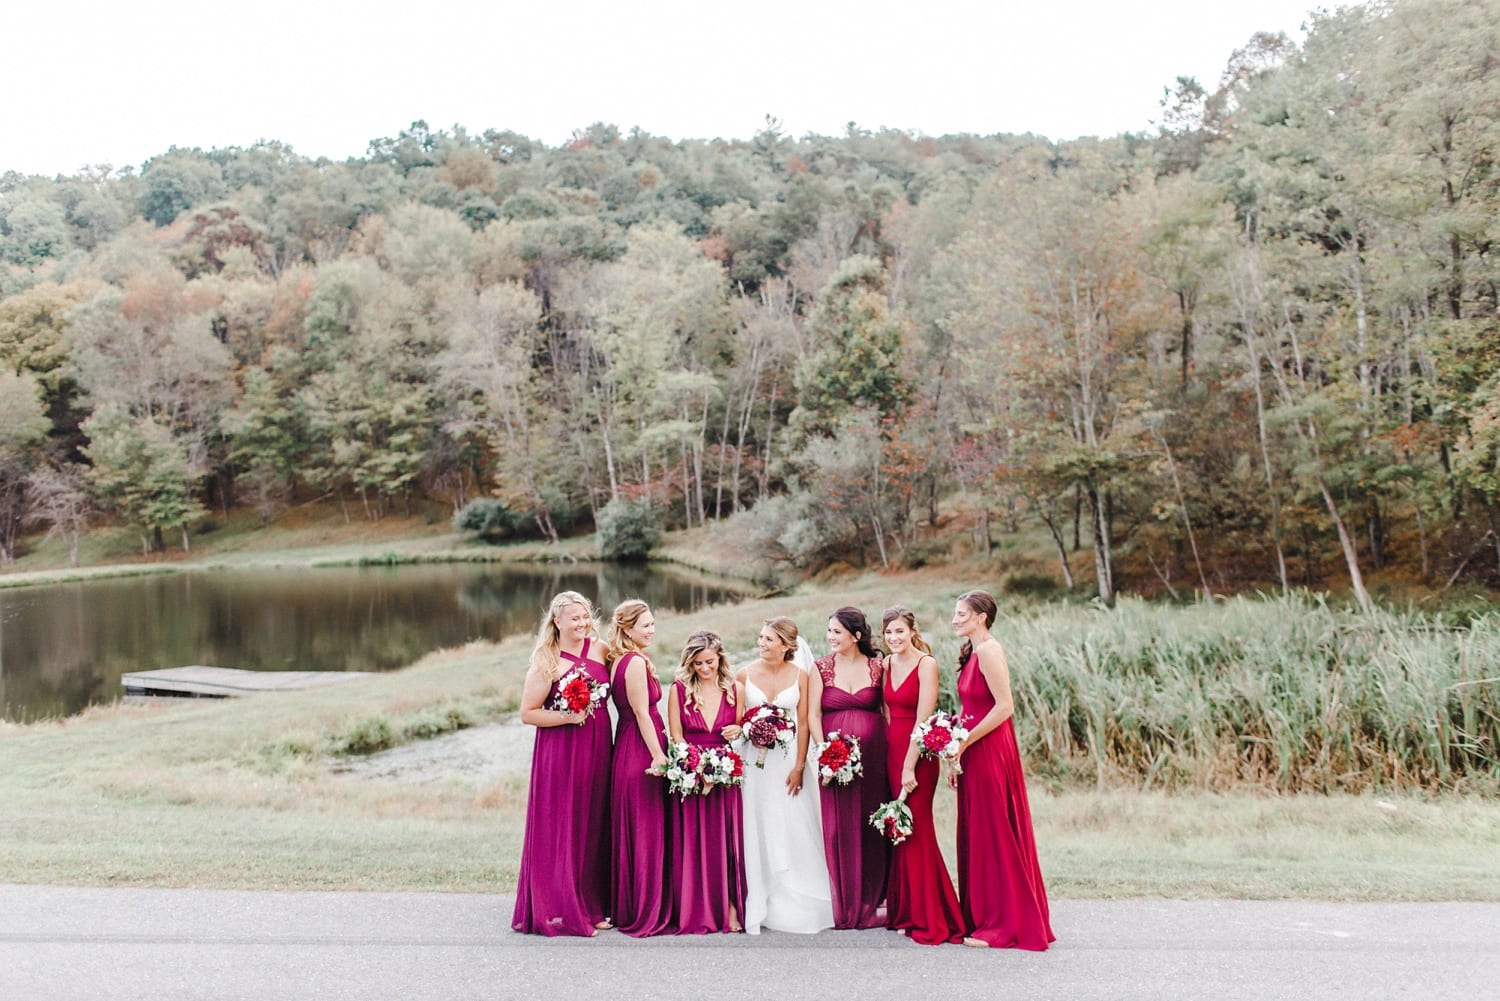
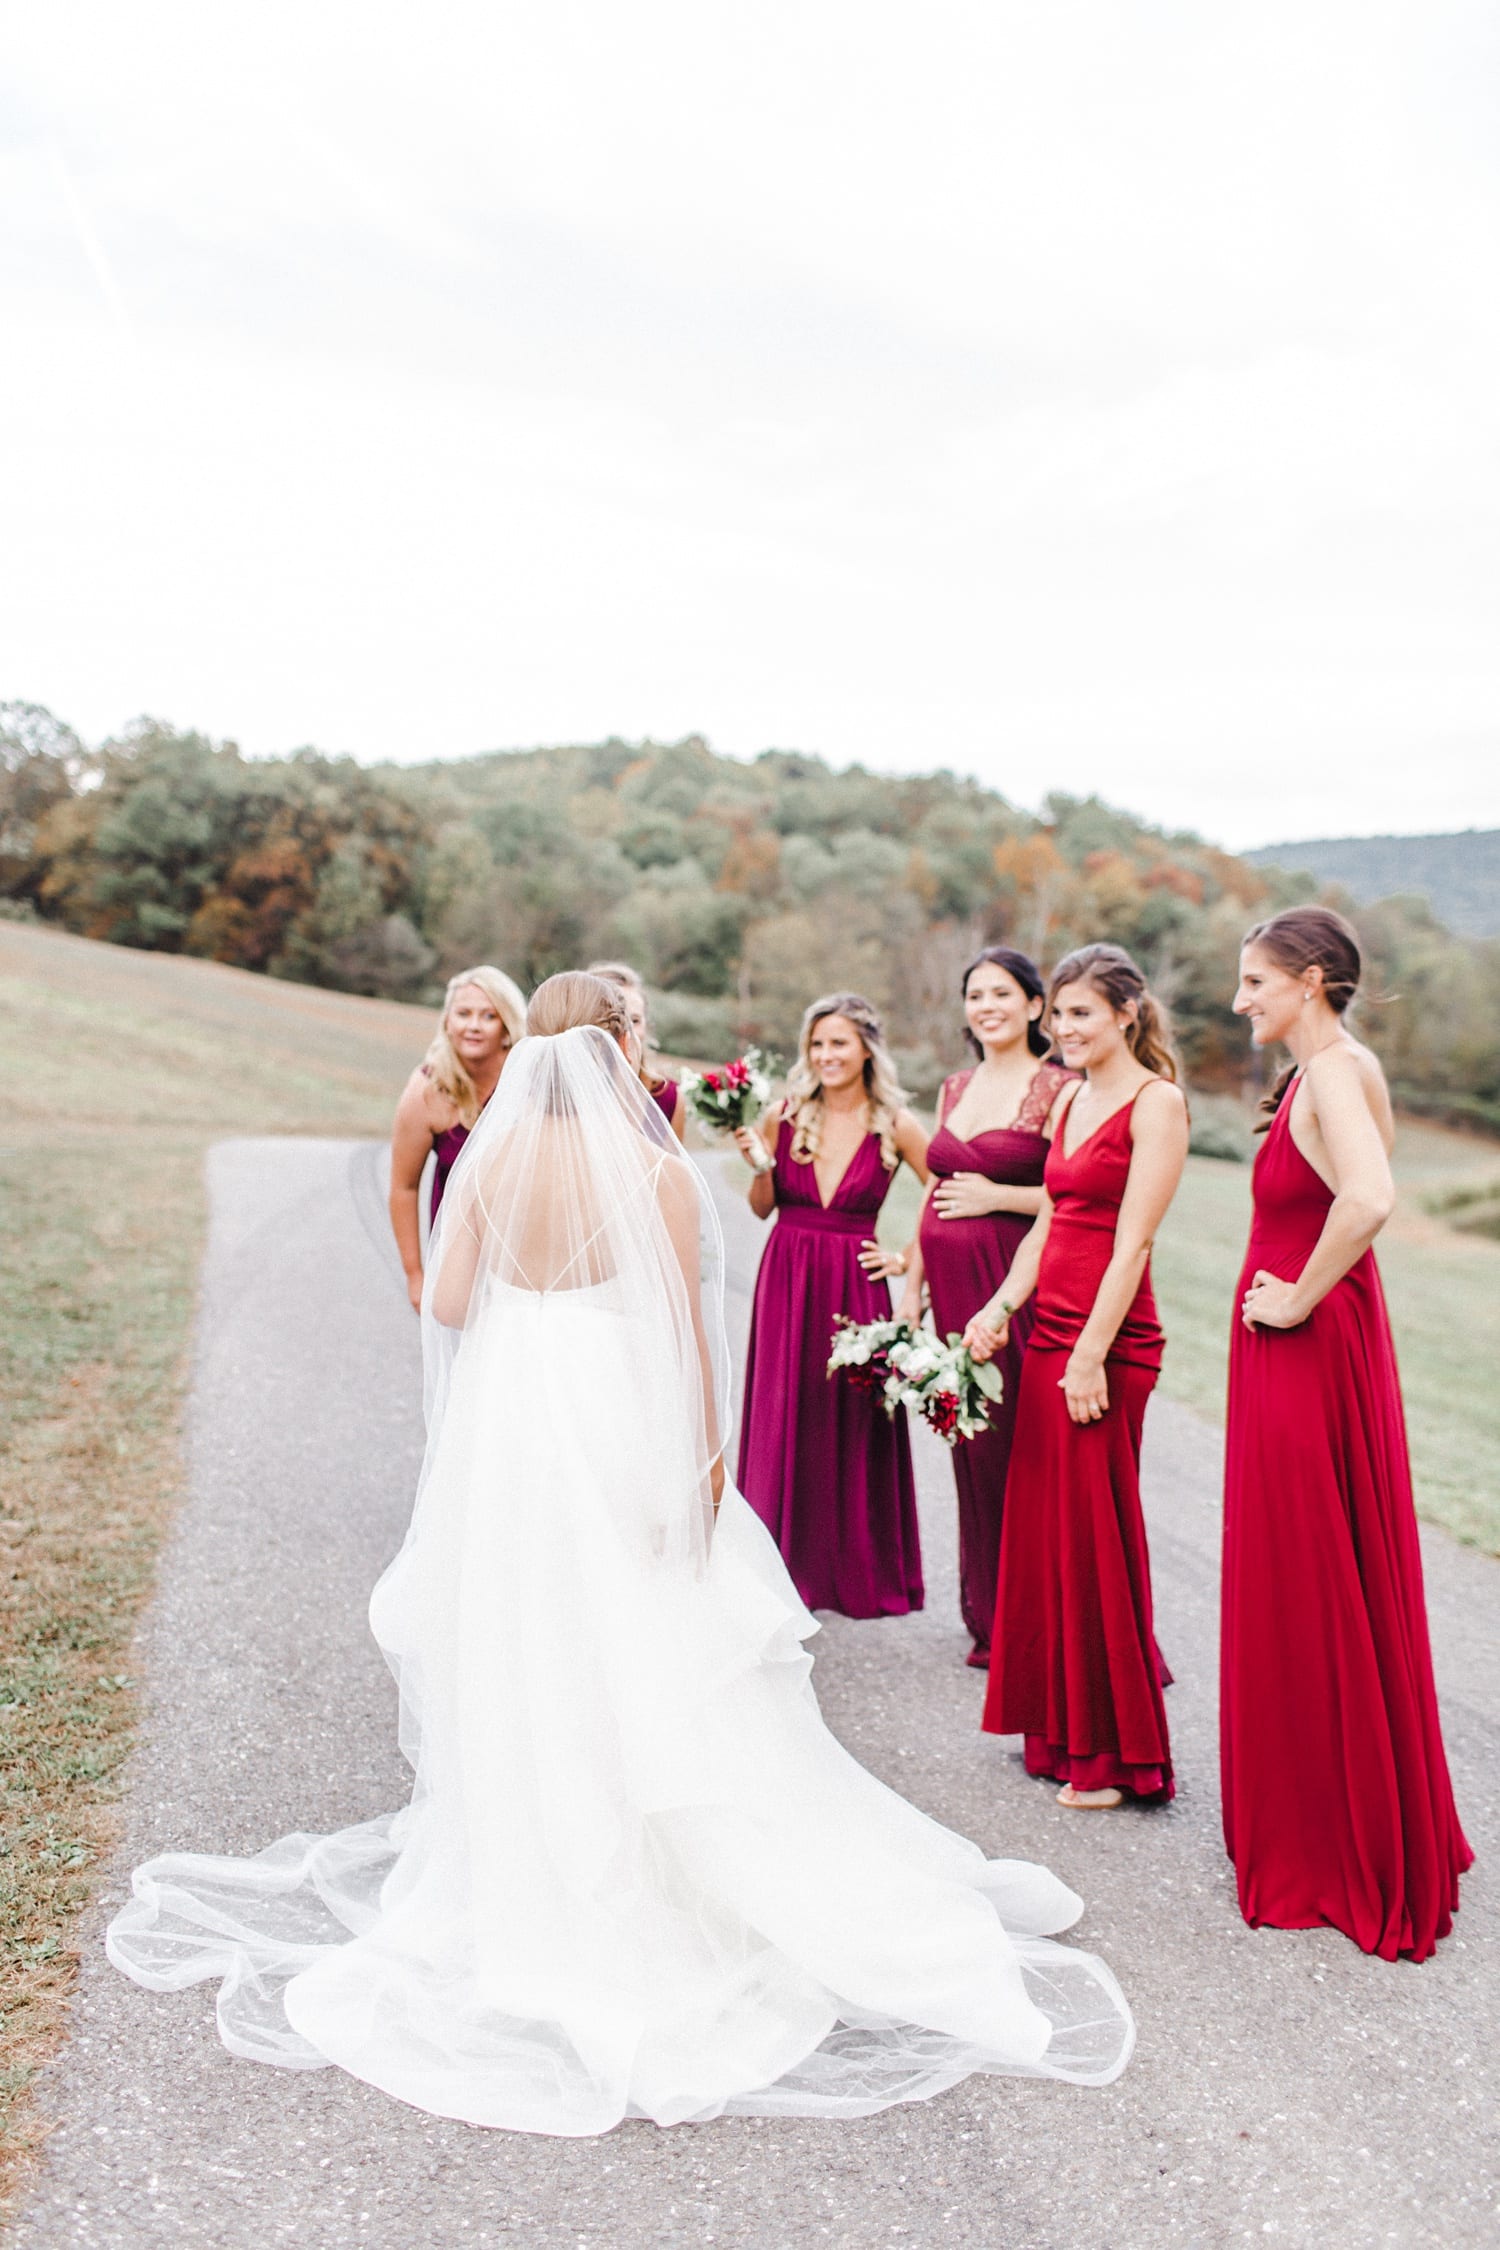
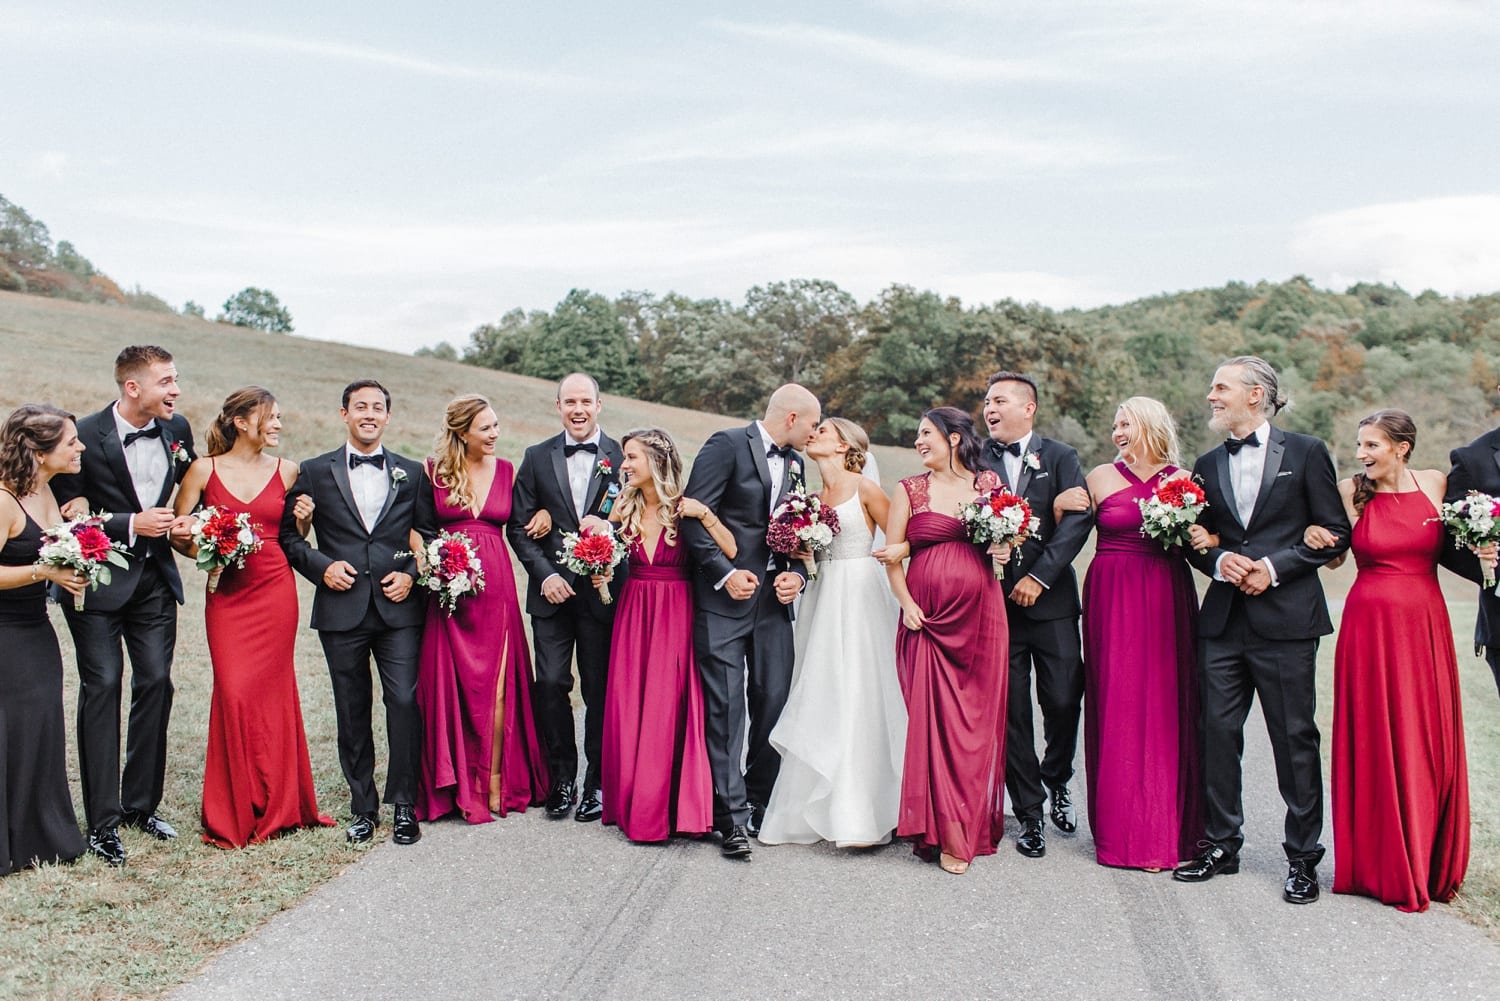
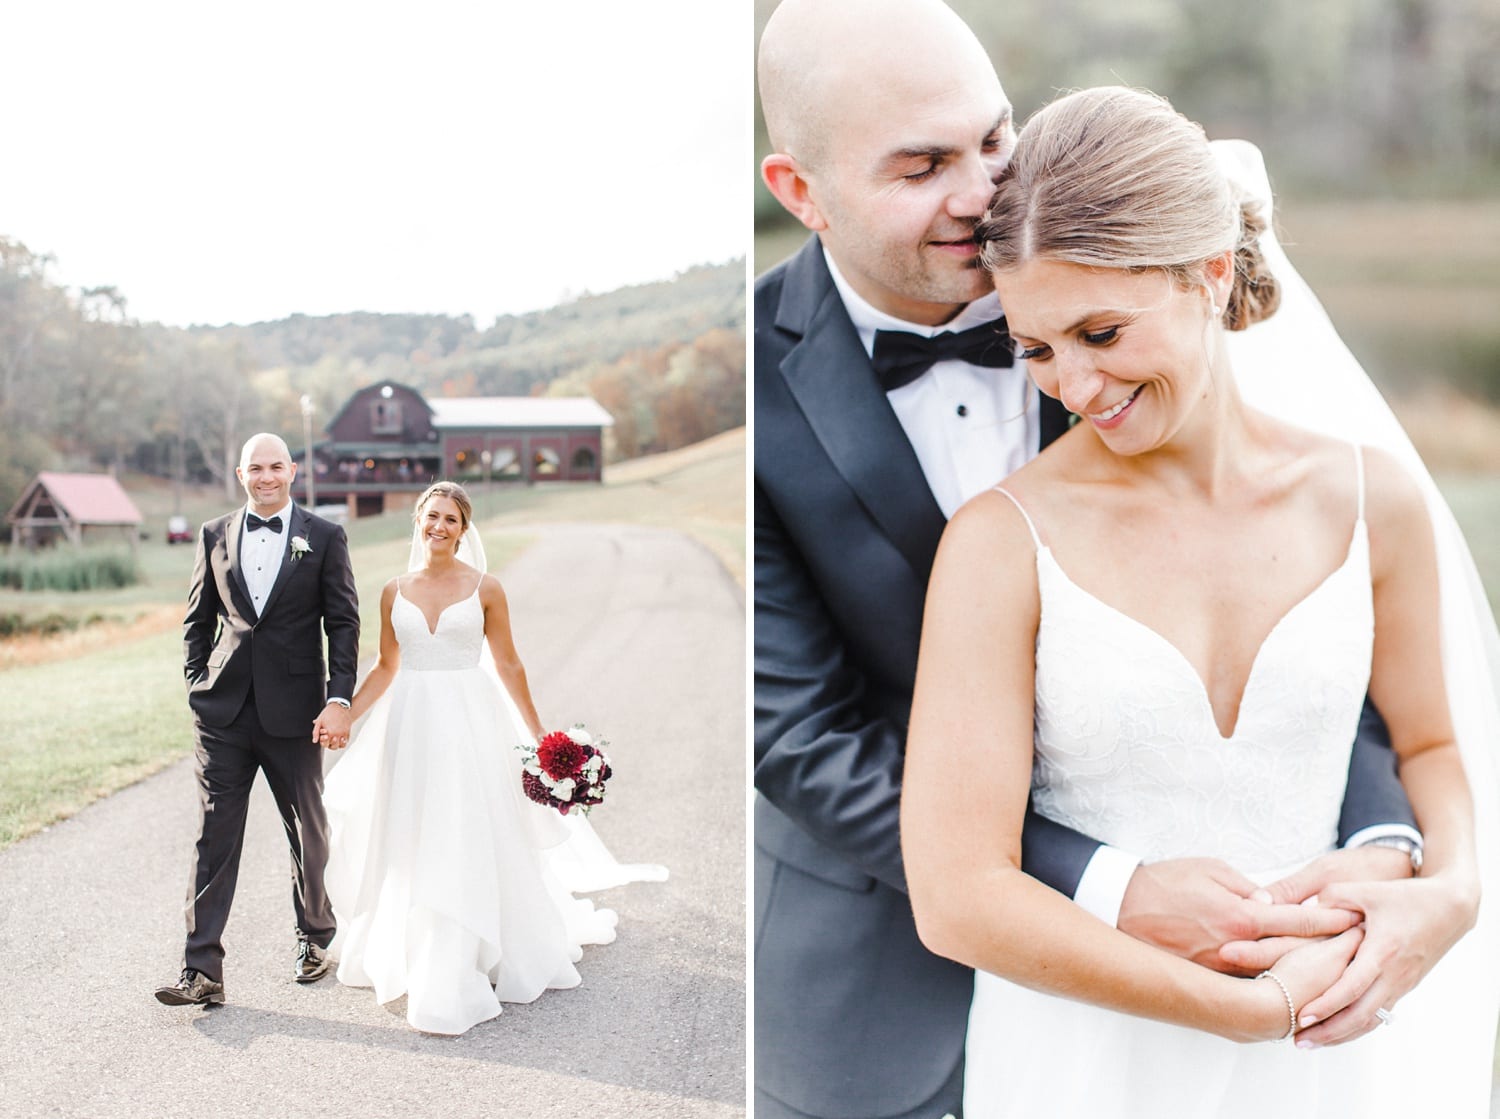
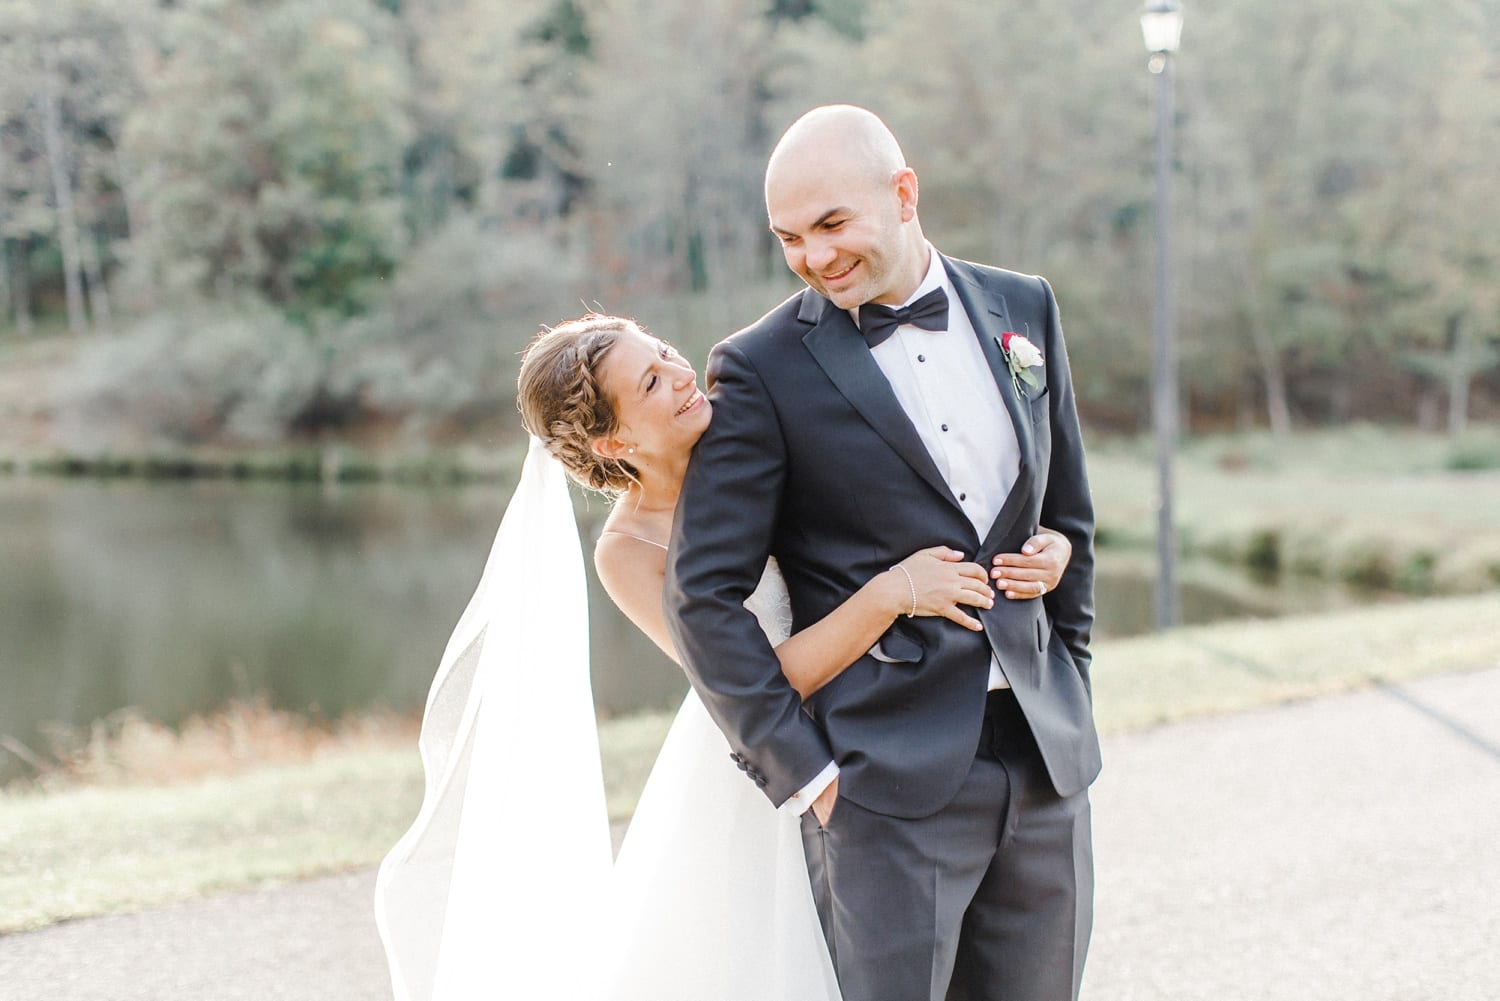
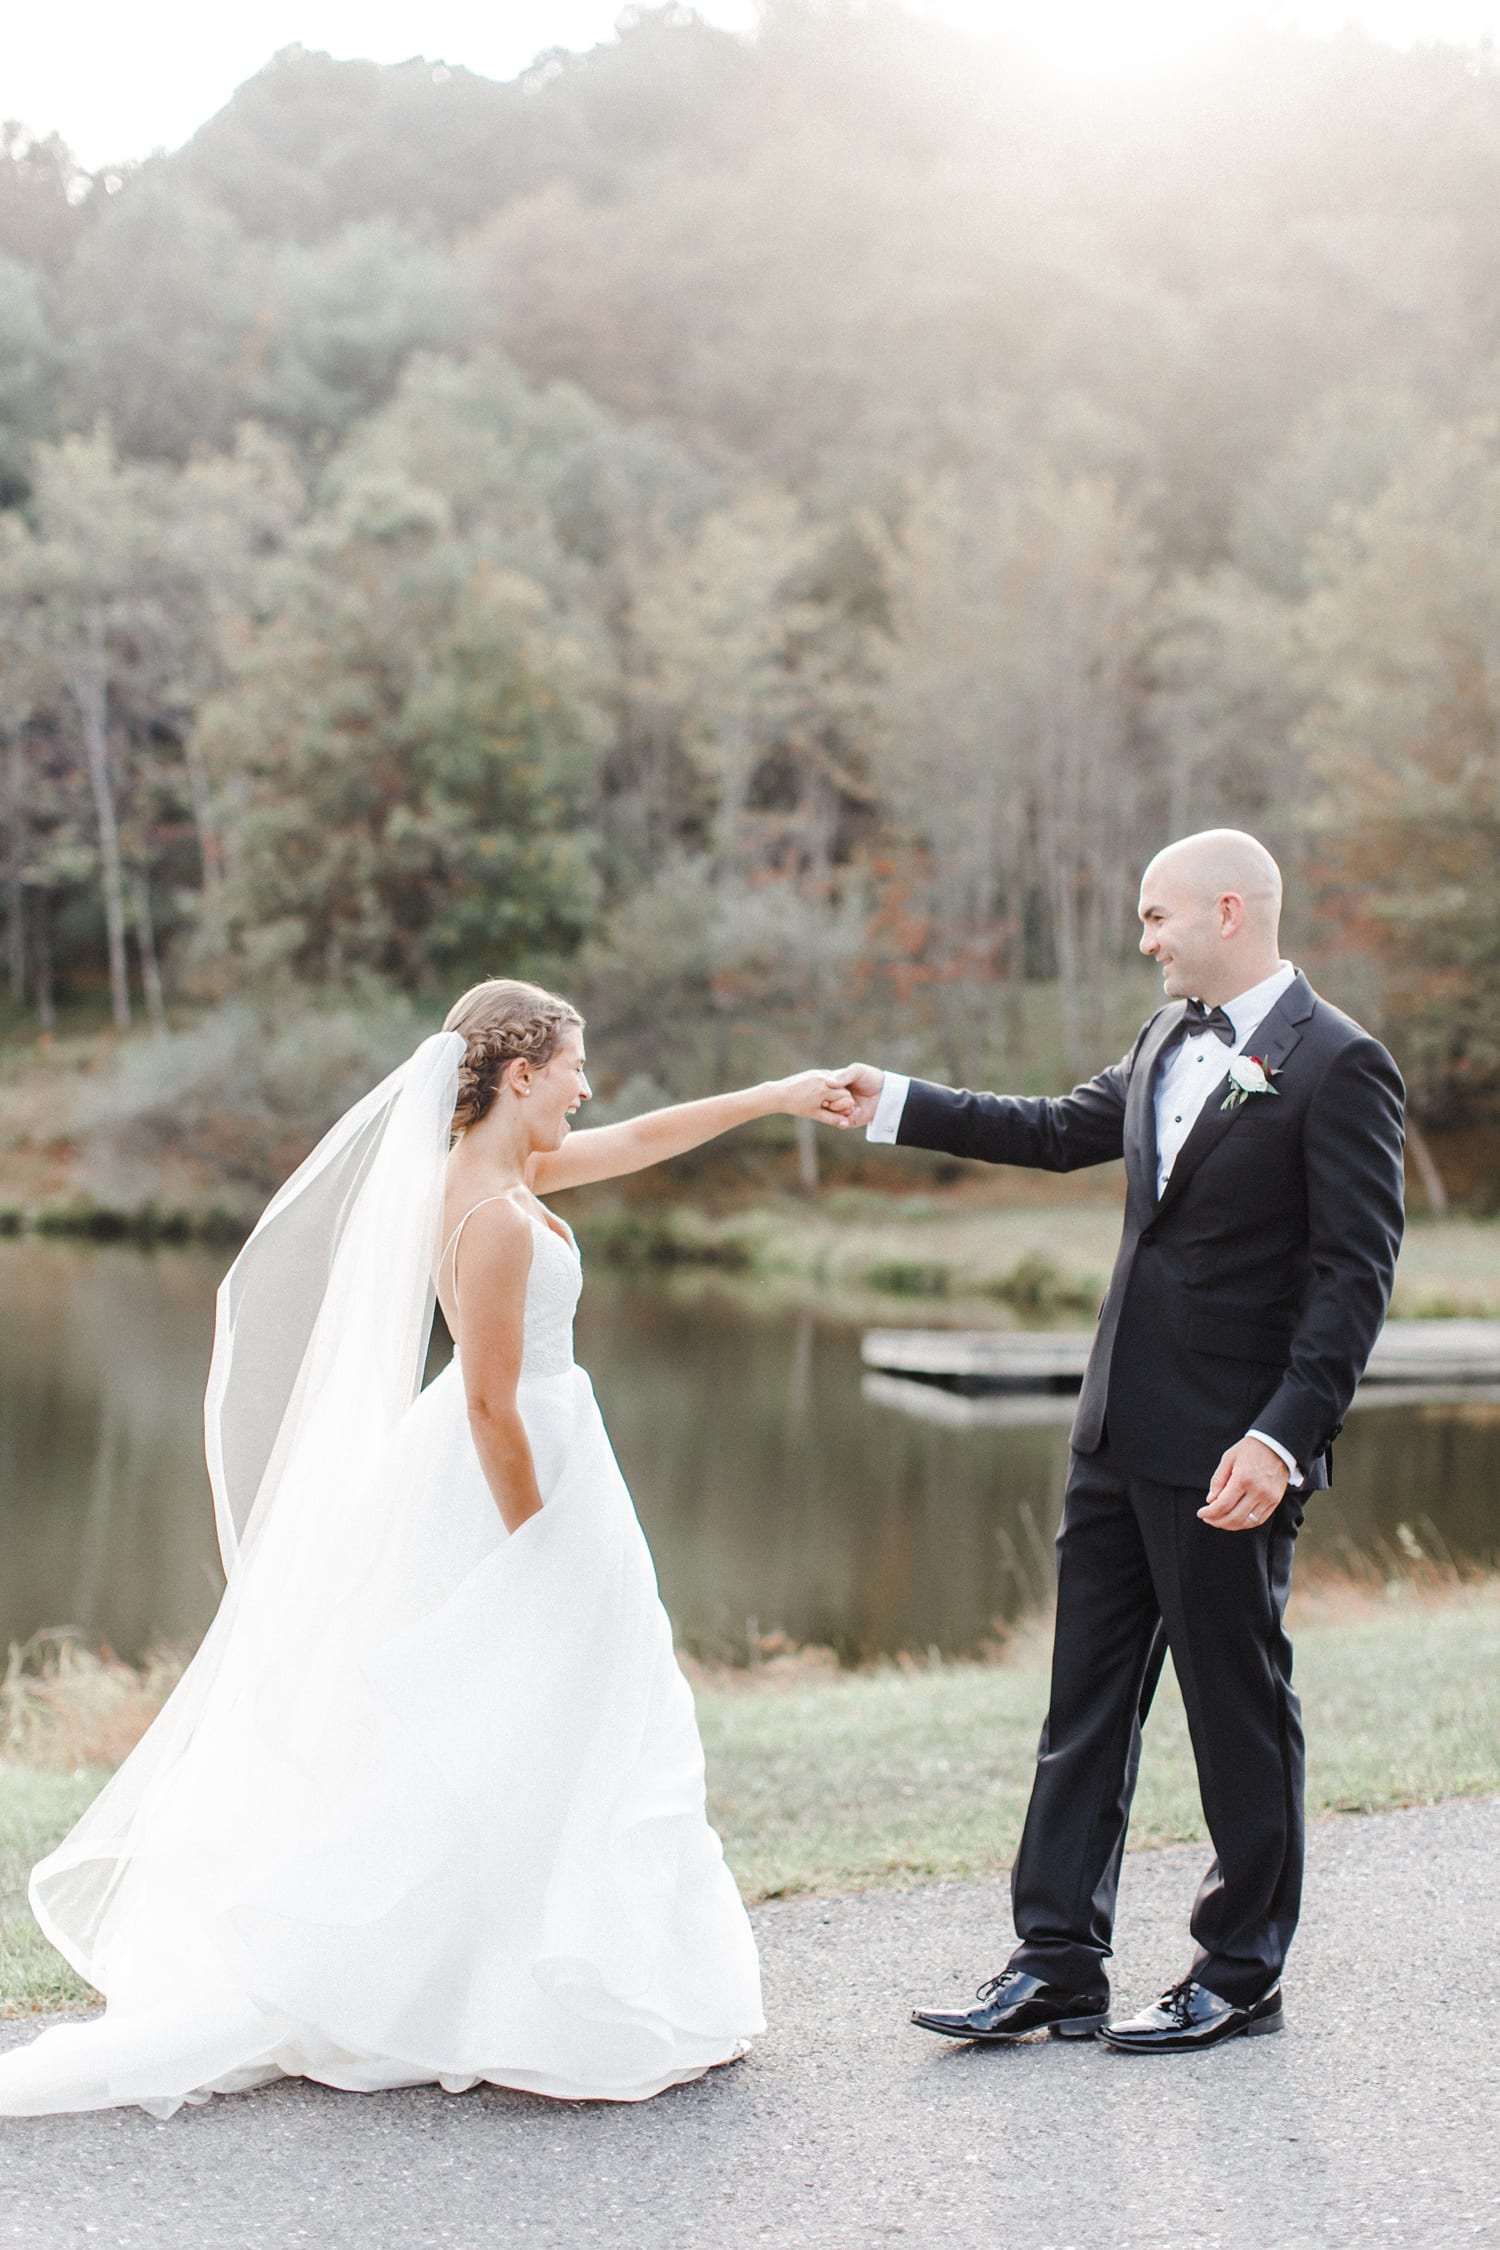
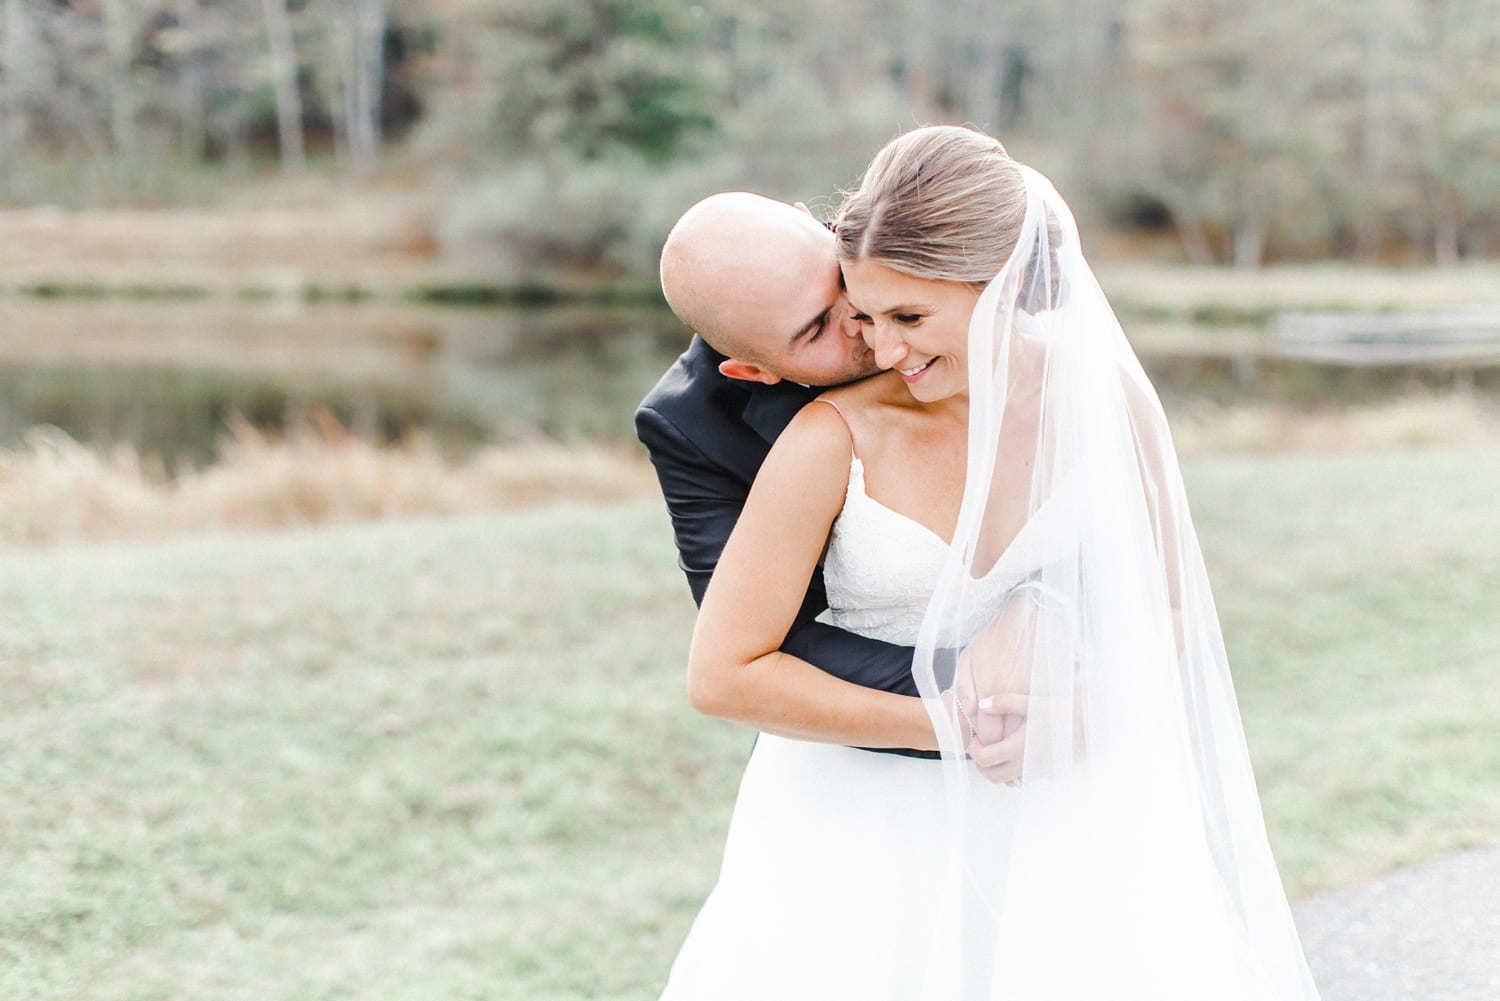
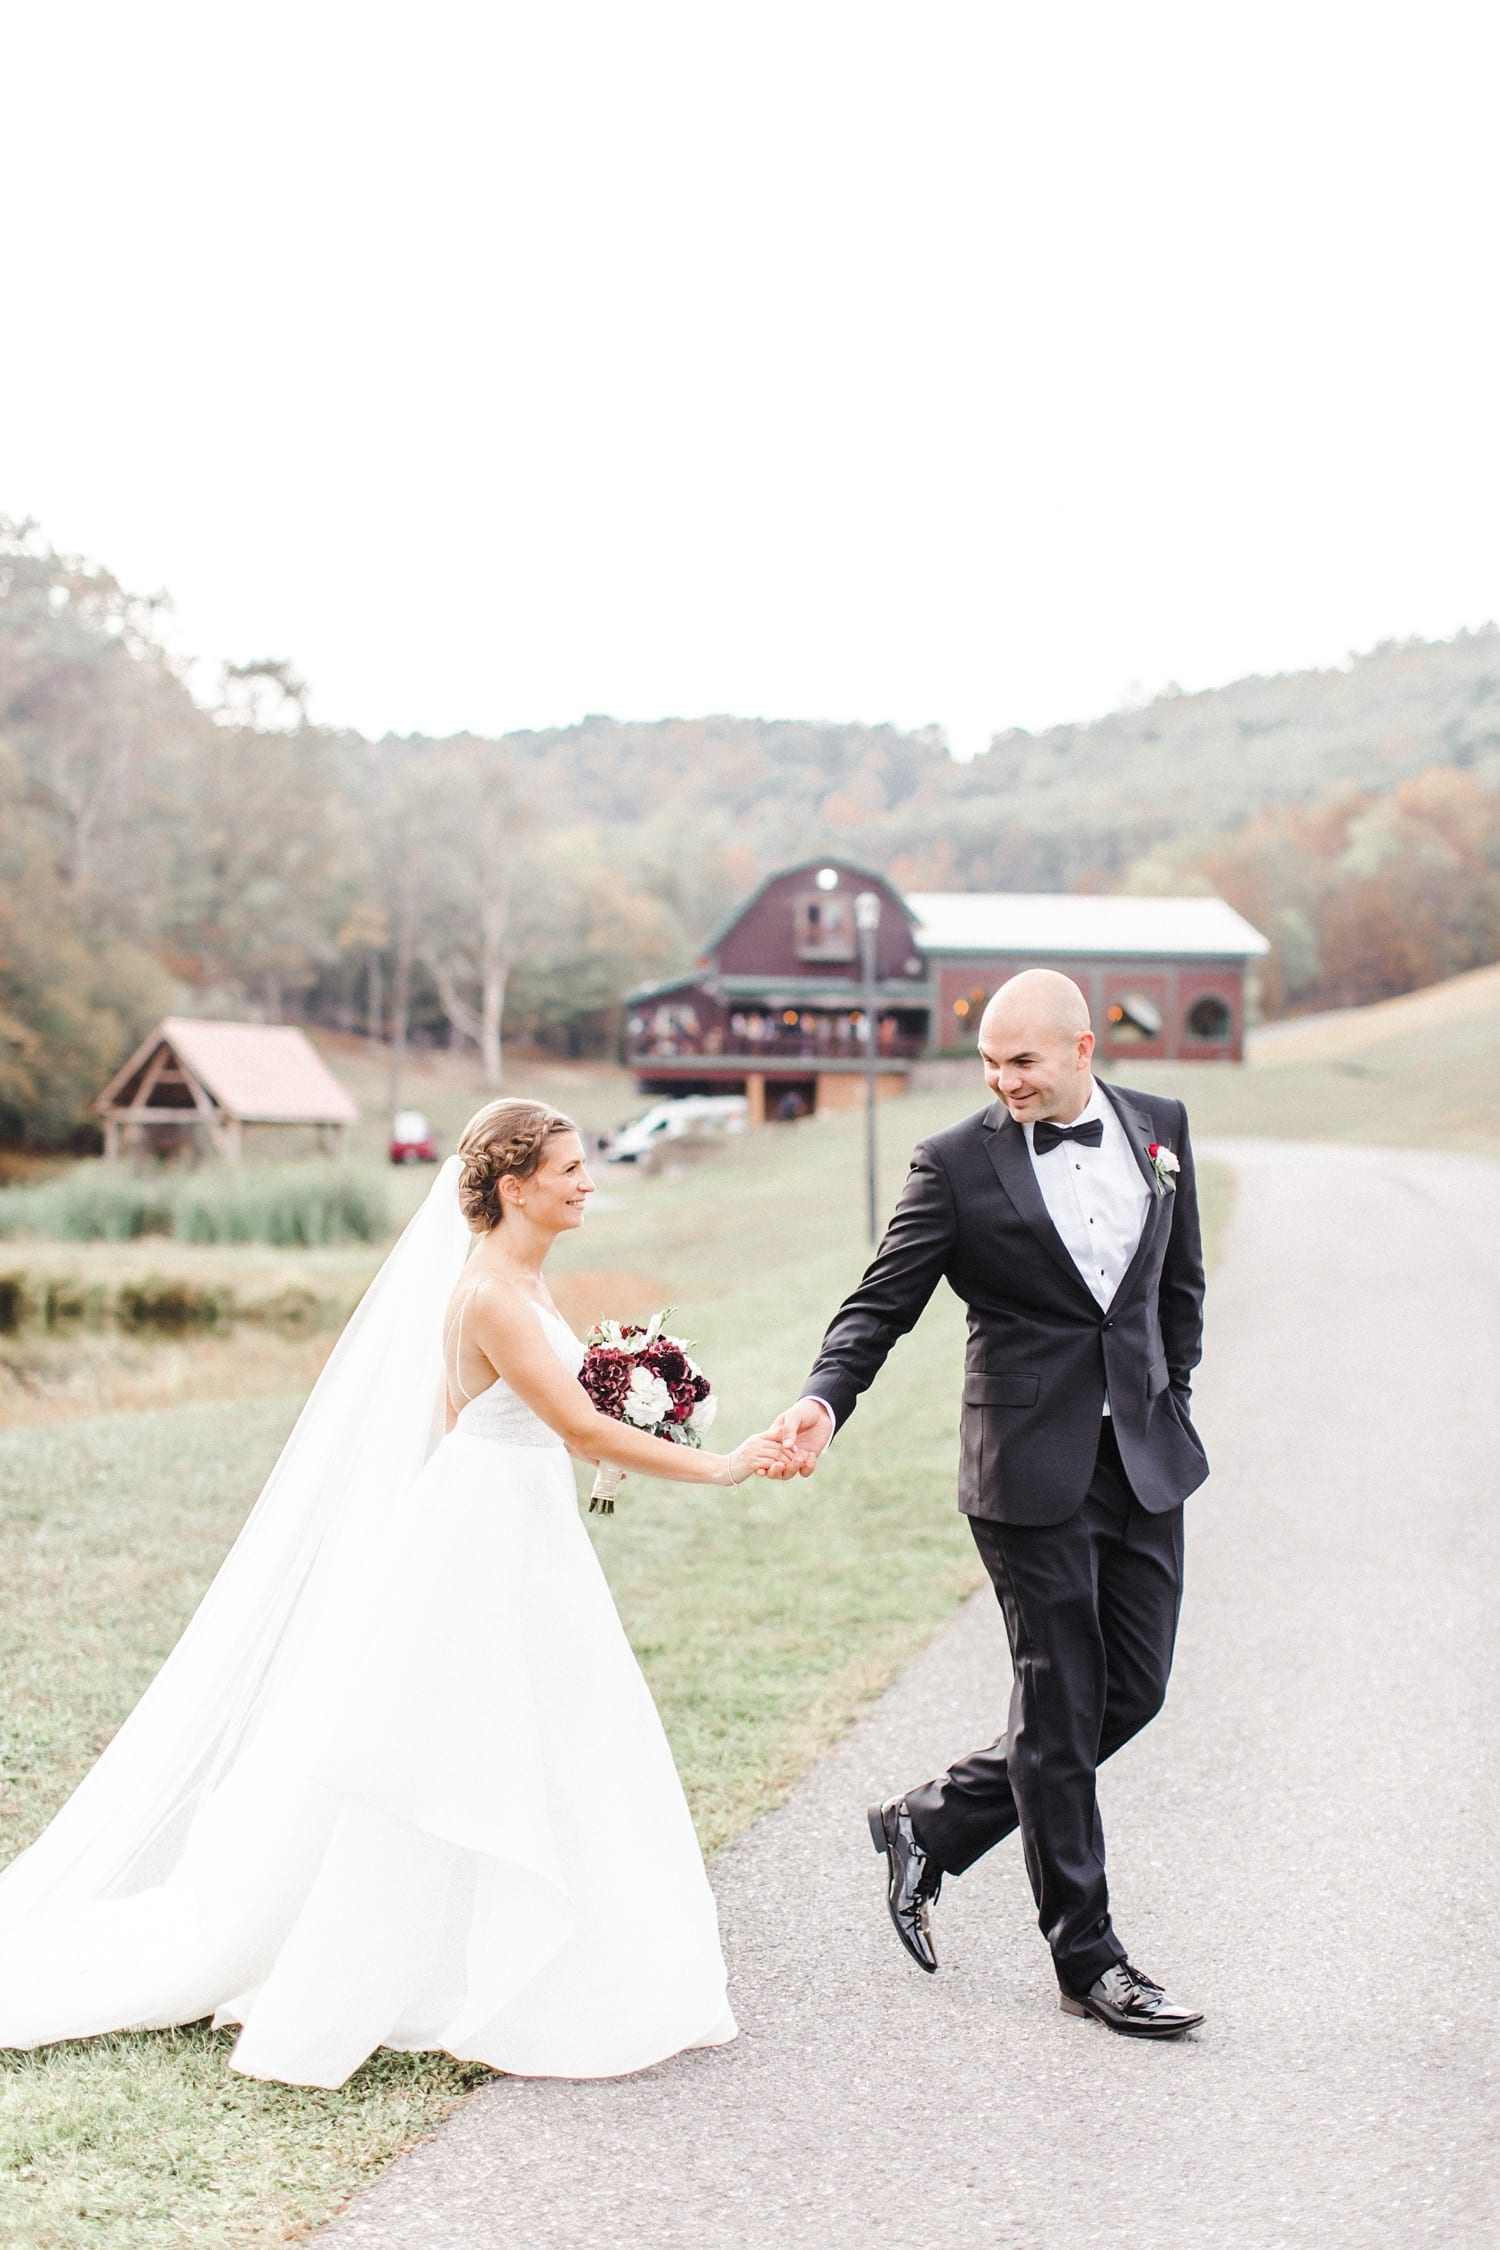
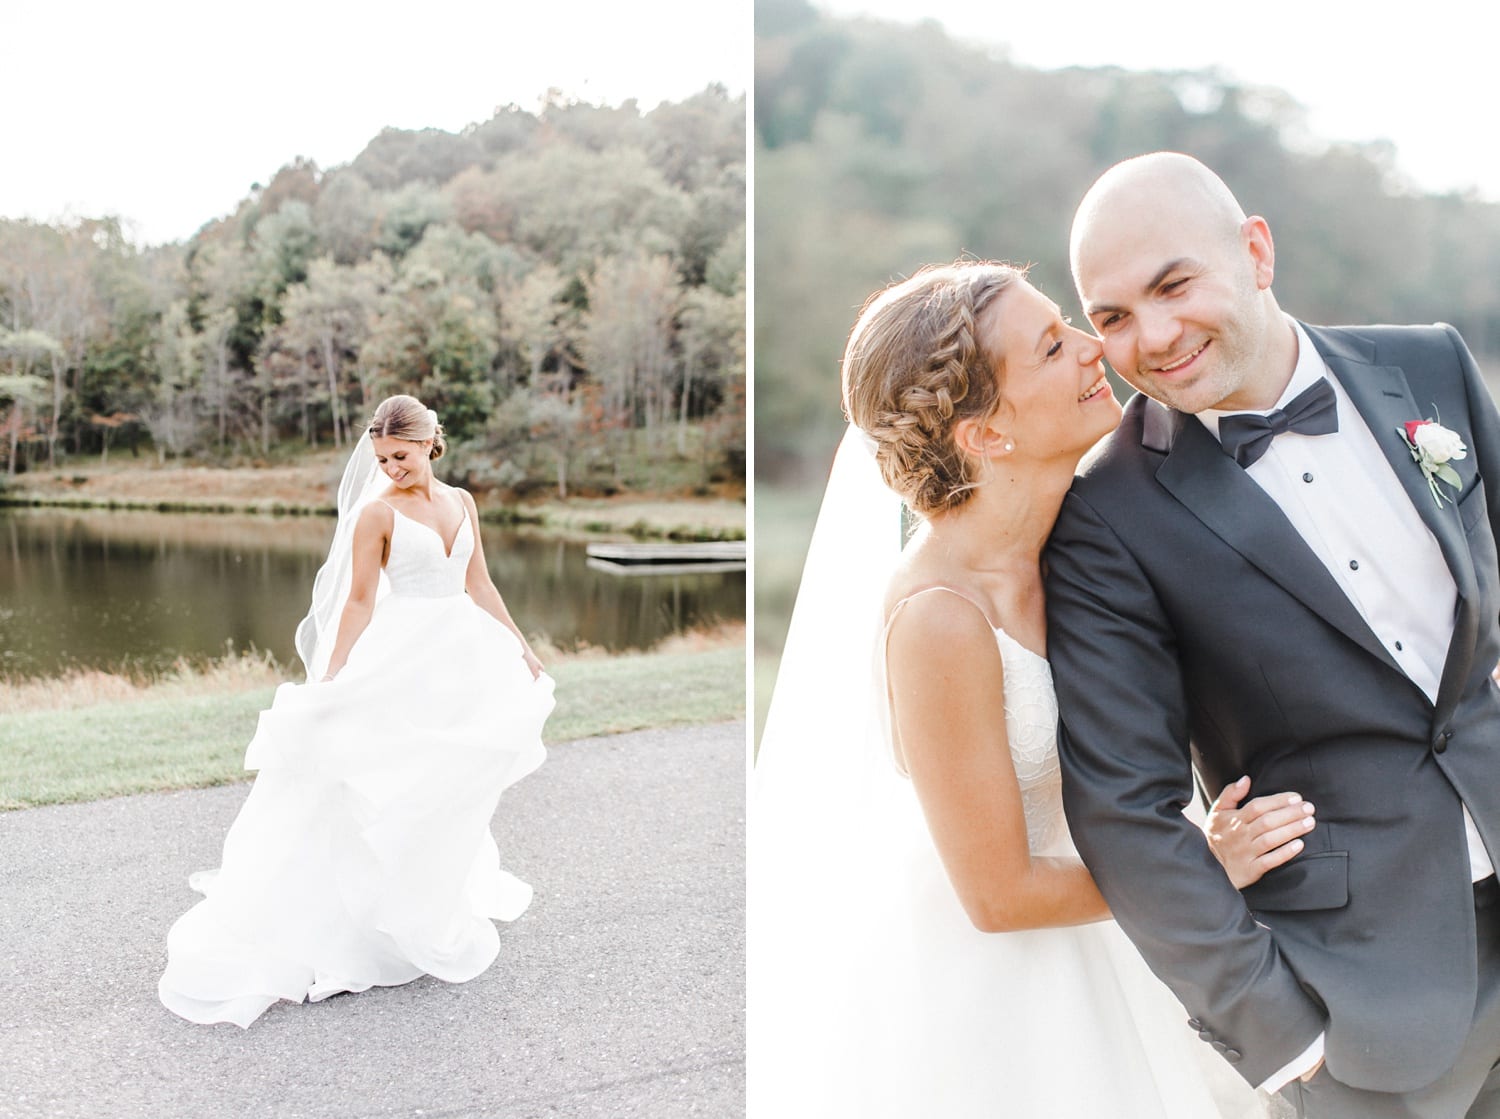
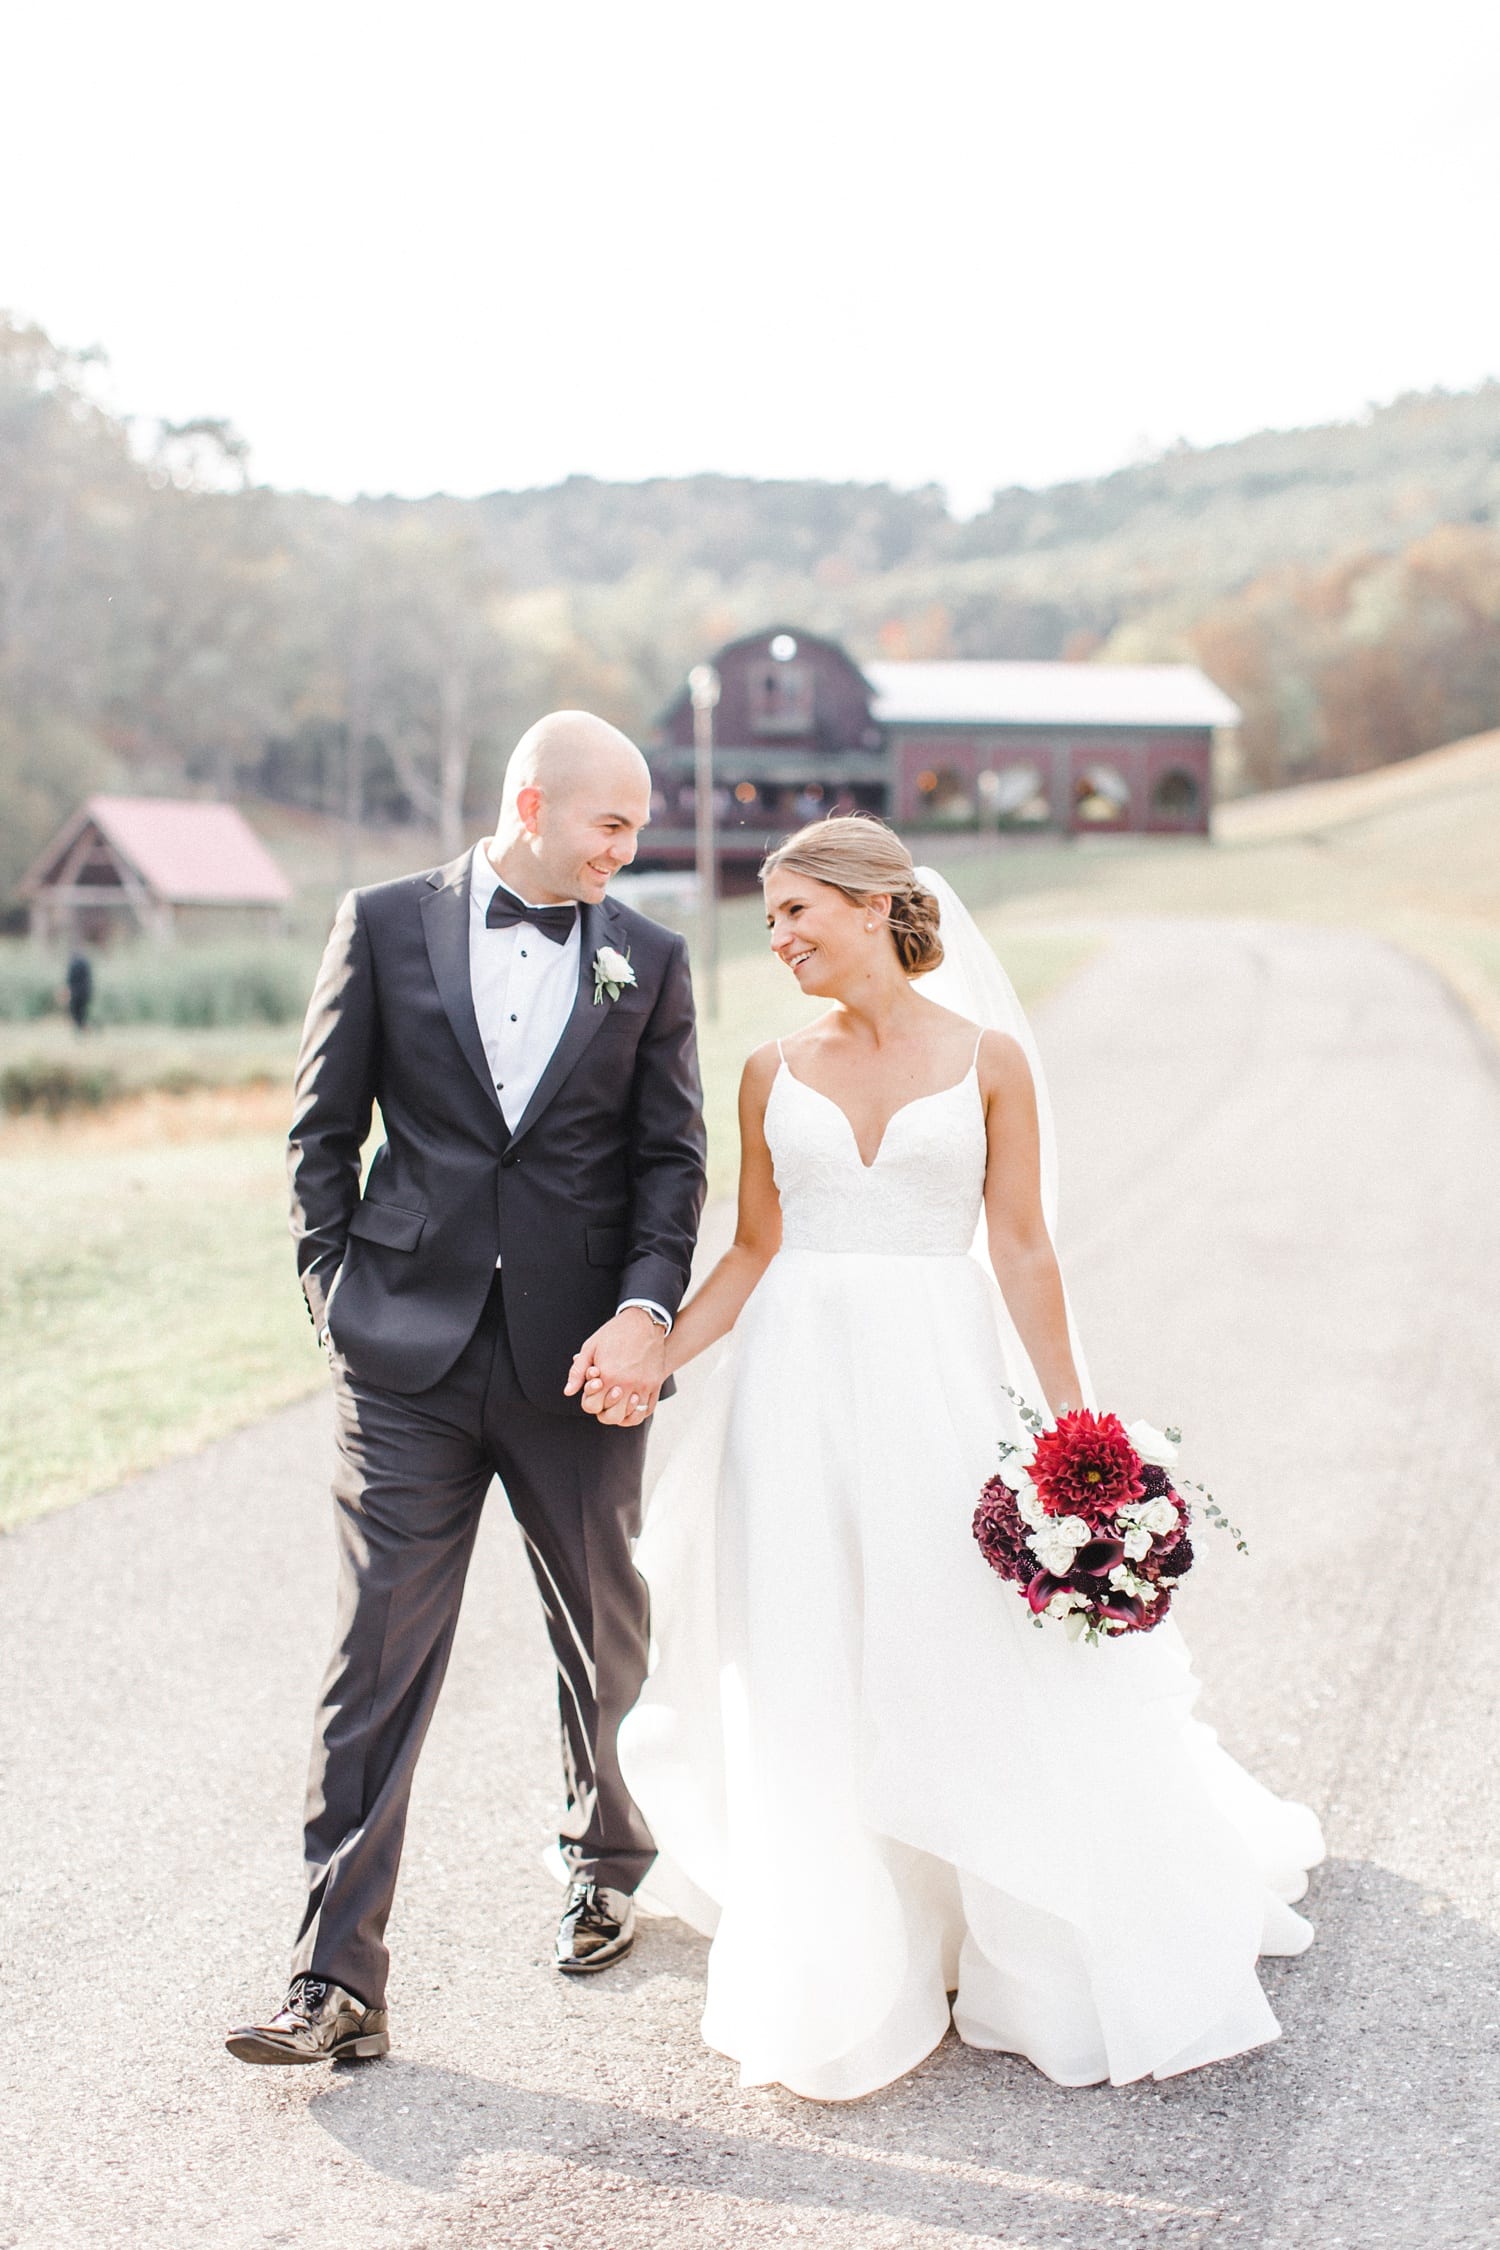
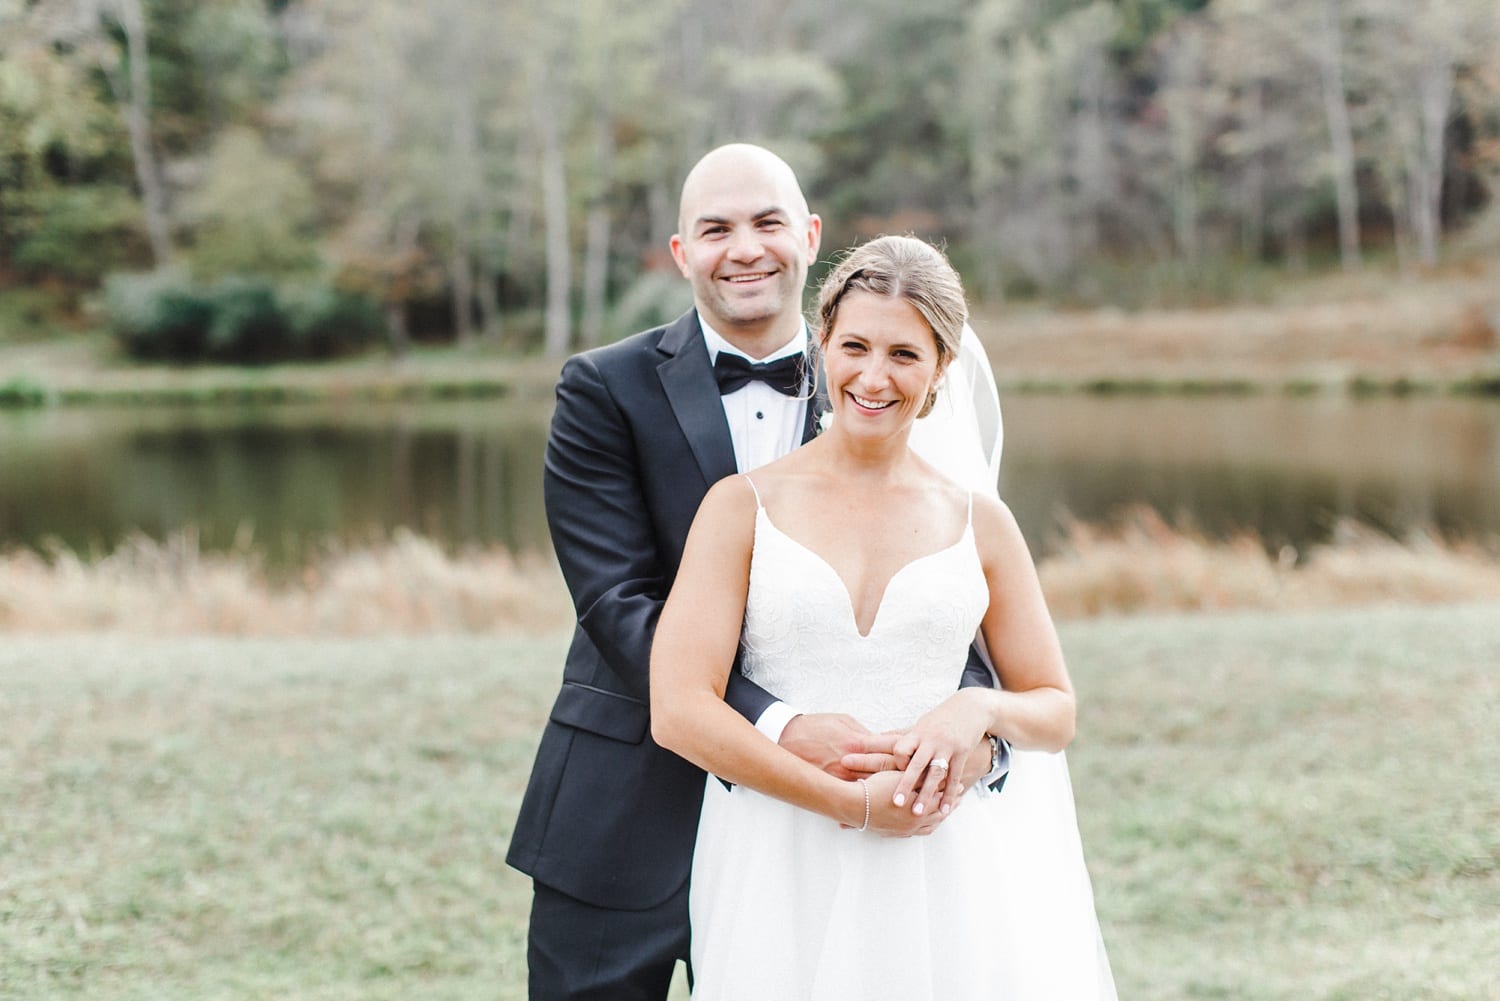
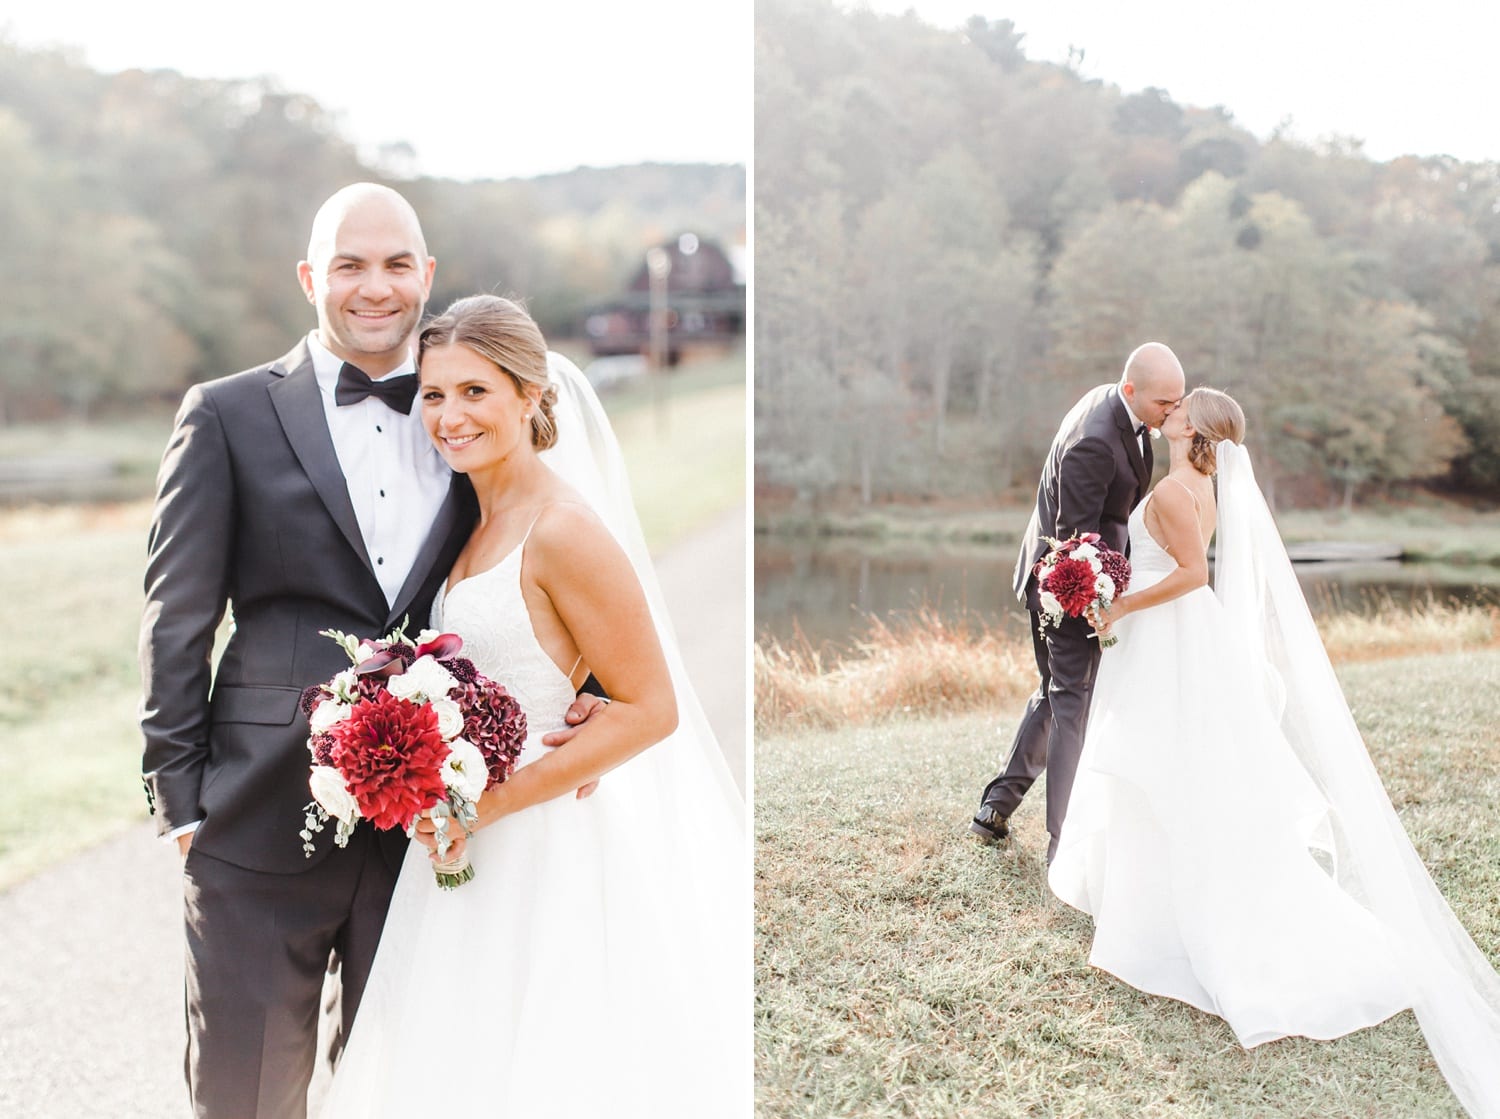
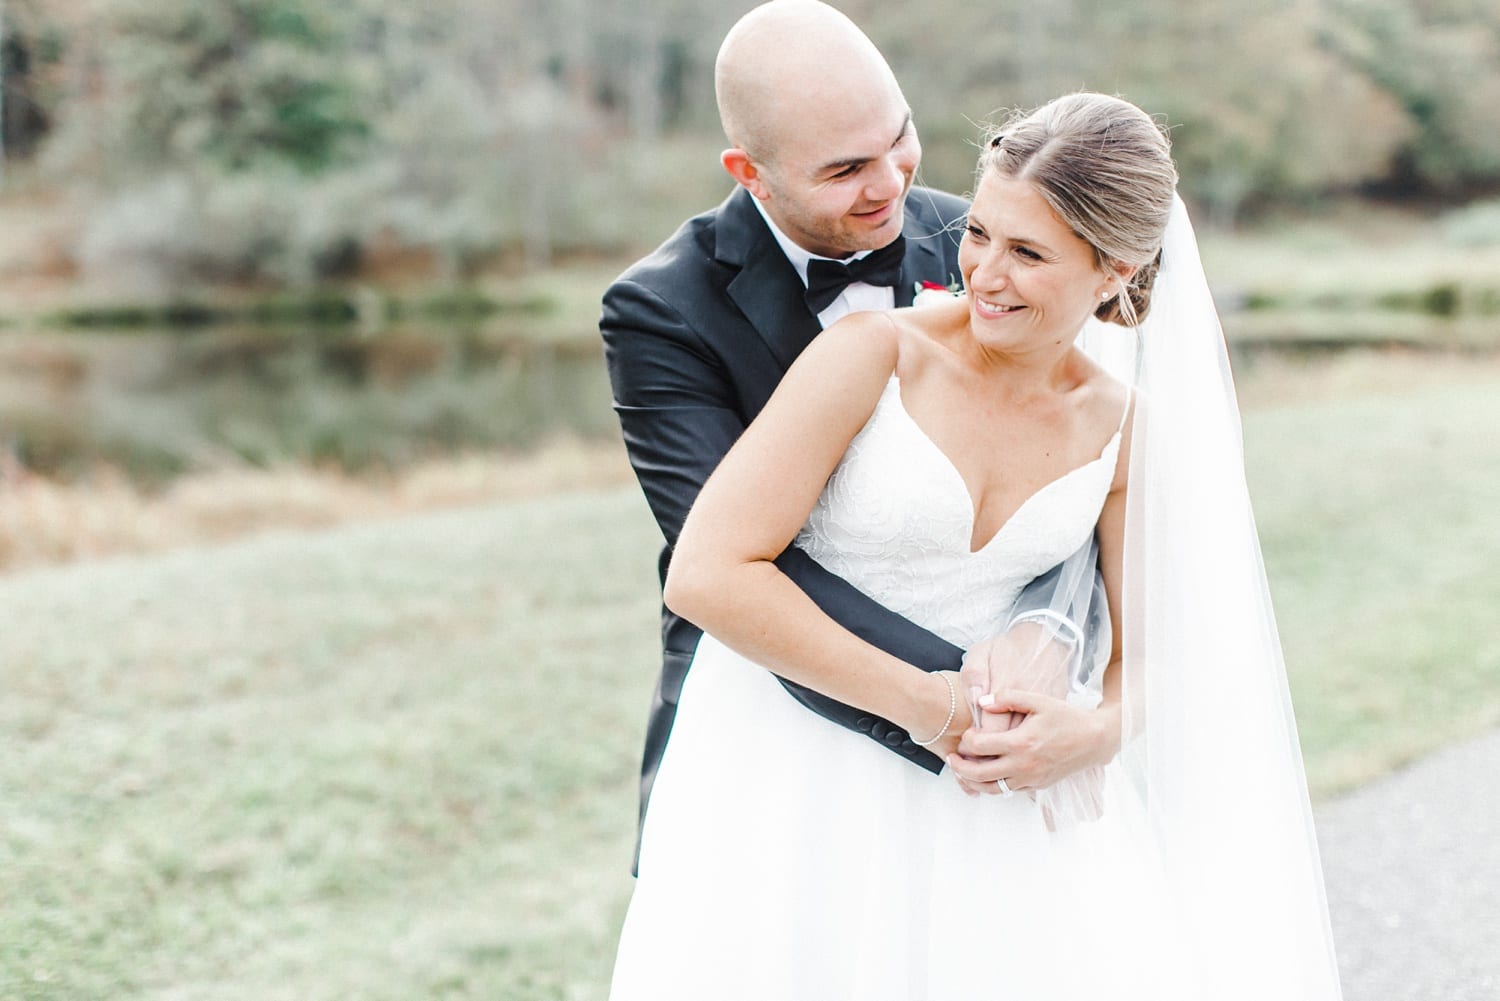
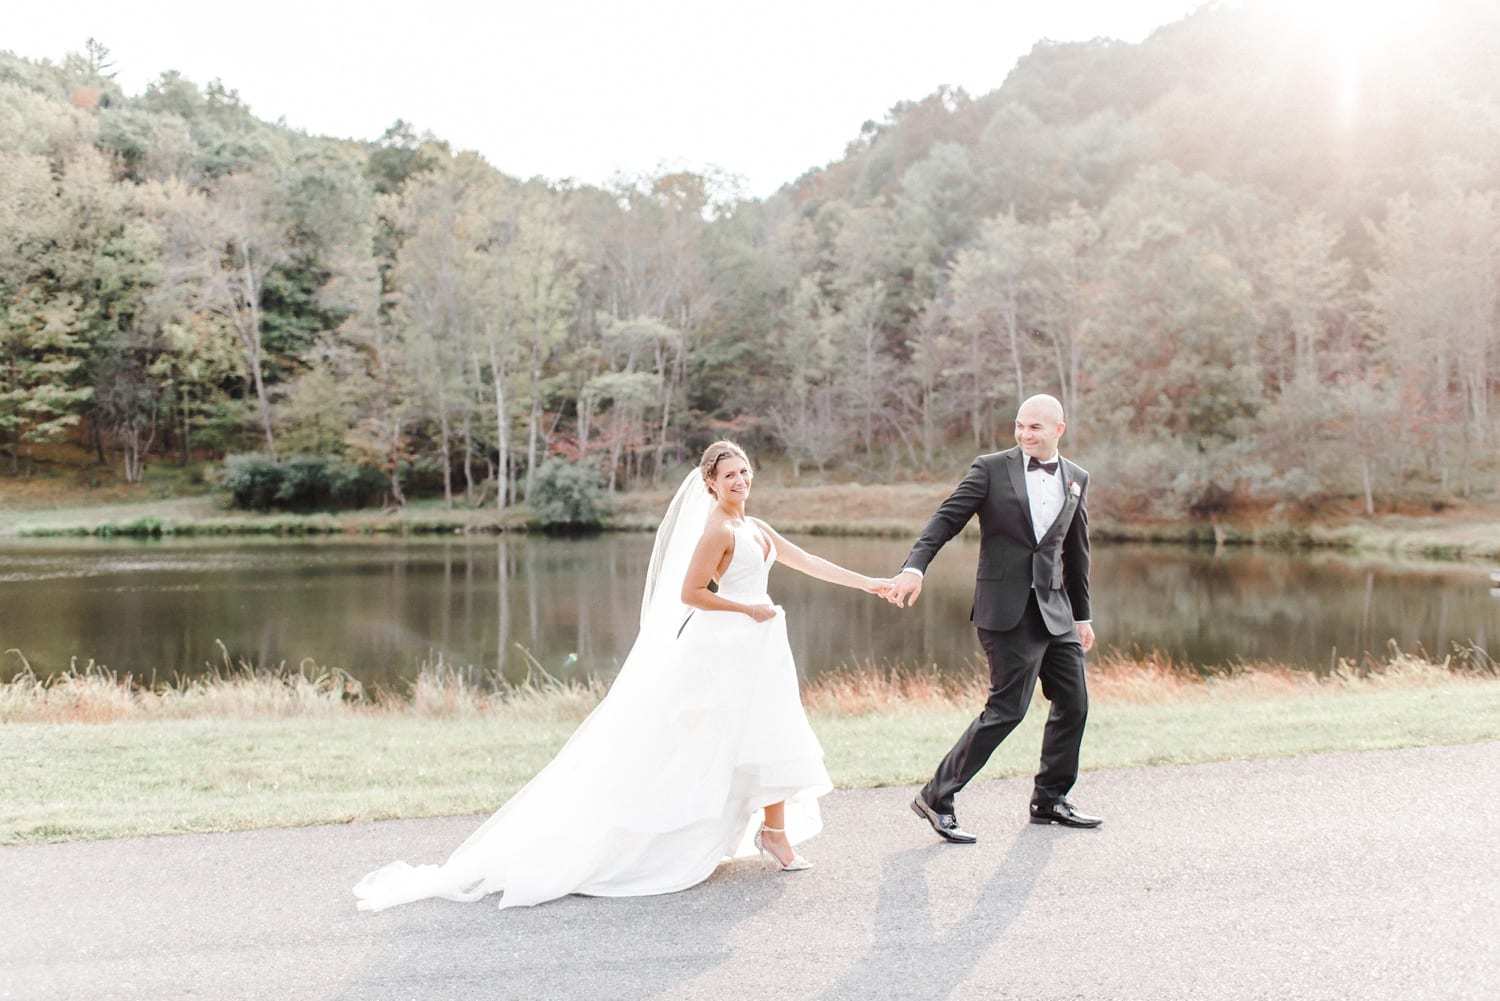
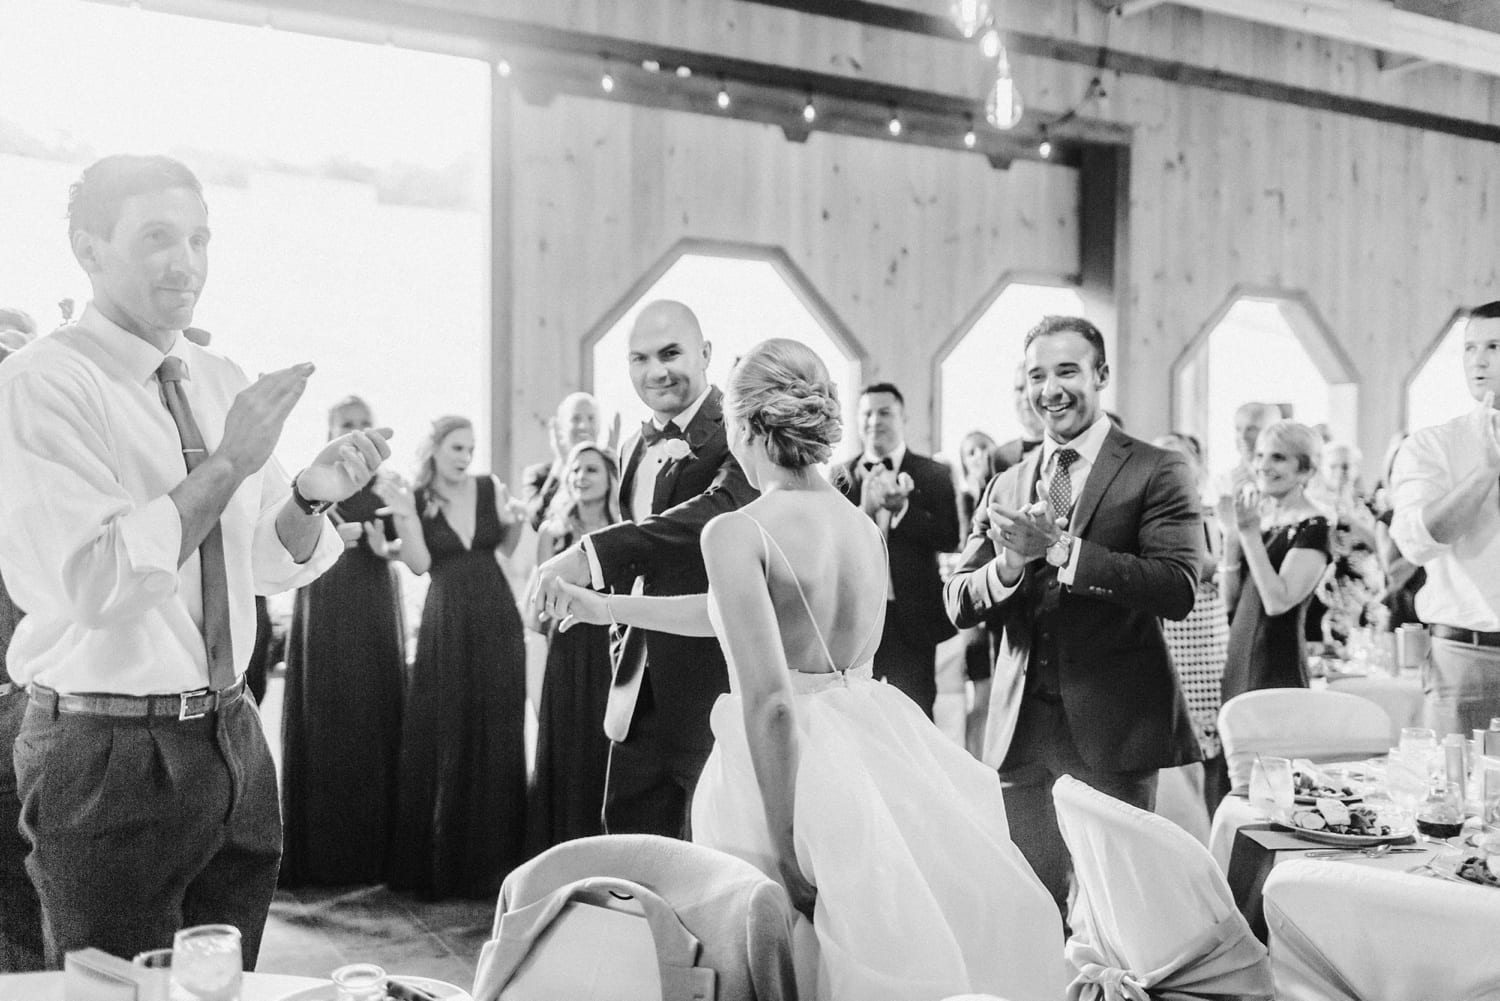
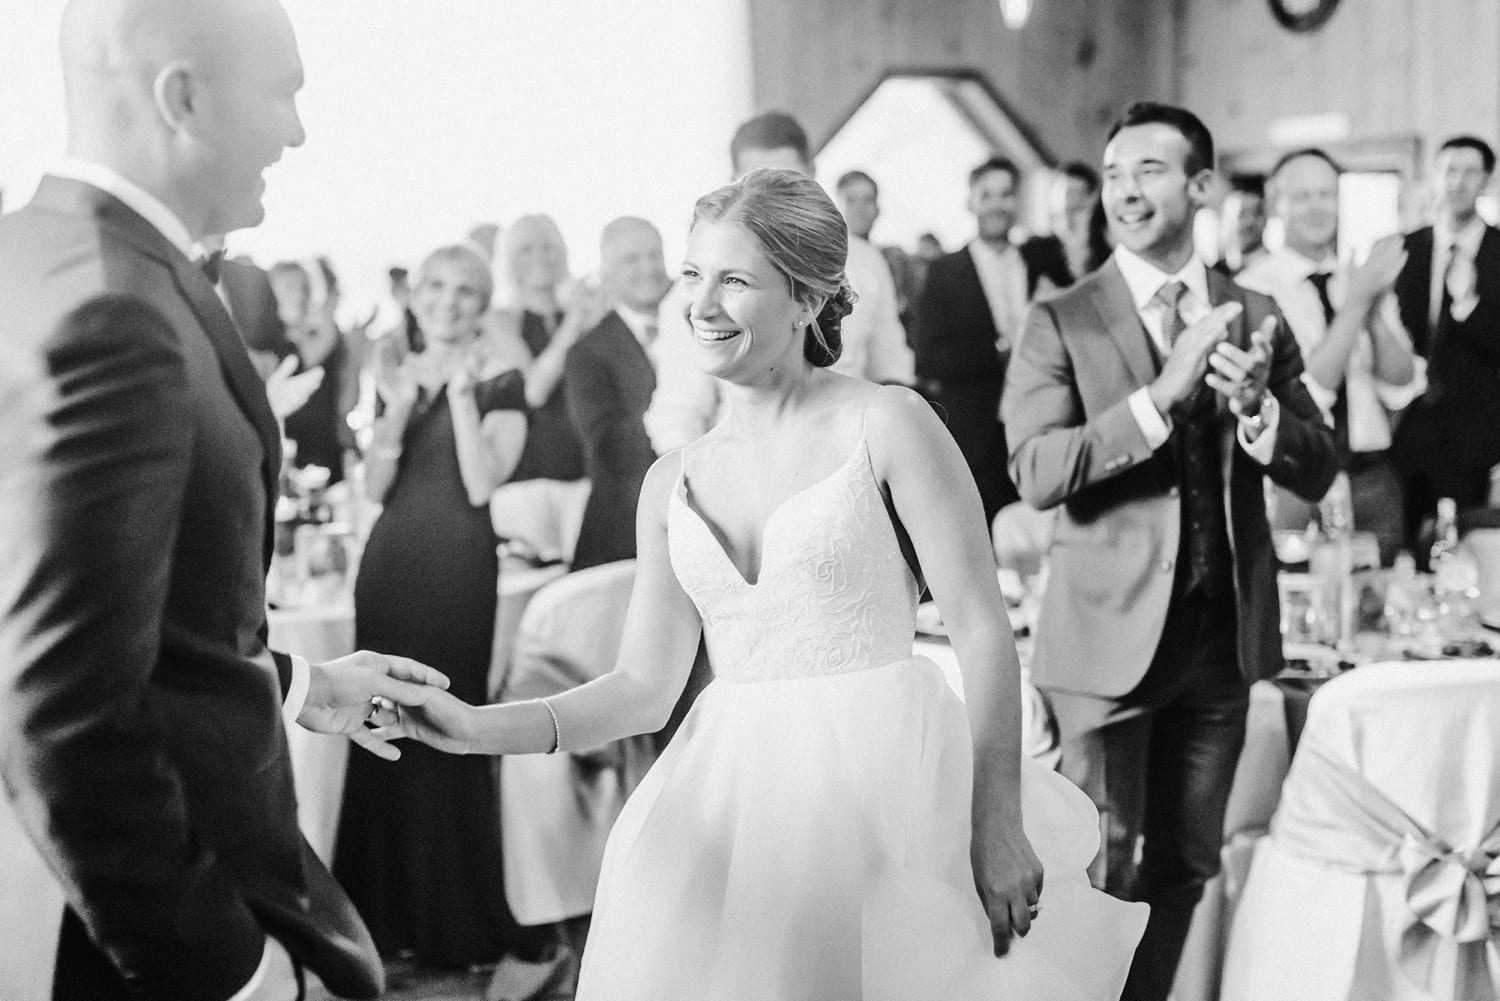
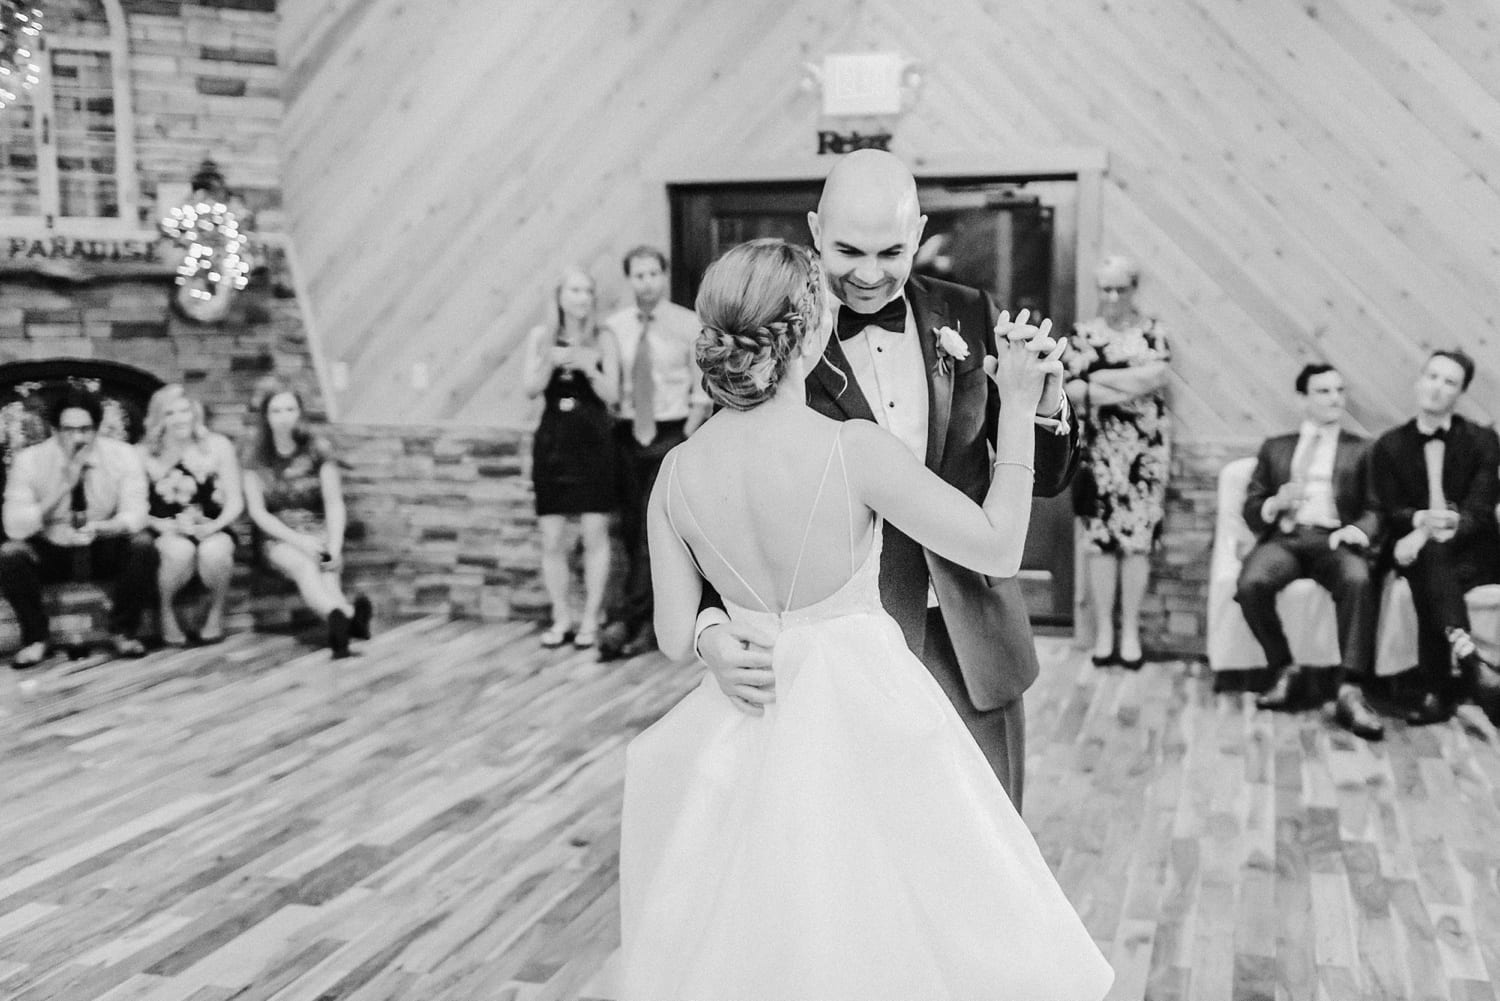
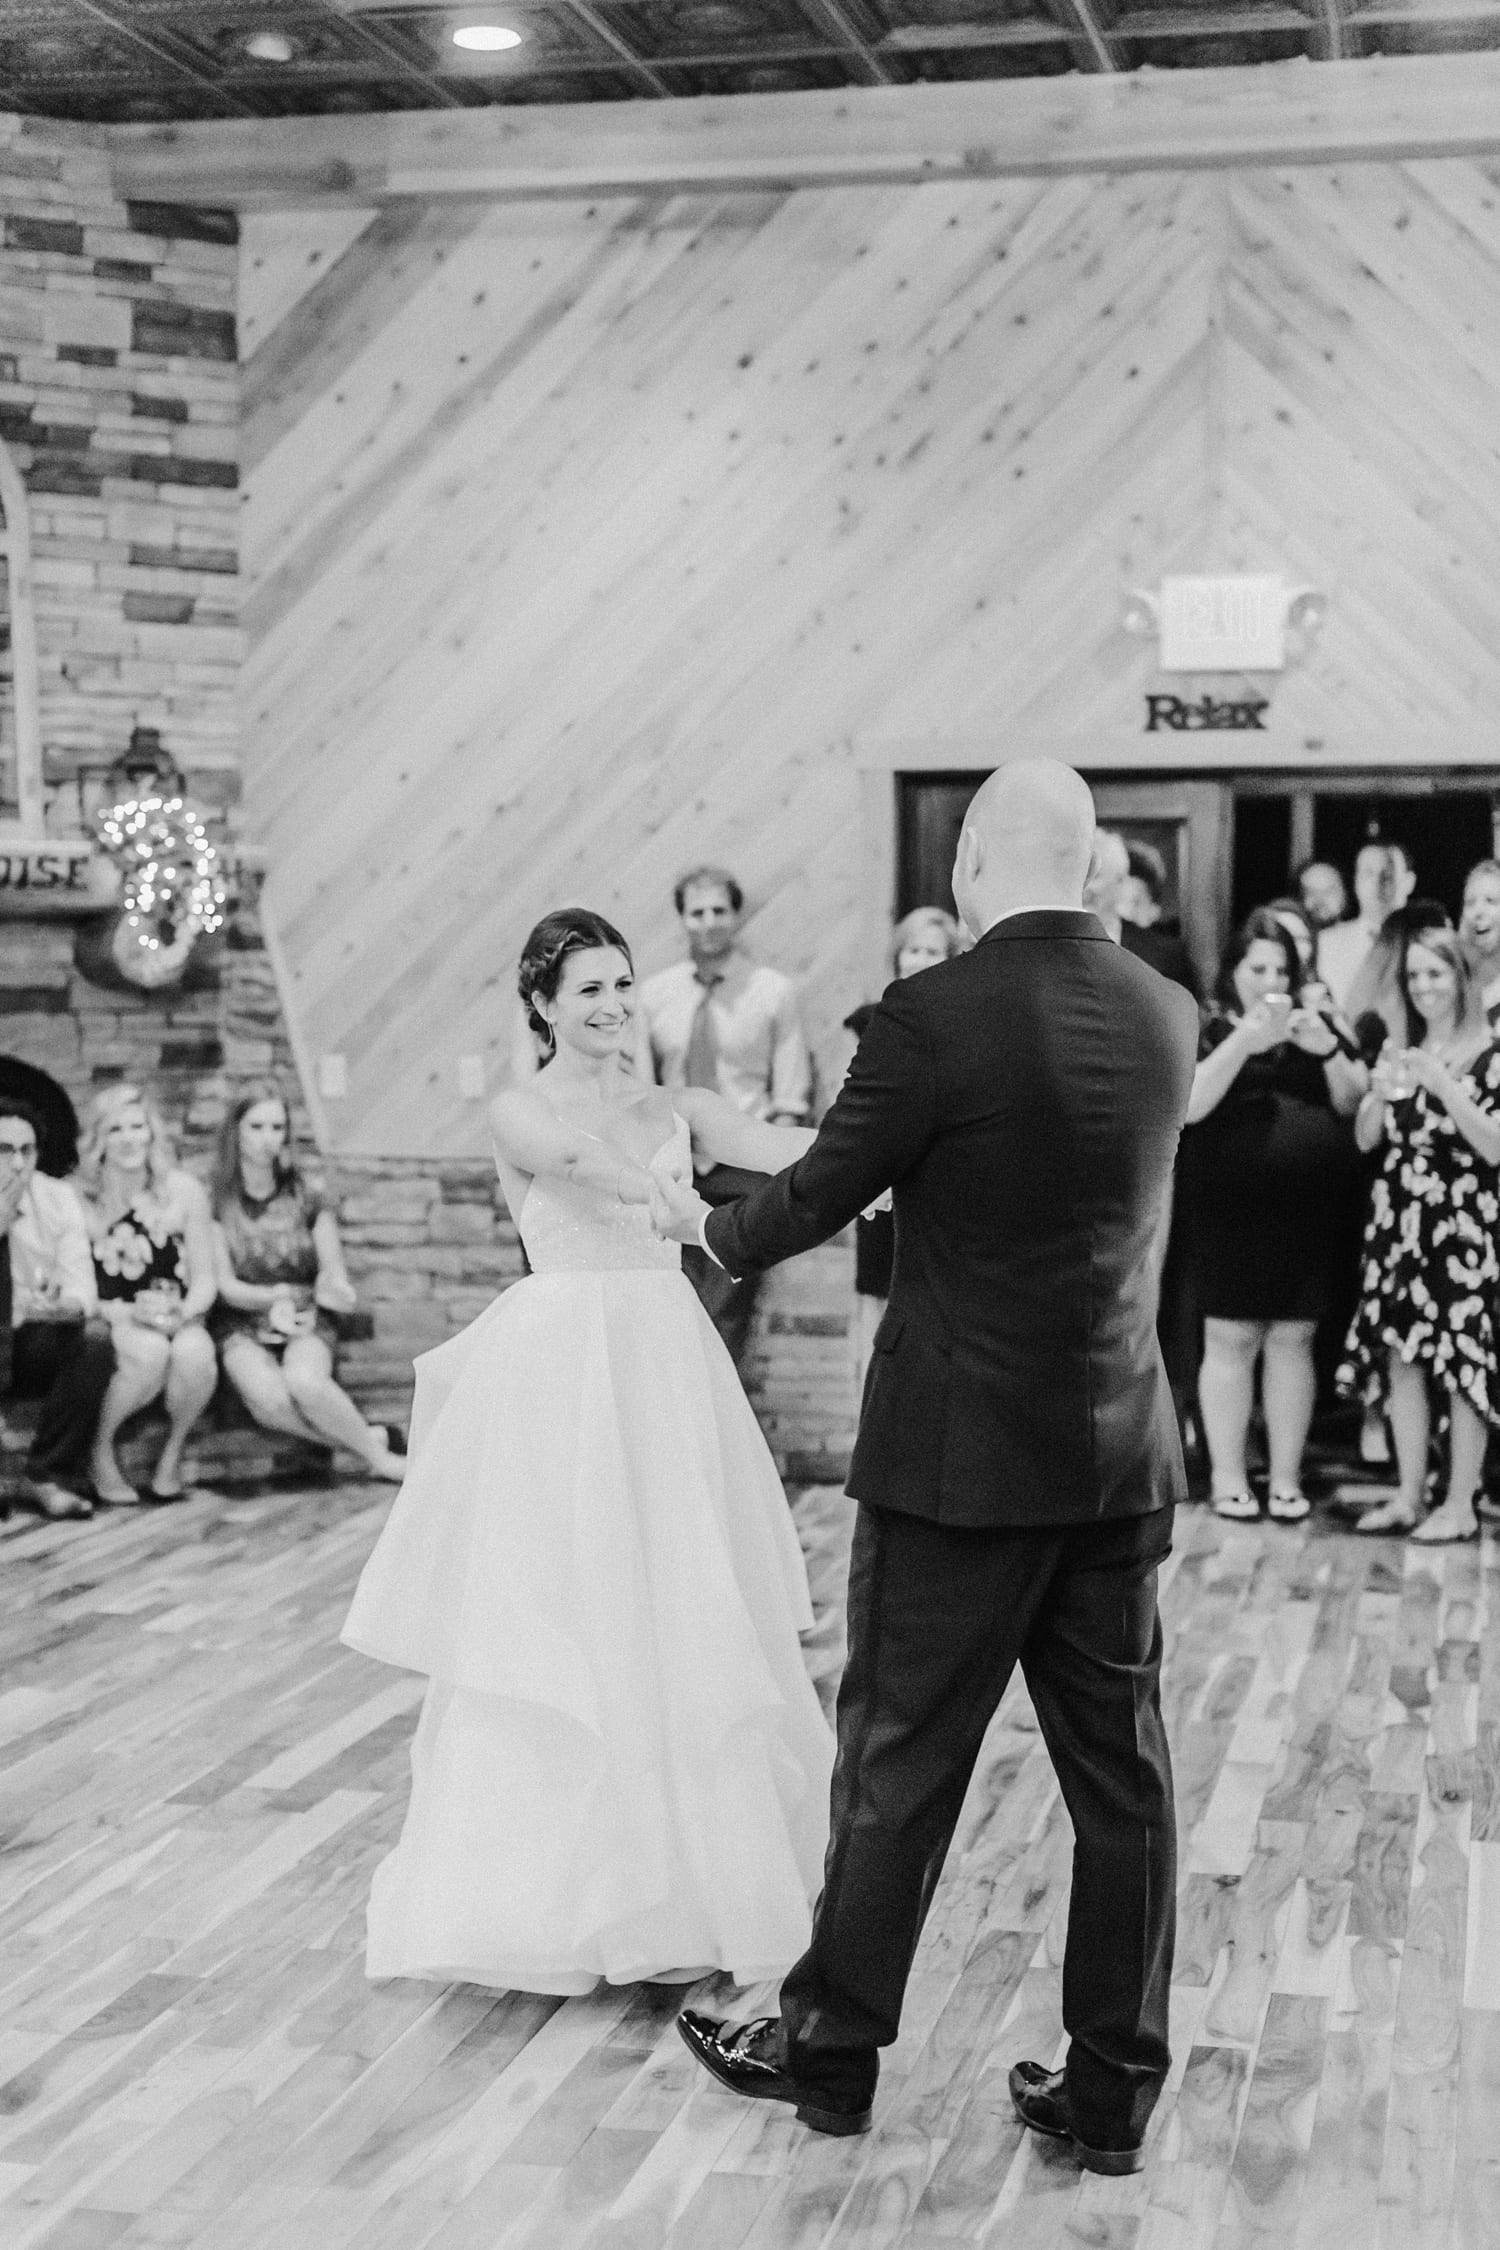
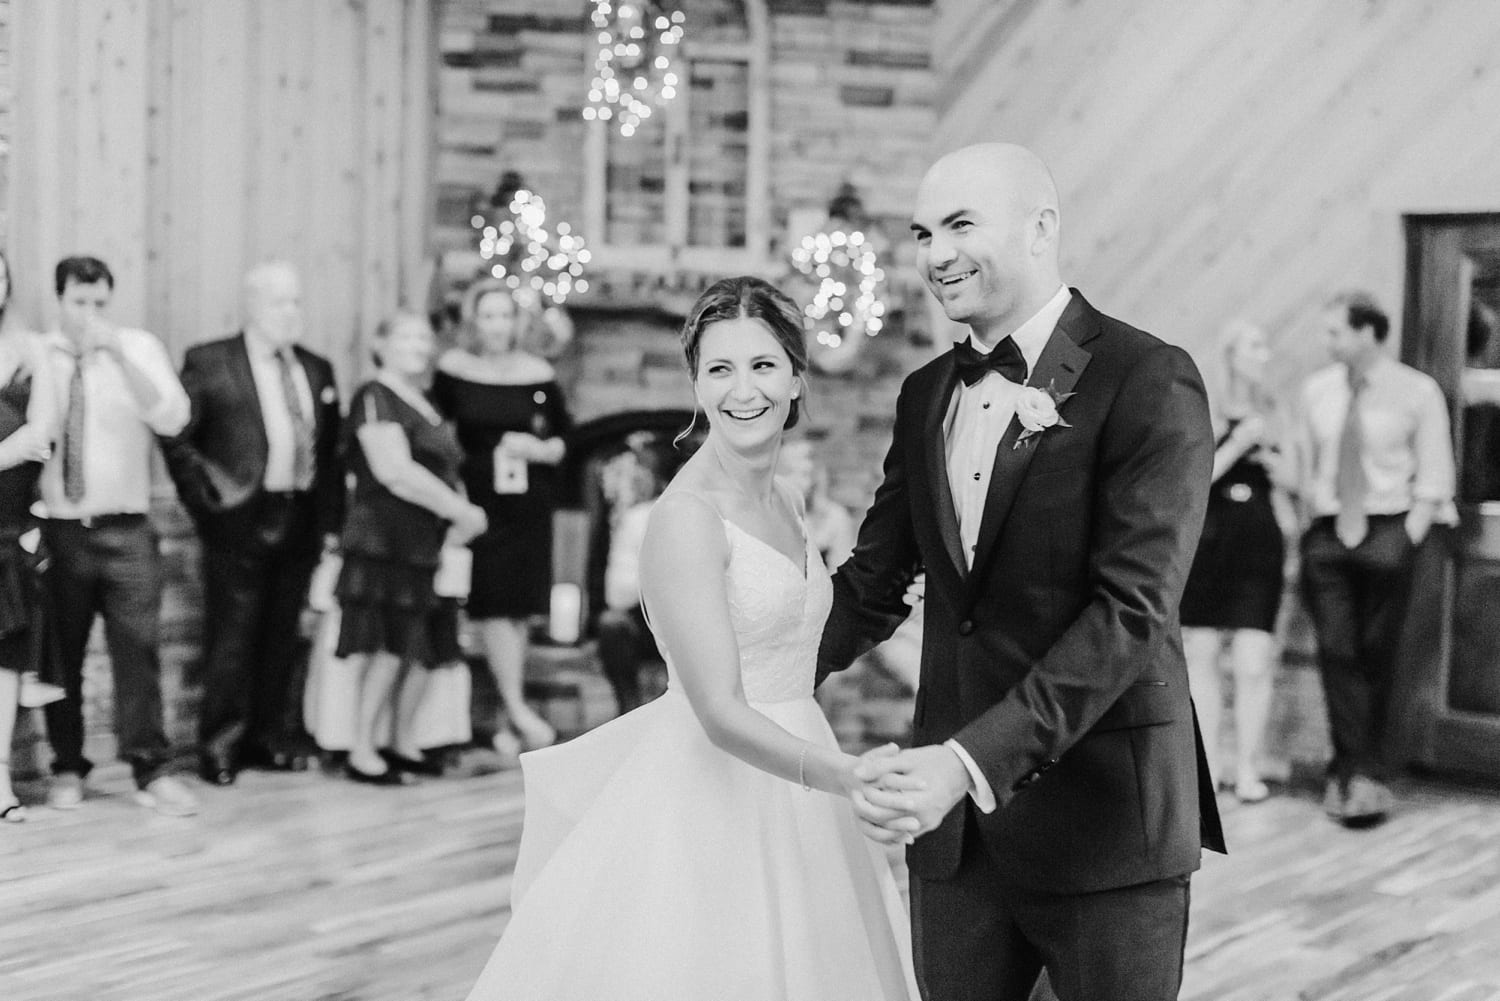
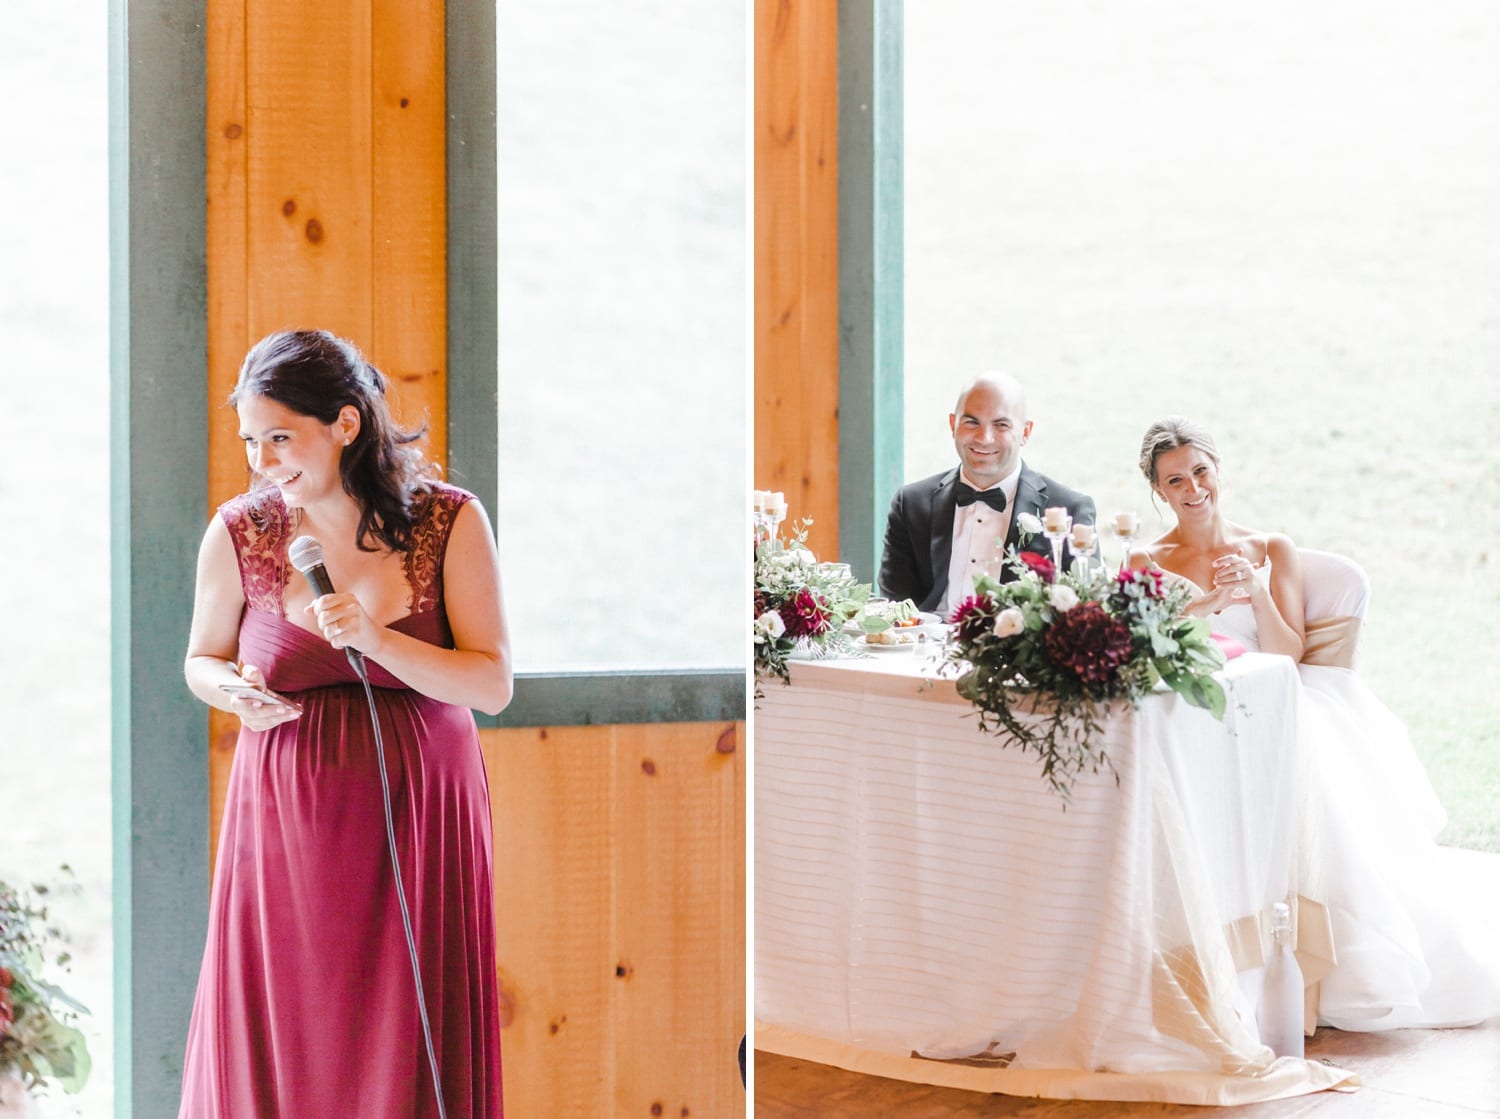
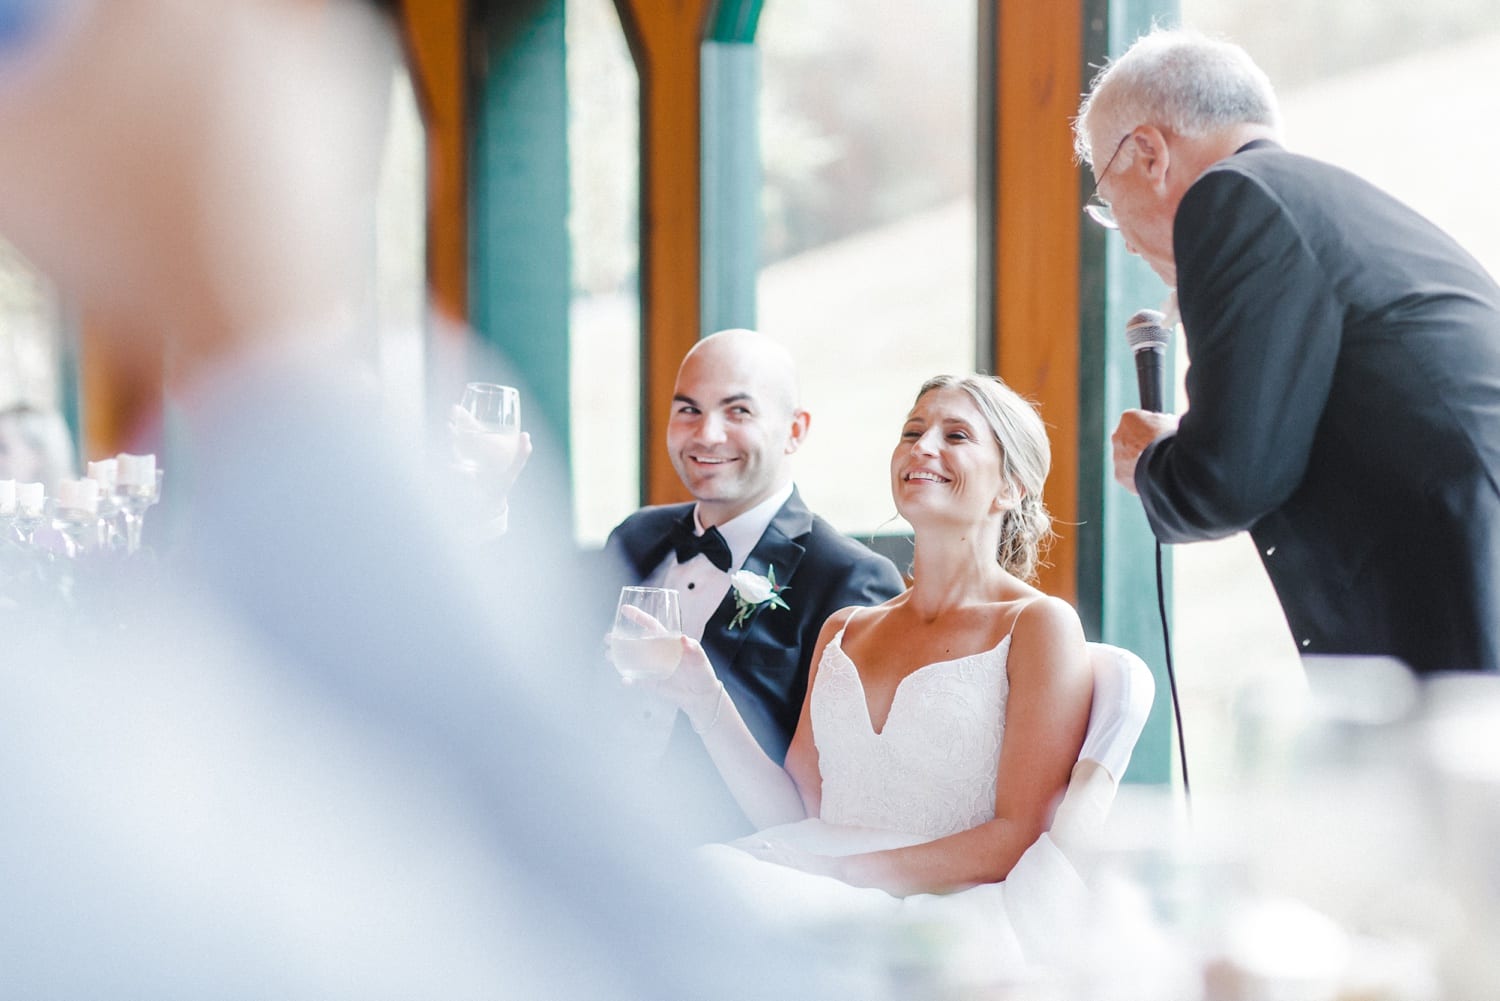
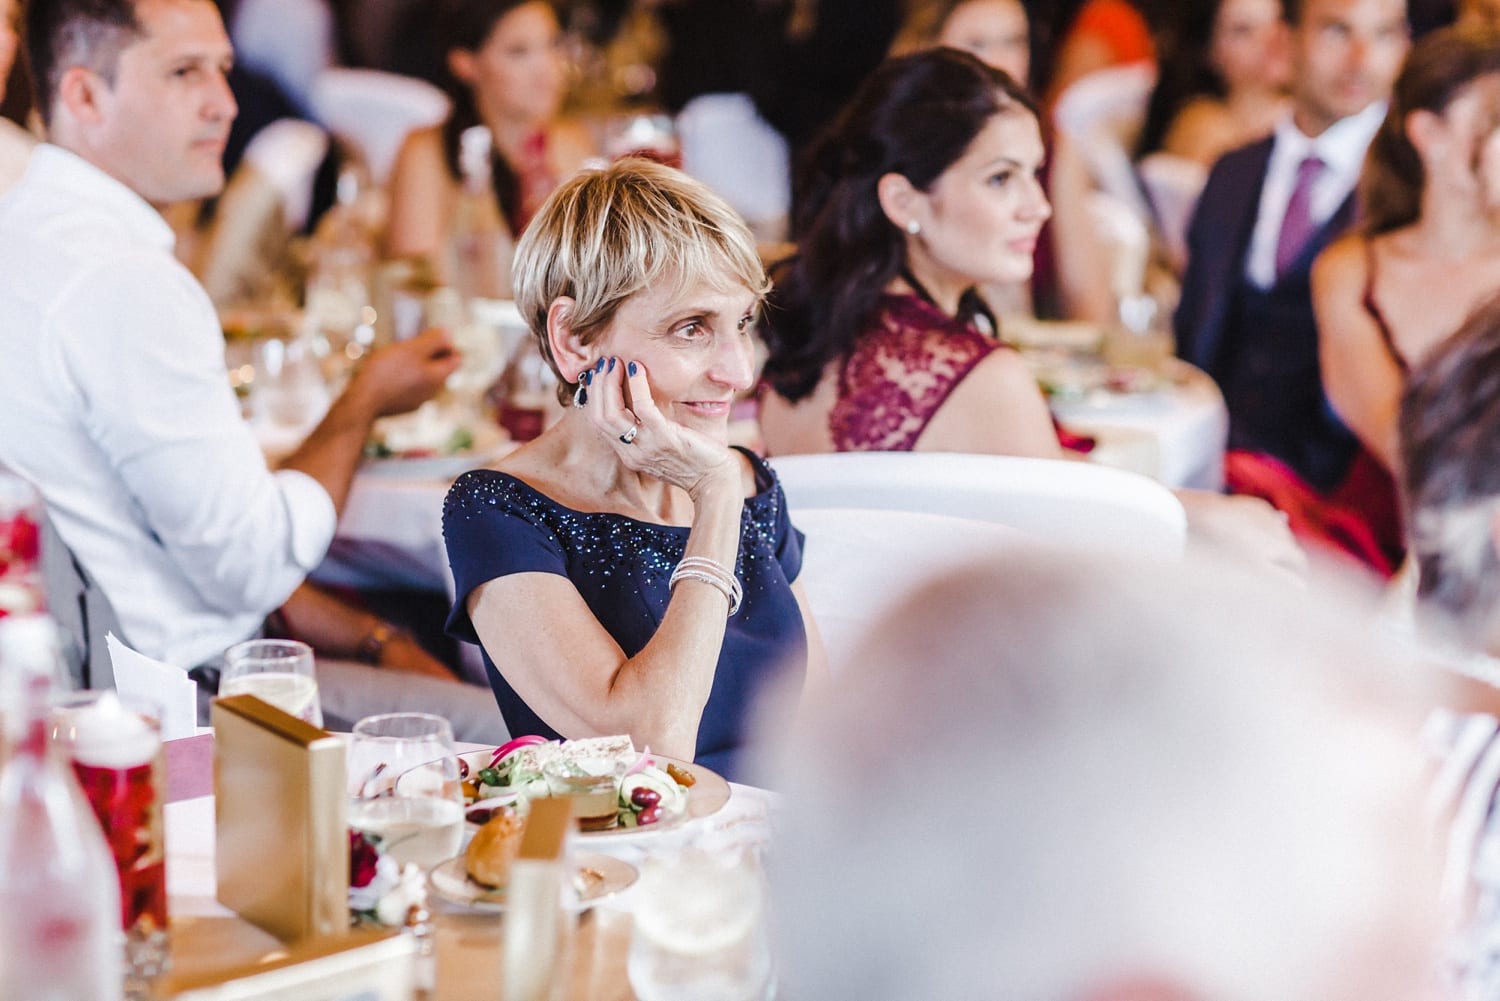
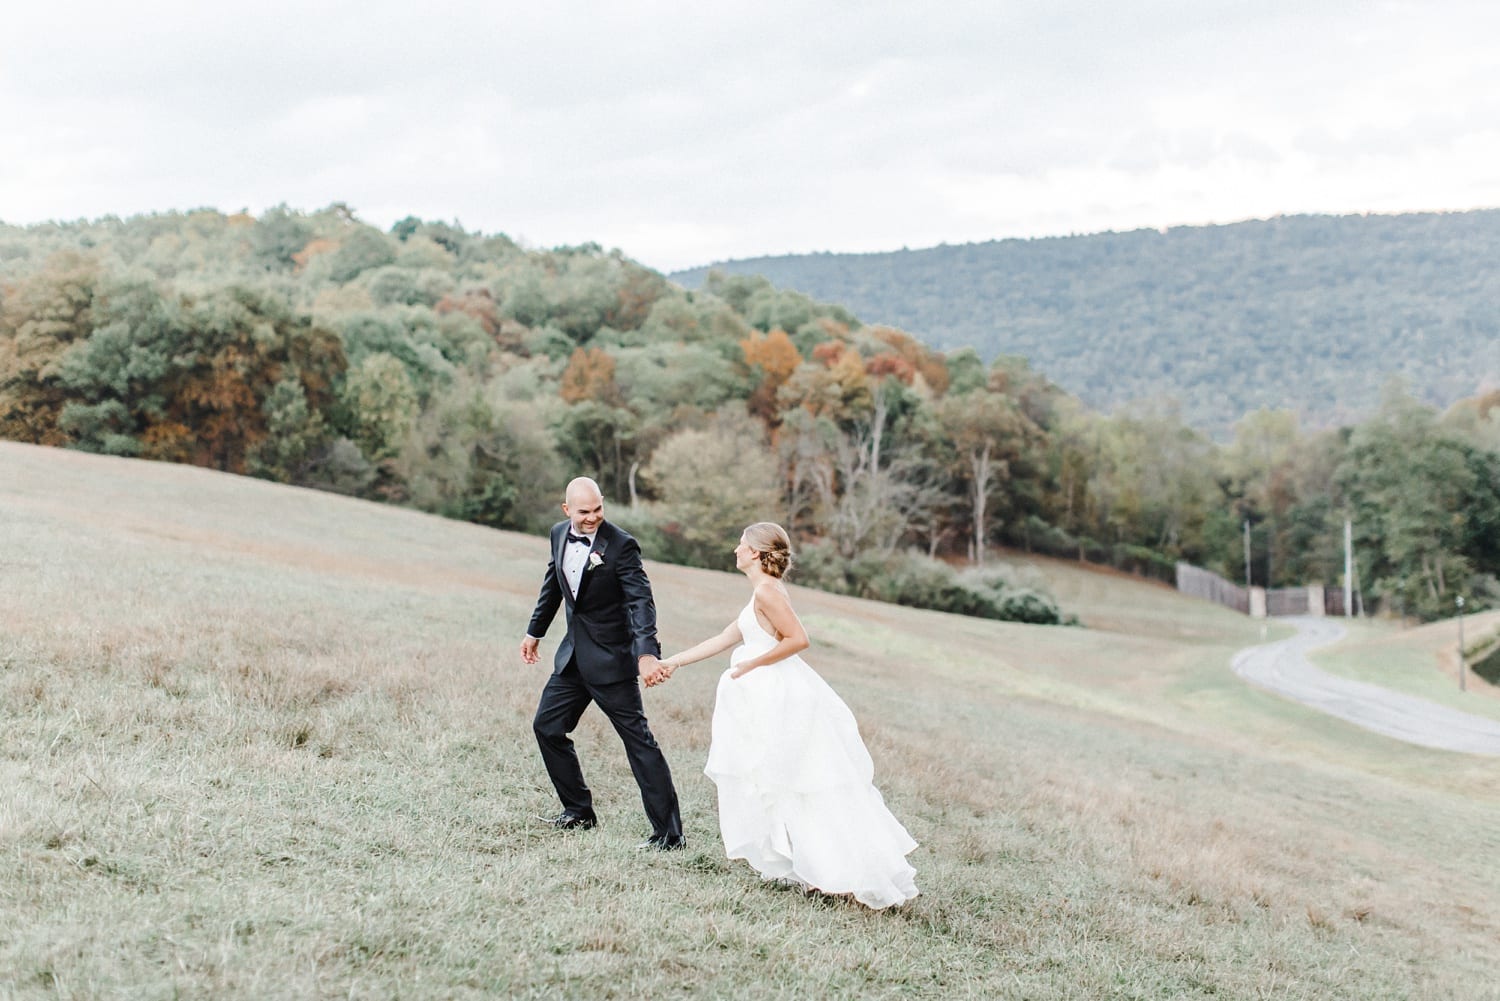
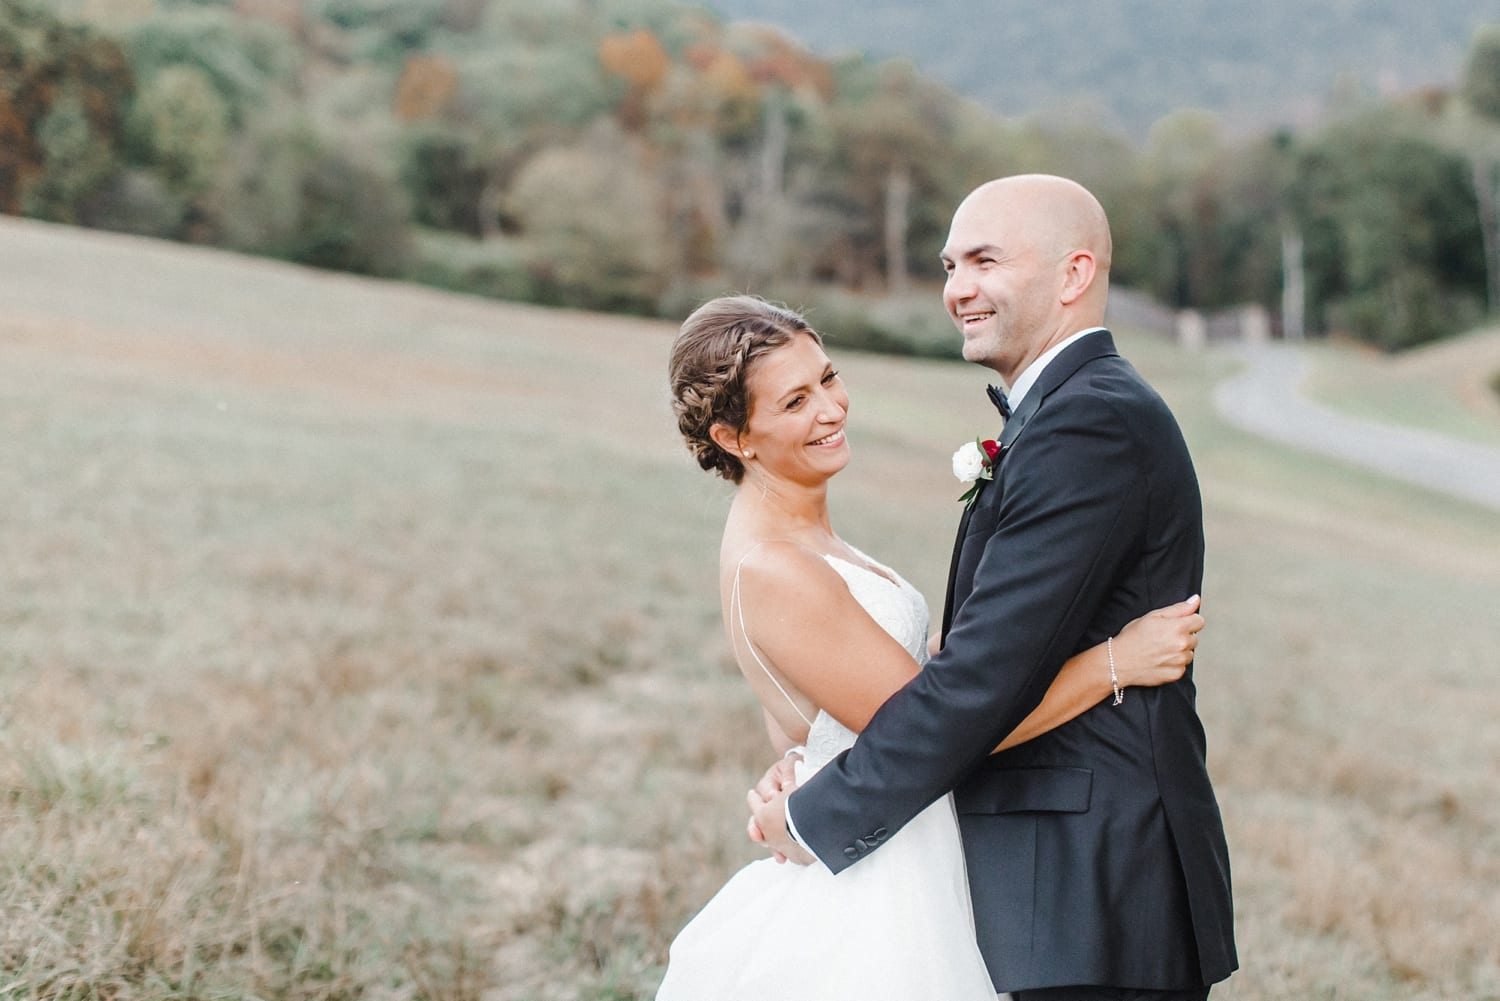
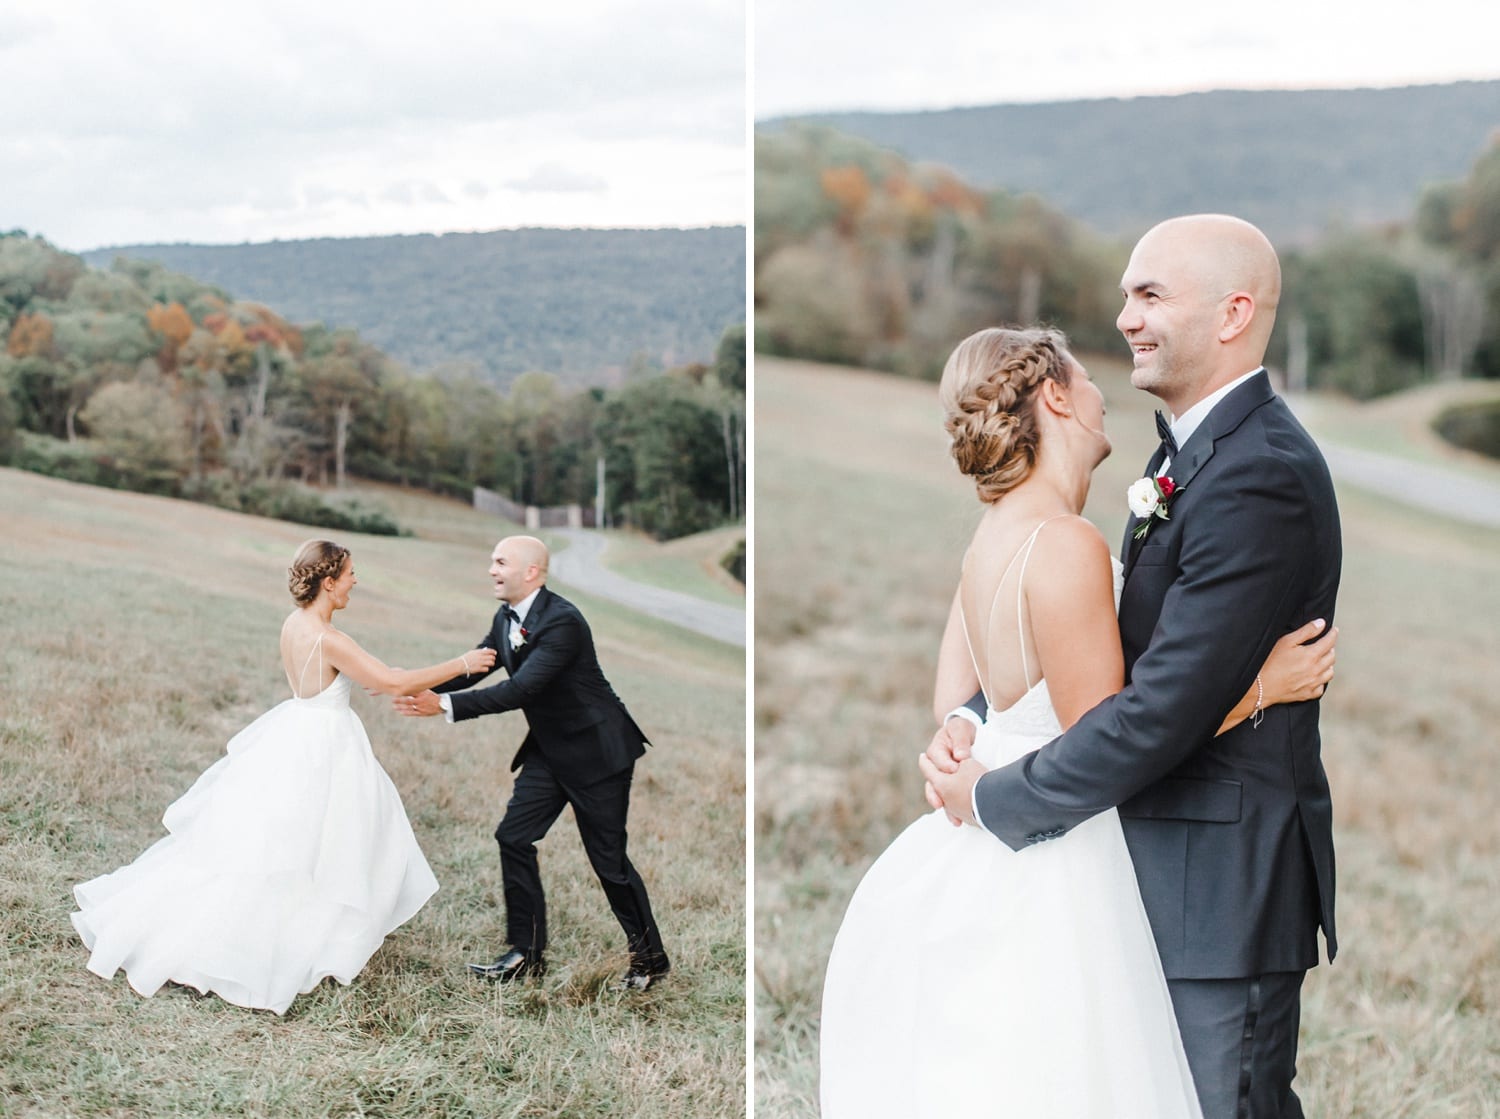
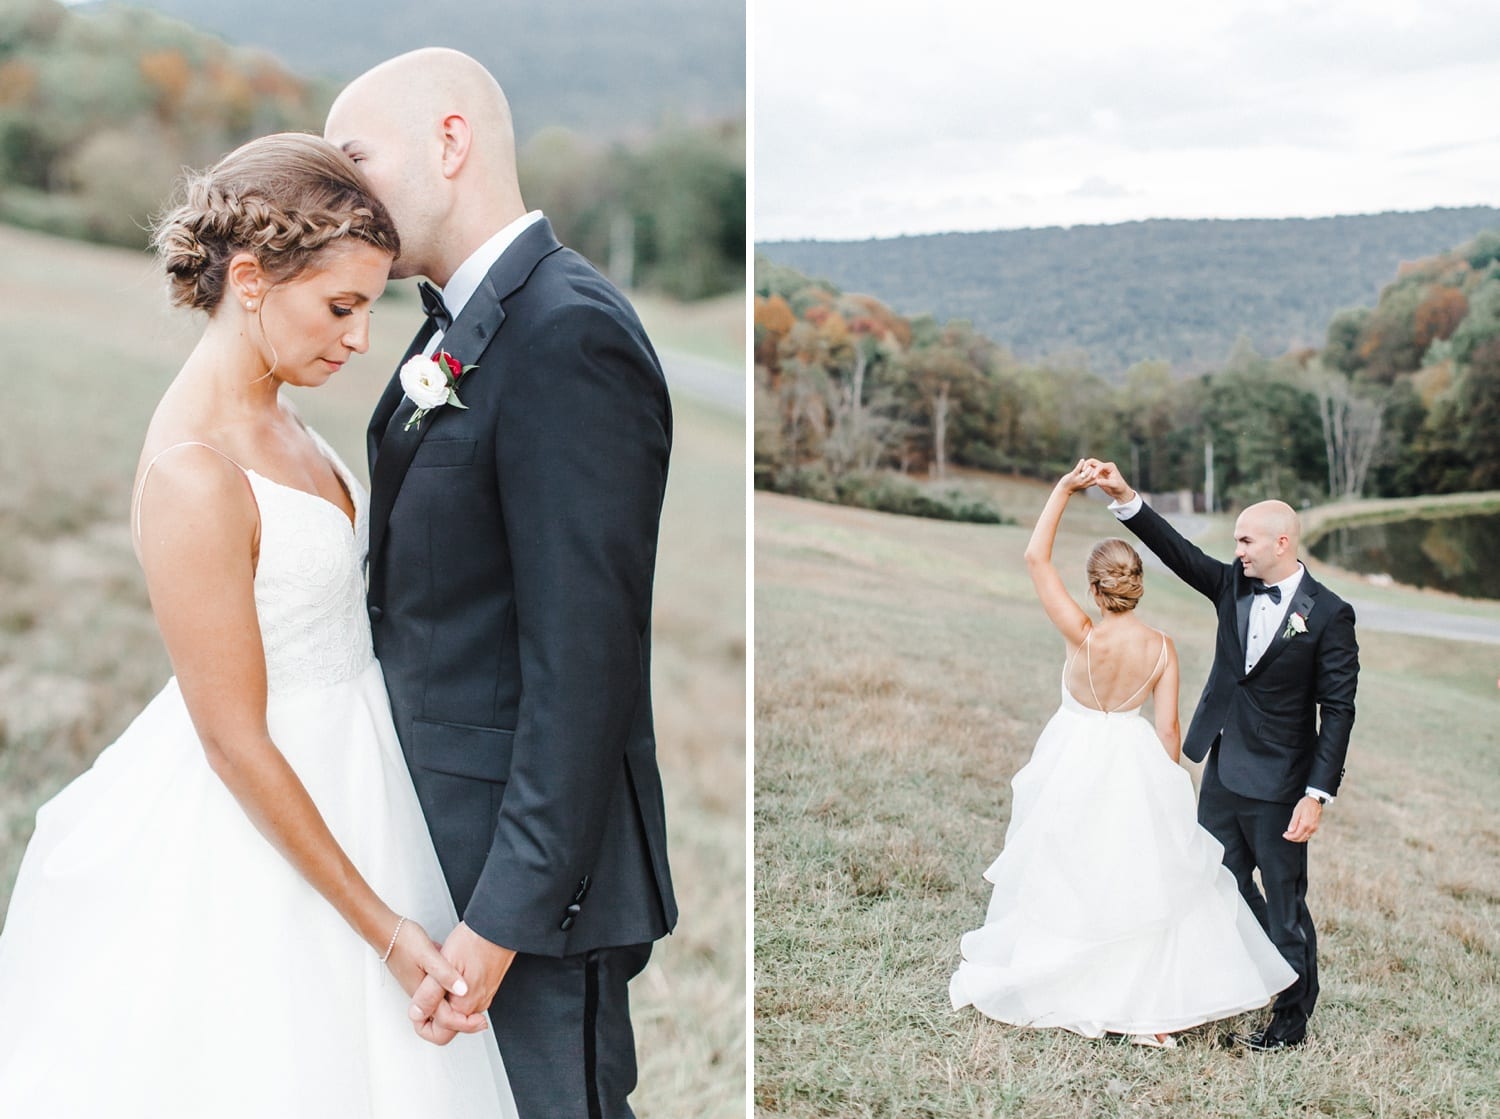
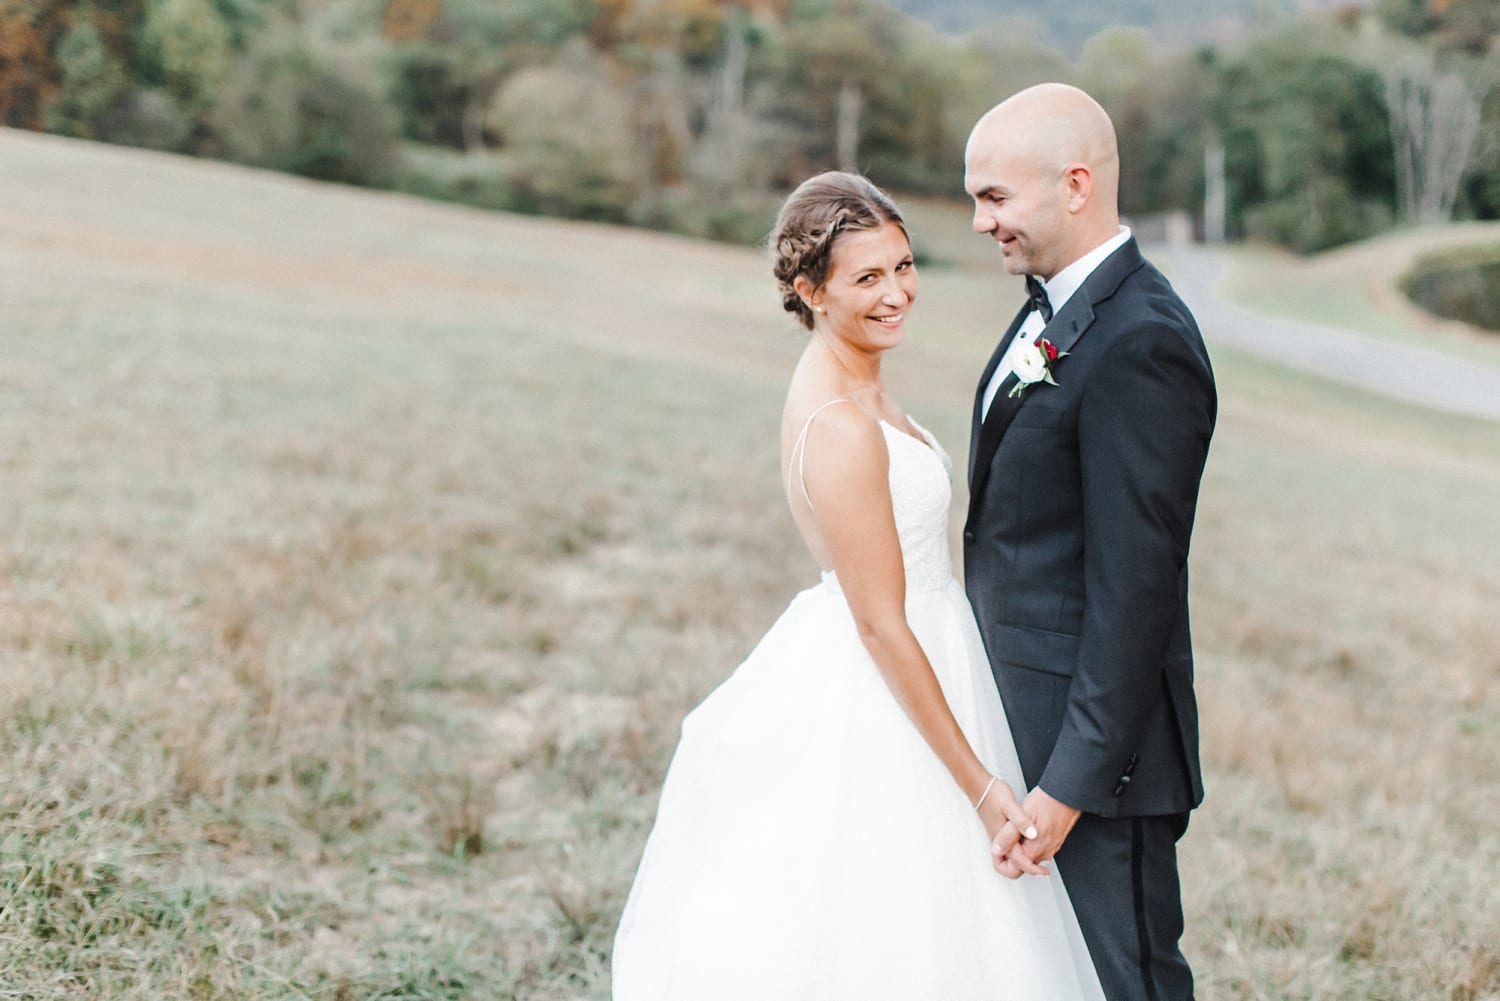
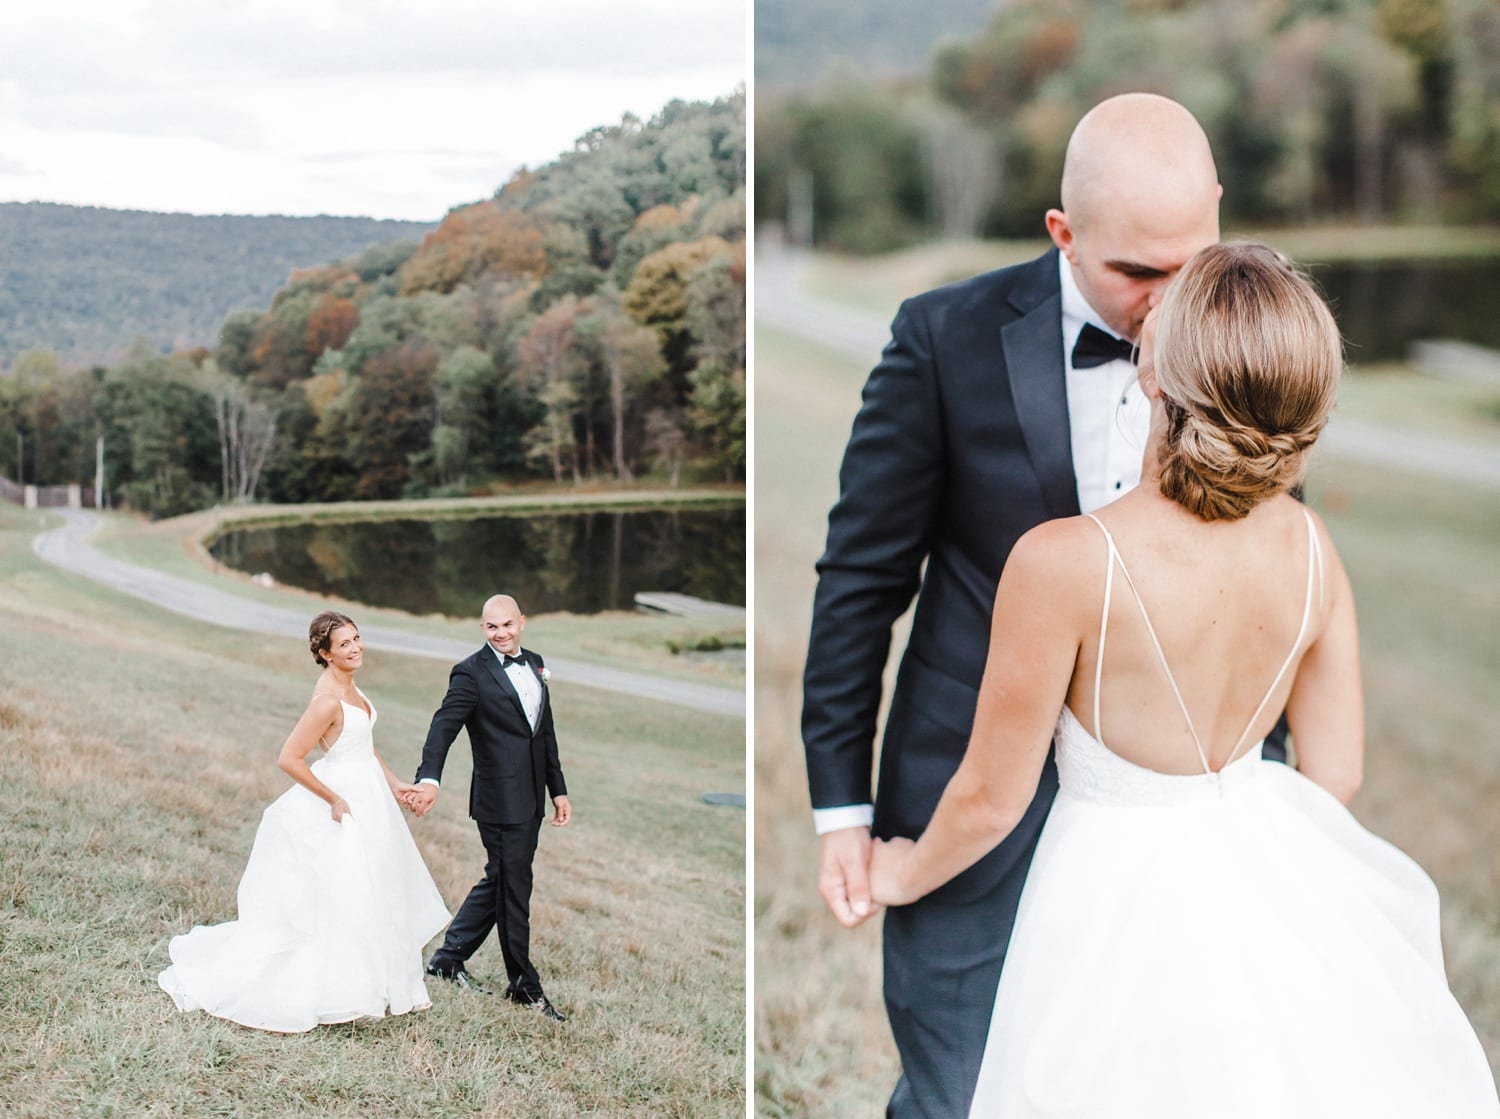
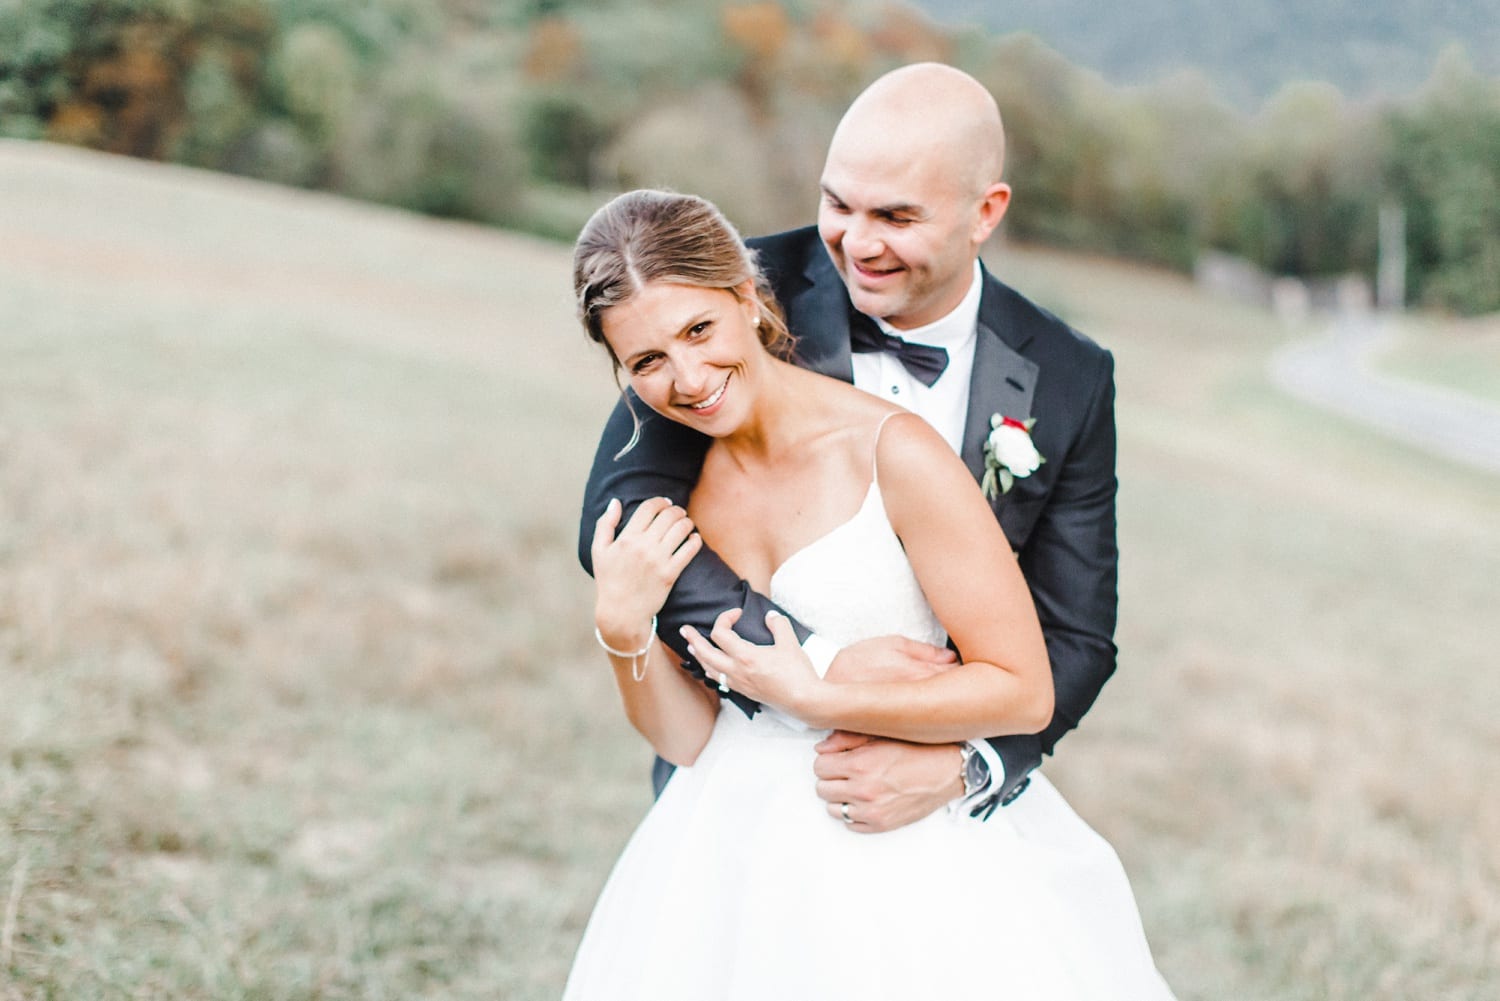
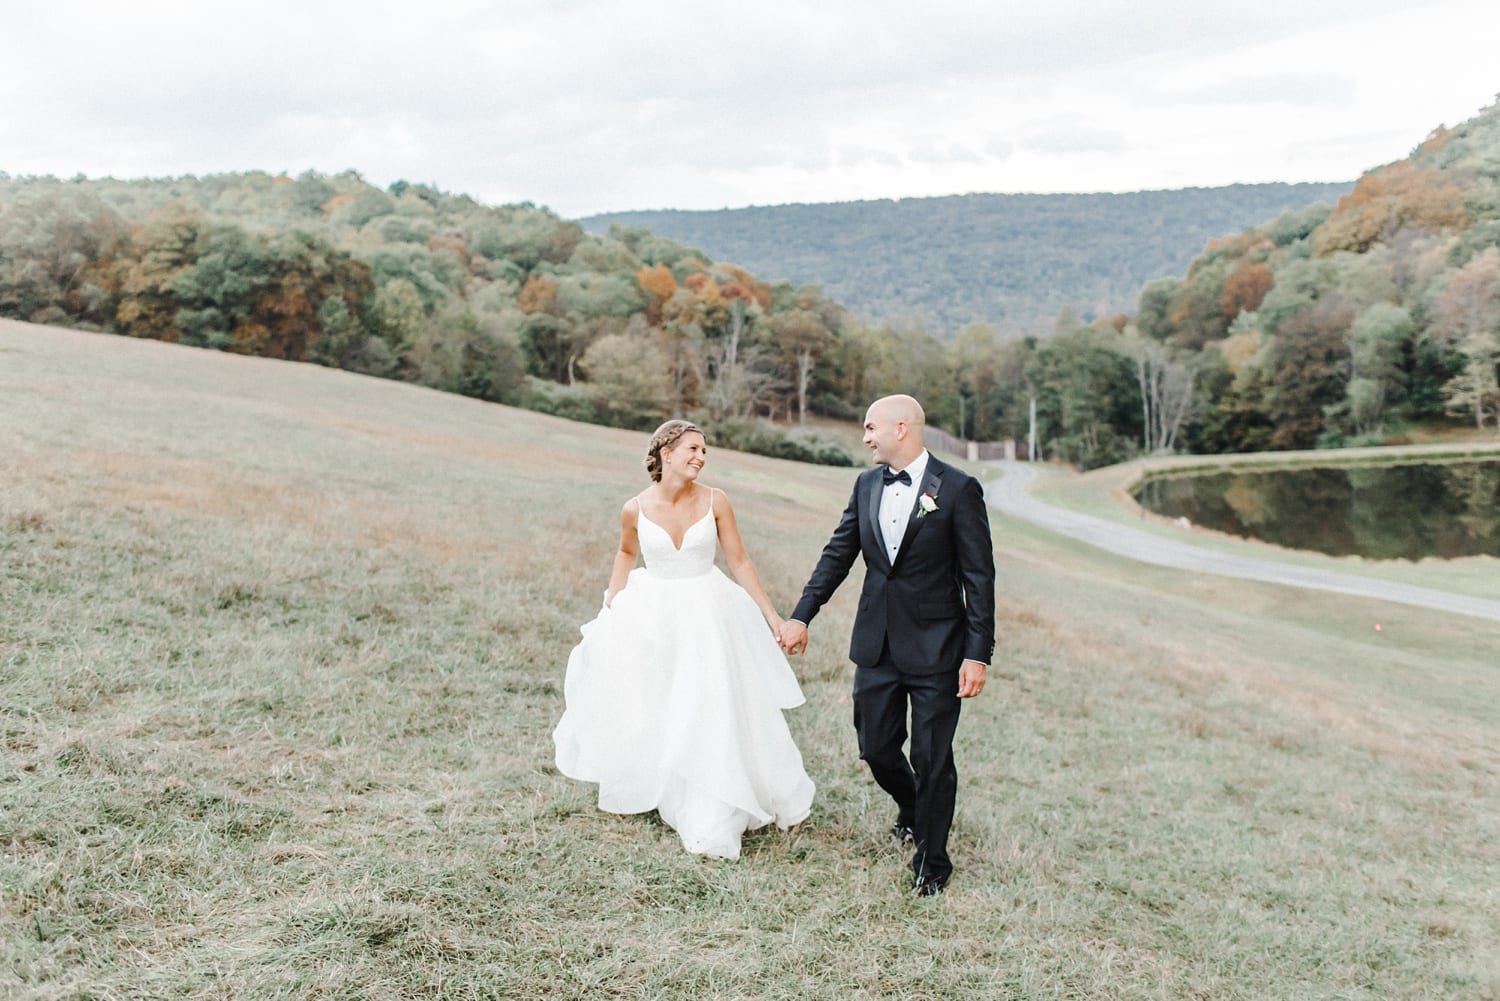
It was a beauuutiful fall day with plenty of sunshine and I just couldn’t have been more honored to be Alex & Caroline’s photographer. <3 Their day was an exact depiction of who they are… easy-going, full of laughter, and so much joy.
One of my favorite things about being a wedding photographer is watching the way each couple of mine is cherished and celebrated by their very favorite people… and Alex & Caroline were no exception! Makes me SO happy because they’re just the kind of people that deserve the world. <3
Alex & Caroline, may these photos forever bring you back to the day your marriage began… I’m so honored to have been the one to document each moment! Sending hugs! Xo
For Photographers: Love creamy skintones & soft colors? Learn to edit light & airy here!
Vil has been creating multimedia virtual tours and 360° panoramas since 2003. He is a professional of high definition (HDR) spherical 360-degree panoramic images; loves to create ground, elevated and aerial panoramas; eager to find creative solutions for specific cases such as theatrical and art projects, historic reenactments or museums; builds interactive virtual tours based on aerial and ground panoramas and enhanced tours with bird’s-eye view photography and video.
So far Vil was mainly working in Europe – he lives in Riga, Latvia – and has traveled around Europe – France, Italy, Sweden, Spain… but he is always looking for new horizons and co-operation possibilities.
Discover some of his 360º masterpieces below and more on Vil’s profile page.
Having a successful Facebook page is the highest level of digital branding.
Why? It’s because this social media platform has the largest market share with 2.93-billion active monthly users. So, success on Facebook means great exposure and sales.
No wonder why every professional is in a constant struggle to improve their page’s performance. You’ll find them posting daily, developing strategies, and whatnot. Some even use growth services that help get Facebook free likes and followers.
However, growing a Facebook page isn’t that hard. Today, we’ll share some amazing must-know Facebook tips for photographers to help boost your page instantly. Let’s dive in!
Post Consistently
Both algorithms and people prefer Facebook pages that are active.
When you post consistently, the viewers stay updated with the latest things going on in your photography business. This helps them feel involved and connected.
Plus, a study suggests that when one thing pops up again and again in front of someone, it encourages them to make a purchase. So, consistent posts are an excellent way to boost sales too.
As for algorithms, the activeness of a page triggers the bots to increase visibility. It shows the post on others’ feeds and even sends suggestion notifications.
Optimize Your Page
Never underestimate the power of optimizing your Facebook page. It helps increase the ranks of your page in the search results. So, when someone searches for photographers or photography, your page will pop up.
Here are some Facebook SEO tips to follow:
Fill in the About Us accurately
Use keywords in the content
Claim the vanity URL
Get backlinks
The keyword point is the most important. These key terms should be sprinkled naturally in your page title, about us, contact, and even the captions.
Use Videos & Livestreams
Perhaps, we don’t need to emphasize the need for high-quality images for your page. As a photographer, you would know that people are attracted to flawless images. But, while trying to build a portfolio, don’t forget videos and live streams.
Research says that videos are 1200% more effective in delivering the message. They generate more likes and shares than any other content form. So, make sure you upload at least 1 to 2 videos every week.
These videos can be anything from a recap of the last year’s work or behind-the-scenes of a current project. You can even skip the trouble of video making and editing by going live.
Be Human
Engagement with the audience is crucial to create a loyal community. You need to interact, socialize, and let them know that there’s a real person behind the screen.
Post about your struggles and achievements. Make people feel comfortable and connect with them on similar grounds. They would feel more confident in doing business when they know you and them are alike.
Also, do not overstress about publishing overpolished content. Too much perfection often gives a fake and cold feel to your business.
Run Facebook Ads
Facebook ads are a great marketing tool that lets the platform handle the duty to increase exposure. Of course, it’s not free, but it’s worth the money.
All you have to do is select the post and sponsor it. Facebook will drive the results for you!
New Delhi [India], November 2 (ANI/SRV): Weddings are special in everyone’s life, and to make this day memorable, wedding shoots and pre-wedding shoots are in trend among young people nowadays.
The trend of a pre-wedding shoot is growing among young couples. When we talk about making memories, not just pre-wedding shoots, but wedding shoots, maternity shoots, and candid photos are in style.
A different custom rooted in youth is taking photos and videos of a wedding ceremony and displaying them in a nice collage or posting them on social media to tell everyone that they got married. As a result, there is a surge in hiring professional photographers as the photography industry grows and expands.
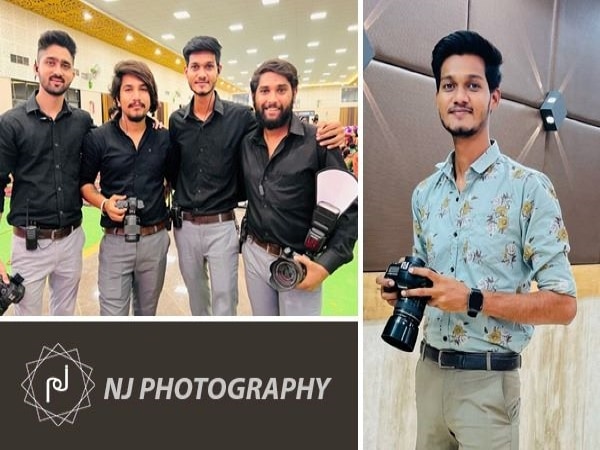
While talking about the photography business, we can take the example of NJ Photography, one of Kalyan West’s fastest-growing wedding photography businesses that provide pre-wedding, wedding, maternity, royal albums, drones, cinematic videos, and candid photo services. With a highly professional team, they have shot more than 350 weddings to date and have done more than 200 fashion shoots. NJ Photography has served a few renowned clients, including Namrata Anap (Bollywood fashion designer), Dr Neha Shelkar, Amruta Anap (TV9 Marathi anchor), Shraddha Pednekar (Fashion Influencer), etc.
In the year 2016, Nikhil Jadhao founded NJ Photography and formed a creative team with friends who shared a similar interest and passion for the arts. When he first started the business, orders for wedding and pre-wedding photography began to pour in just 7 months, and the company achieved its first goal of 20+ wedding shoots.
NJ Productions, a full-service film production firm, has become a destination to cater to the citizens’ photography needs in Mumbai. The founder of the company is well known for his candid photographic work and excellent video coverage. Within a short period, the company became successful by providing its services across the country.
Today, NJ Photography is one of Kalyan West’s fastest-growing wedding photography businesses. However, success is never handed to you; you have to work hard for it. Likewise, Nikhil also had to struggle, but never gave up. From his background as a research scientist at Aditya Birla Group, he has always been fascinated by the world of art.
His only area of interest was photography, and he persuaded his father that he should start his own photography business. Nikhil left his job and started his own photography business. While doing his business, he experienced loss but continued to make his own NJ photography without faltering.
(https://www.instagram.com/nikhil_jadhao) Nikhil Jadhao, a self-made entrepreneur with a mission to become the best wedding photographer in India, the best photography mentor, YouTuber, and the best Instagram influencer, has started an e-comm. a firm called ‘prophotographers.in’ which provides digital tools for photographers, and he serves as CEO of NJ Productions (Adv and Media Company). He aims to establish a full-service production studio in Mumbai.
This story has been provided by SRV. ANI will not be responsible in any way for the content in this article. (ANI/SRV)
DISCLAIMER
(This story has not been edited by Business Standard staff and is auto-generated from a syndicated feed.)
Xiaomi has showcased a new concept device that allows you to attach a camera lens module.
The Chinese smartphone maker has partnered with German camera giant Leica for the Xiaomi 12S Ultra Concept.
The device will offer features such as focus peaking, zebra lines, histograms and more.
Xiaomi has revealed a new concept smartphone, dubbed the Xiaomi 12S Ultra Concept, which might make it one of the best smartphones for photography. The device has an excellent camera setup but does not stop there – the company has made it possible to attach a camera lens module at the back.
The Chinese tech giant has partnered with German camera giant Leica to enable you to attach a camera lens module to your smartphone, allowing you to capture professional photographs without having to splurge for a DSLR.
Add a lens to capture professional images
Discover the future of SaaS in India
The 6-part video series will capture the vision of Indian SaaS leaders and highlight the potential for the sector in the decades to come.10th Nov, 2022 Starts at 04:00 PM (30 mins)Register Now
Our Speakers
The Xiaomi 12S Ultra Concept phone allows you to attach a lens at the backXiaomi
The Xiaomi 12S Ultra Concept features a large circular camera module at the back, featuring a triple camera setup at the back. The module has been designed to mount a Leica M series lens at the back, allowing you to capture professional photos.
The device features two 1-inch sensors, one in the smartphone and one in the Leica lens. This allows you to suppress most of the noise while capturing images.
The Leica lens used in the concept phone teaserXiaomi
The lens used by Xiaomi in the teaser is the Leica Summilux-M 35mm f/1.4 ASPH module; however, the phone supports all M-lenses from the company as it features an M-mount.
The teaser has revealed that once the lens is attached, the smartphone will offer features such as histograms, zebra lines, focus peaking, and 10-bit RAW shooting.
Some of the features offered with the lens attached on the phoneXiaomi
It is to be noted that the device is only a concept at the moment, and the company has not revealed any information about a commercial launch. It may take some time before such a device can be launched for consumers.
SEE ALSO:
From longer tweets to proper verification of users, here are some of the Twitter features we want Elon Musk to introduce
India’s IT giants are worried about moonlighting employees sharing their corporate secrets
These are the 5G bands supported by Airtel and Jio – make sure your phone has them
Nikon has announced the Remote Grip MC-N10, price tag £439 / €519, a new lightweight grip aimed at videographers and filmmakers.
The grip weighs just 310g (including two AA batteries inside) and can deliver 12 hours of operation on those two batteries.
The grip connects to your Nikon camera via USB-C and allows access to all of the main video settings via comparable buttons on the body of the MC-N10 grip. These include all the functions normally controlled by your camera’s direct controls, as well as settings assigned to its dials and Fn buttons.
What’s more, an ARRI standard rosette fitting allows you to make quick adjustments to position.
The Remote Grip MC-N10 is compatible with the Nikon Z9, Nikon Z7 II and Nikon 6 II. Z9 users will need to install new firmware to use the grip.


 How do you do that? If you find joy in the sunrise, wonder at the finest details of an ant, deep friendliness towards your model, amazement at the feather patterns of a bird, excitement at seeing a predator hunt, or fascination in the abstract patterns, then you have succeeded.