[ad_1]
© Provided by Android Police
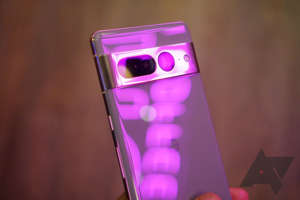
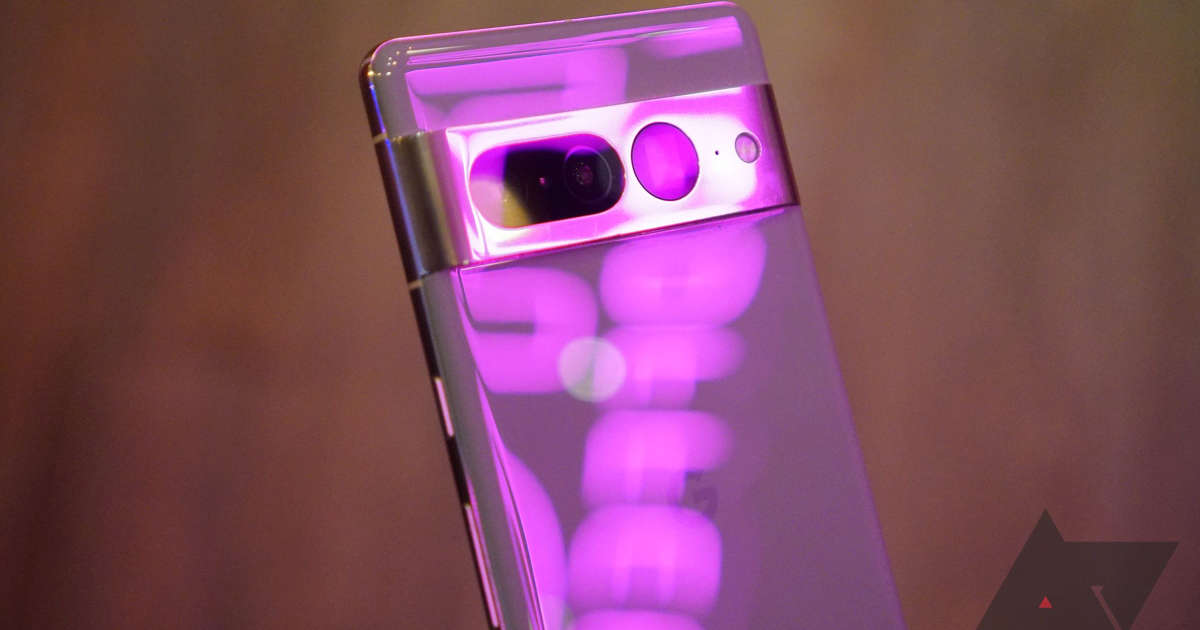
The Google Pixel 7 Pro is a beast and one of our favorite Android phones released in 2022. It packs the right mixture of software smarts, performance, and battery life in a beautiful and unique form factor. The Pixel 7 Pro’s camera is not to be glossed over. Compared to its predecessor, the Google Pixel 6 Pro, it received three upgraded cameras: a new ultrawide, a new selfie, and a slightly improved telephoto zoom camera. All this is great on paper, but you need to know what to do to get the most out of the setup. In this article, we’ll tell you all about it.
1. Use 2x zoom for incredible portrait shots
Google may not have upgraded the primary Samsung GN1 camera it used in the Google Pixel 6 series. Still, the company was able to add a new software trick that makes better use of it on the Pixel 7 Pro when zooming to certain levels.
When taking pictures at 1x, the 50MP camera automatically combines four pixels into one, creating a 12.5MP photo with more detail and light than it would normally get. At the 2x zoom level, you’re using a patch of the sensor that offers roughly 12.5MP. That means Google can still give you a full-resolution image at 2x zoom without extra work on your part. You just pinch to zoom or tap the 2x zoom shortcut above the shutter button.
Close
1x vs. 2x zoom: Note how the two plushies appear flatter in the second shot.
The question remains. Why would you opt for 2x zoom rather than get closer to the person you want to take a portrait of? The issue is that the GN1 camera offers an equivalent focal length of roughly 23mm, which is still a fairly wide angle compared to what professional photographers use to take portraits. The 2x zoom option gets you closer to that professional photographer look and makes for a more flattering image of your subject with fewer distorted facial features. Don’t just take our word for it. Try it out for yourself, and rest assured that you’re not losing any discernible image quality on the Google Pixel 7 Pro.
If you want to go further, tap the Portrait option left to the regular Camera mode below the shutter button. Google automatically adds digital blur to the background of your subject, making for an even more professional-looking portrait. And if you don’t love the result, you can turn off the fake bokeh afterward.
2. Get up close on the Google Pixel 7 Pro with Super Res Zoom
The Google Pixel 7 Pro camera isn’t only great at 2x and 5x zoom. When you zoom in up to 5x, Google intelligently combines what your telephoto camera and your primary cameras see, taking the best parts of both sensors to create a more accurate and less pixelated image. While you’re shooting, this tech stays in the background. You don’t notice any annoying flickering or stuttering as the cameras switch or stitch images together. Instead, you only have a great result to look at.
Close
A collection of (mostly) 30x zoom shots from our Google Pixel 7 Pro review.
Beyond 5x zoom, Google still combines images from all its camera sensors to provide the best possible result, plus some AI and machine learning magic. This allows you to go up to 30x when shooting images. You may not want to print these results on canvas, but they allow you to get shots you would otherwise miss. With this technique, Google claims you can go up to 10x and still get results comparable to an optical 10x smartphone zoom camera. And even at 30x, you get something better than what you would get from cropping your image after the fact.
3. Focus on the details with the Pixel 7 Pro’s Macro Focus
One of the features enabled by the new ultrawide camera is the Google Pixel 7 Pro’s Macro Focus mode. When you get close enough to an object or subject, Google Camera automatically switches to the ultrawide camera. It can give you sharp images at a much closer range than the primary lens, making it possible to create beautiful shots of the fine details you might be interested in. This is particularly great if you like shooting flowers, water droplets, snowflakes, insects, and more.
Close
If you want more control over when the macro camera kicks in, Google has your back. Tap the settings button in the upper-left corner of Google Camera and choose one of three options in the Macro Focus section:
- Off: The camera doesn’t switch to macro mode automatically.
- Auto: Macro Focus only turns on when you move your camera close to your subjects.
- On: Keeps Macro Focus enabled. This is useful in complicated shots when you can’t always stay close enough to the subject.
4. Fix your blurry shots with Photo Unblur
The Google Pixel 7 Pro and its smaller sibling introduced a new feature called Photo Unblur. It allows you to automatically retouch slightly blurry images, making them appear as though they were sharp from the beginning. If the photo isn’t hopelessly blurry, you get good enough results, especially if you only look at your images on a smartphone screen. The best part is that you can use this feature on older images you uploaded to your Google Photos library. Here’s how to do that:
- Open the Google Photos app.
- Tap the photo that you would like to unblur.
- In the fullscreen view of the photo, tap the Edit button.
- Go to the Tools section to find the Unblur option. It could also be among the suggestions you’ll see.
Close
- Your Google Pixel 7 Pro uses its machine-learning magic to fix the photo.
- When you’re happy with the result, tap the Save as copy button.
Close
5. Save private photos to a secure folder on your Google Pixel 7 Pro
Some images just aren’t meant for the cloud. Google would make you believe this is the case for images of presents you don’t want to show to your loved ones, but this is also good for certain intimate shots. You can easily switch your Google Camera to save the next image you take to a secure location that you can only open with your fingerprint. Here’s what you need to do:
- Open the Google Camera app.
- Tap and hold the round gallery shortcut to the right of the shutter button.
- In the menu that pops up, select the Locked Folder option.
- You’re prompted to set up your Locked Folder. Tap the Go to Google Photos button to proceed.
Close
- You’re prompted to confirm your fingerprint to set it up.
- When you’re done, go back to the camera and select the Locked Folder option as the place where new images are saved.
Your sensitive images are saved from your camera to your Secure Folder. In it, it’s only possible to move or delete images. You can’t edit them, you can’t take screenshots of your images, and you need to authenticate yourself before you can open the folder. The photos in the folder only live within your phone’s storage. When you lose your phone or factory reset it, you lose access to these images unless you move them out of the folder first.
6. Take your Google Pixel 7 Pro out for an astrophotography session
The Google Pixel 7 Pro is the perfect companion for a cloud-free night out when you’re away from civilization. Google Pixel phones have long offered incredible night photography capabilities, and the Pixel 7 Pro takes computational photo processing to the next level.
To get started with astrophotography, make sure you’re far enough from unnatural light sources and either put your phone on a tripod or prop it up firmly so that it doesn’t move. Google automatically suggests that you use astrophotography mode. When you use it, the camera makes a long exposure shot that takes a few minutes to be captured. The result is stunning and allows you to see the stars clearly, without a professional camera rig or fiddling with settings.
Learn all about astrophotography on Google Pixel phones with our deep dive into what tips and tricks bring you to the next level.
7. Create film-like videos with Cinematic Blur
If you’re into video more than photography, the Google Pixel 7 Pro won’t let you down. The new generation of Pixel phones introduces a new Cinematic Blur mode that takes the Portrait mode you know from photos to videos. To get started with it, follow these steps:
- Open the Google Camera app.
- Swipe to the left on the bottom mode carousel below the shutter button until you’ve activated Cinematic.
- Tap the Shutter button to start taking a video.
- The background is blurred automatically when in this mode.
Using the Cinematic option is a little more challenging than regular videography. Make sure you have a clear subject in the foreground for the best effect. This helps the algorithm determine what it should focus on. Otherwise, you might get a hunting focus effect where your video switches between a blurred and unblurred look.
The Google Pixel 7 Pro leads the pack, but its smaller sibling is no slouch either
You don’t need to spring the money for the Google Pixel 7 Pro to take great pictures. Even though the Google Pixel 7 doesn’t come with a telephoto zoom camera, it captures incredible shots. Read up on our top 7 tips for Google Pixel 7 photography. You’ll find more basic tricks that also work on your Google Pixel 7 Pro.
Google Pixel 7 Pro
Google’s Pixel 7 Pro refines the Pixel experience after the 6 Pro’s initial stumbles last year, improving stability and taking the camera prowess to new levels with image fusing and 4K60fps video on all cameras. 30W fast charging and Pixel’s addictive features like automatic Call screening and Pixel recorder help make the Pixel 7 Pro an alluring phone even as an iterative update.
[ad_2]